Starting a homelab - Part 04 - First Linux Server
Debian is one of the most respected Linux distributions in the world. It is used by many different organizations and one of its main benefits is security. This is a Linux distribution that goes through extensive testing and approval process before a new version is released so it is very often used in mission critical services where you want to make sure that there will be no (or almost no) bugs that could affect the security and stability of the system. You know how NASA still uses 486 CPUs in some of their rockets? Same approach is taken here. That doesn't mean it's not evolving, it just means that it does that at a much slower pace than other distros out there. For that reason, Debian is usually not considered a good desktop Linux distro as you will be missing a lot of new packages/apps that may come with some other distros.
If you require a server that has newer packages, you may want to go with something like Ubuntu server edition which is based on Debian so most of the things (if not all, I'm not a Linux sysadmin) that you do in Debian will be the same in Ubuntu.
One of the bigger differences between Debian and Ubuntu though is the fact that base Debian comes with almost no additional software. That also includes (or excludes, if you will) the dreaded snap. Ubuntu comes with snap pre-installed by default and you actually have to remove it manually if you don't want to use it. I will mention another, let's call it quirky, characteristics of a Ubuntu system - additional software that you can install at the end of the install process, actually installs it via snap. I didn't know that the first time I did it so imagine my surprise when I had to make changes to what I installed. If you're interested about reading more about snap, you can go here.
In my first job a long time ago I was actually managing a few Debian servers and even though I changed careers after that, one thing that I can remember from that time was the fact that the systems were extremely stable and secure. I had to spend much more time managing users than I ever had to deal with the servers.
Installation process
Let's start by downloading an ISO image for the install. Visit debian.org or type in Google something like debian ISO download mirror. I had to actually go through a mirror site because download from the main site was extremely slow - even though ISO image is less than 400 MB in size, it would've lasted for at least 20 minutes. By downloading it from a mirror site you can speed that up significantly. Just choose a mirror that's close to you and go for an amd64 image.
Once you've downloaded the image, upload it to your datastore in ISOimages folder, same as we did with our Windows 10 image in the previous post.
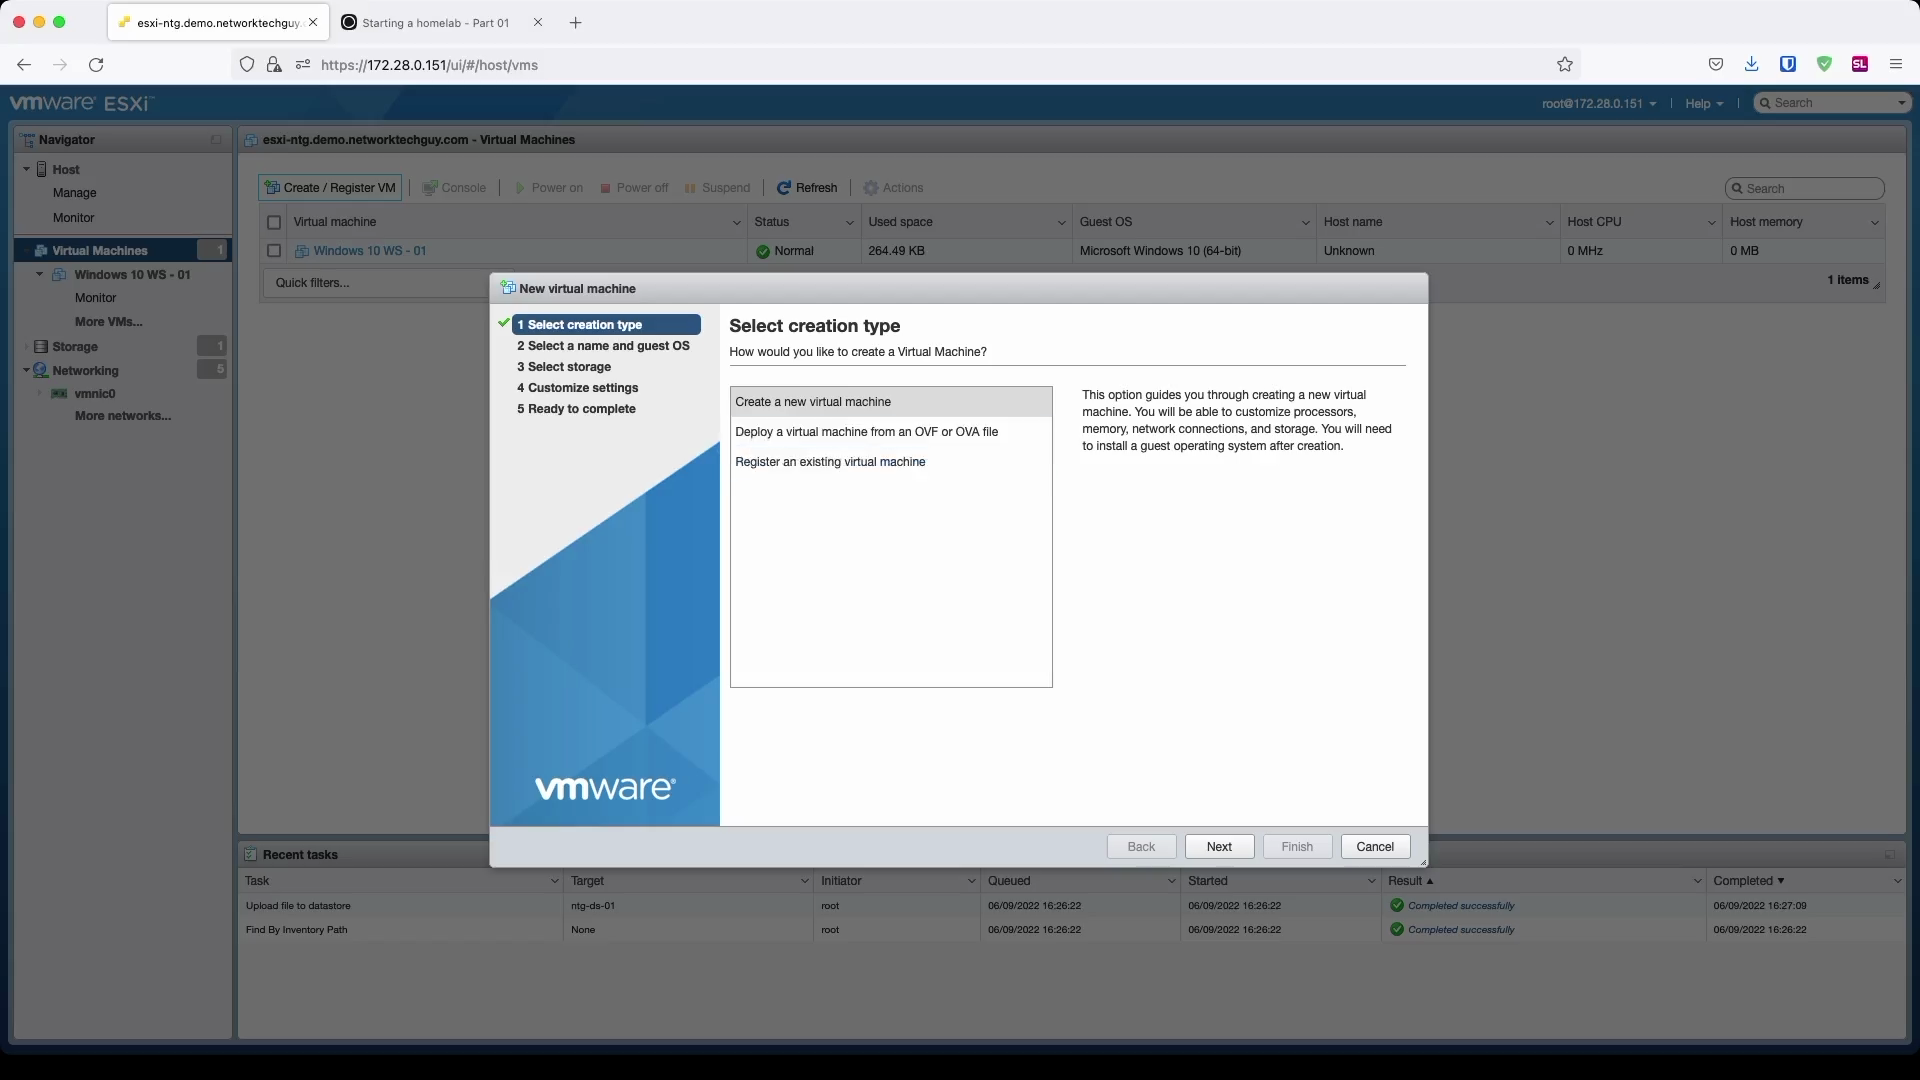
To start the process, click on Create / Register VM and click Next in the first window.
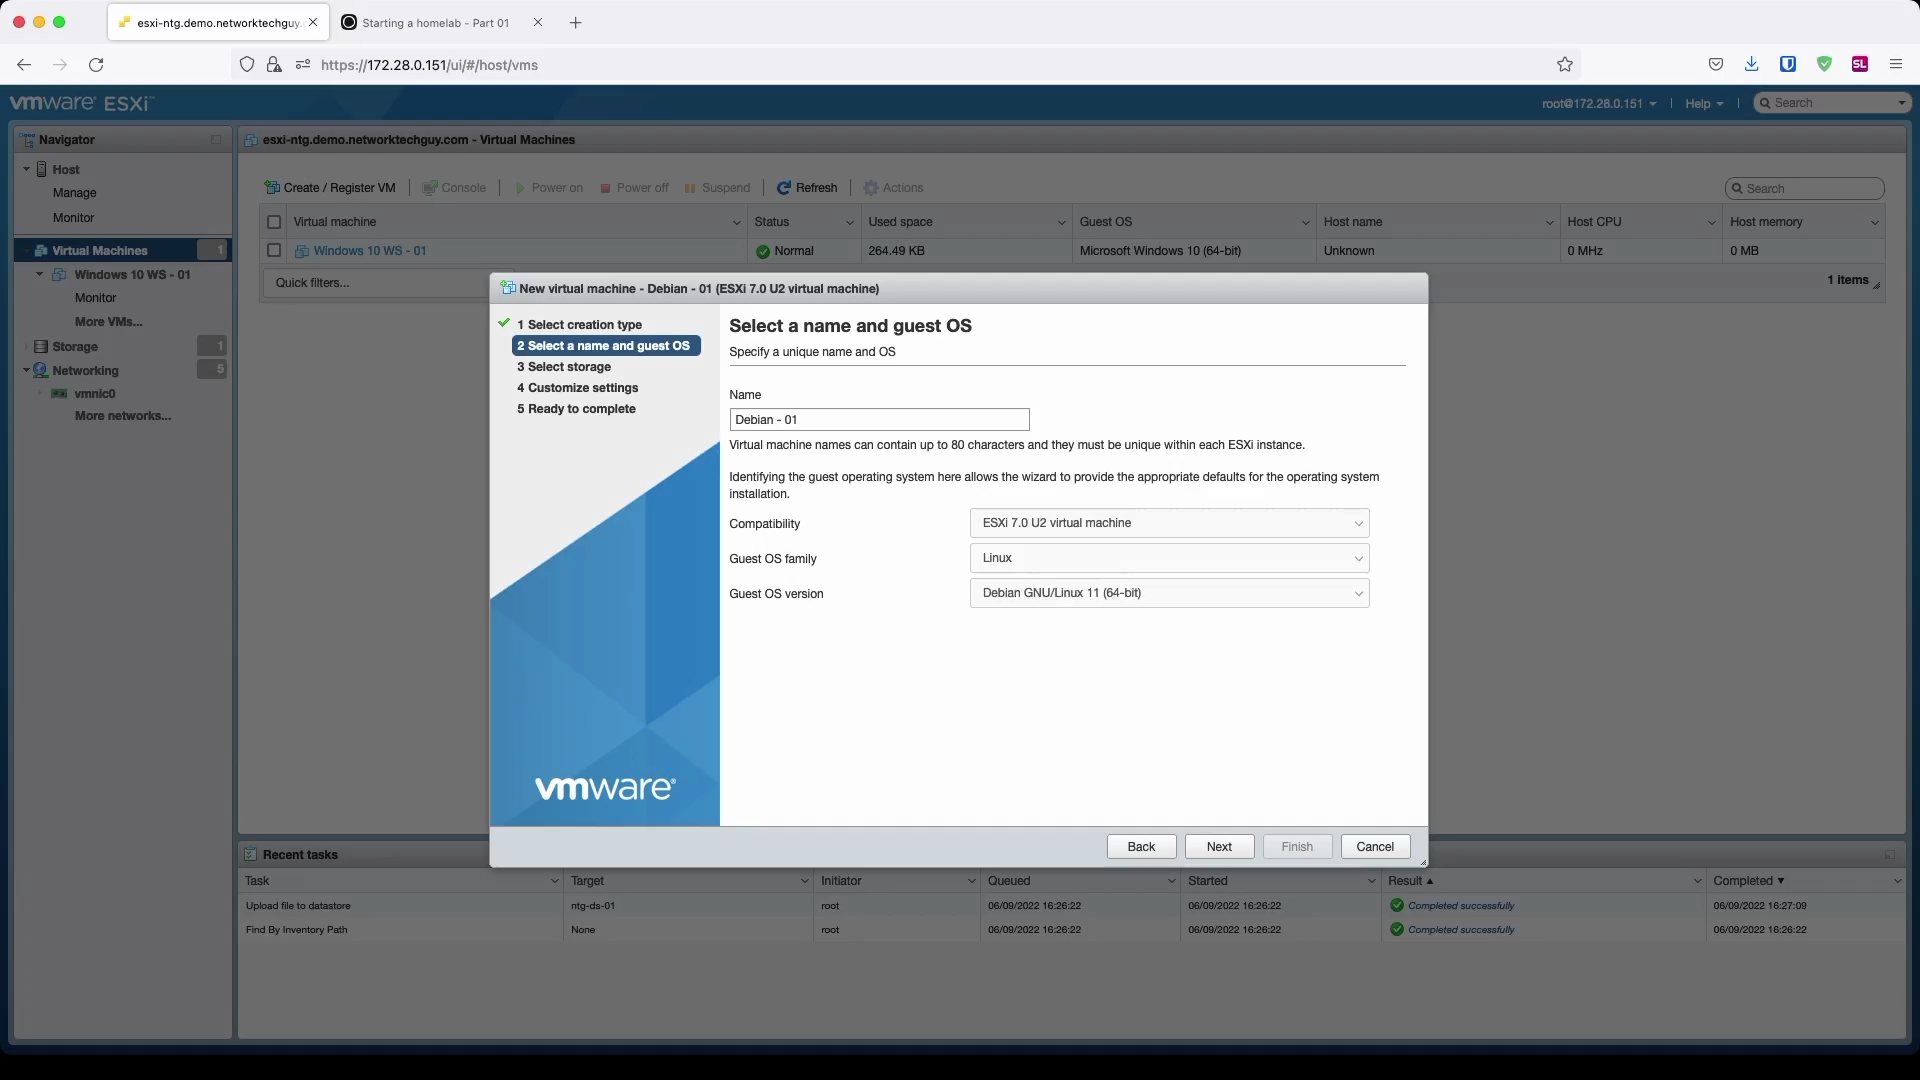
In the next window, give the VM a name, and choose Linux and ```Debian GNU/Linux (64-bit).
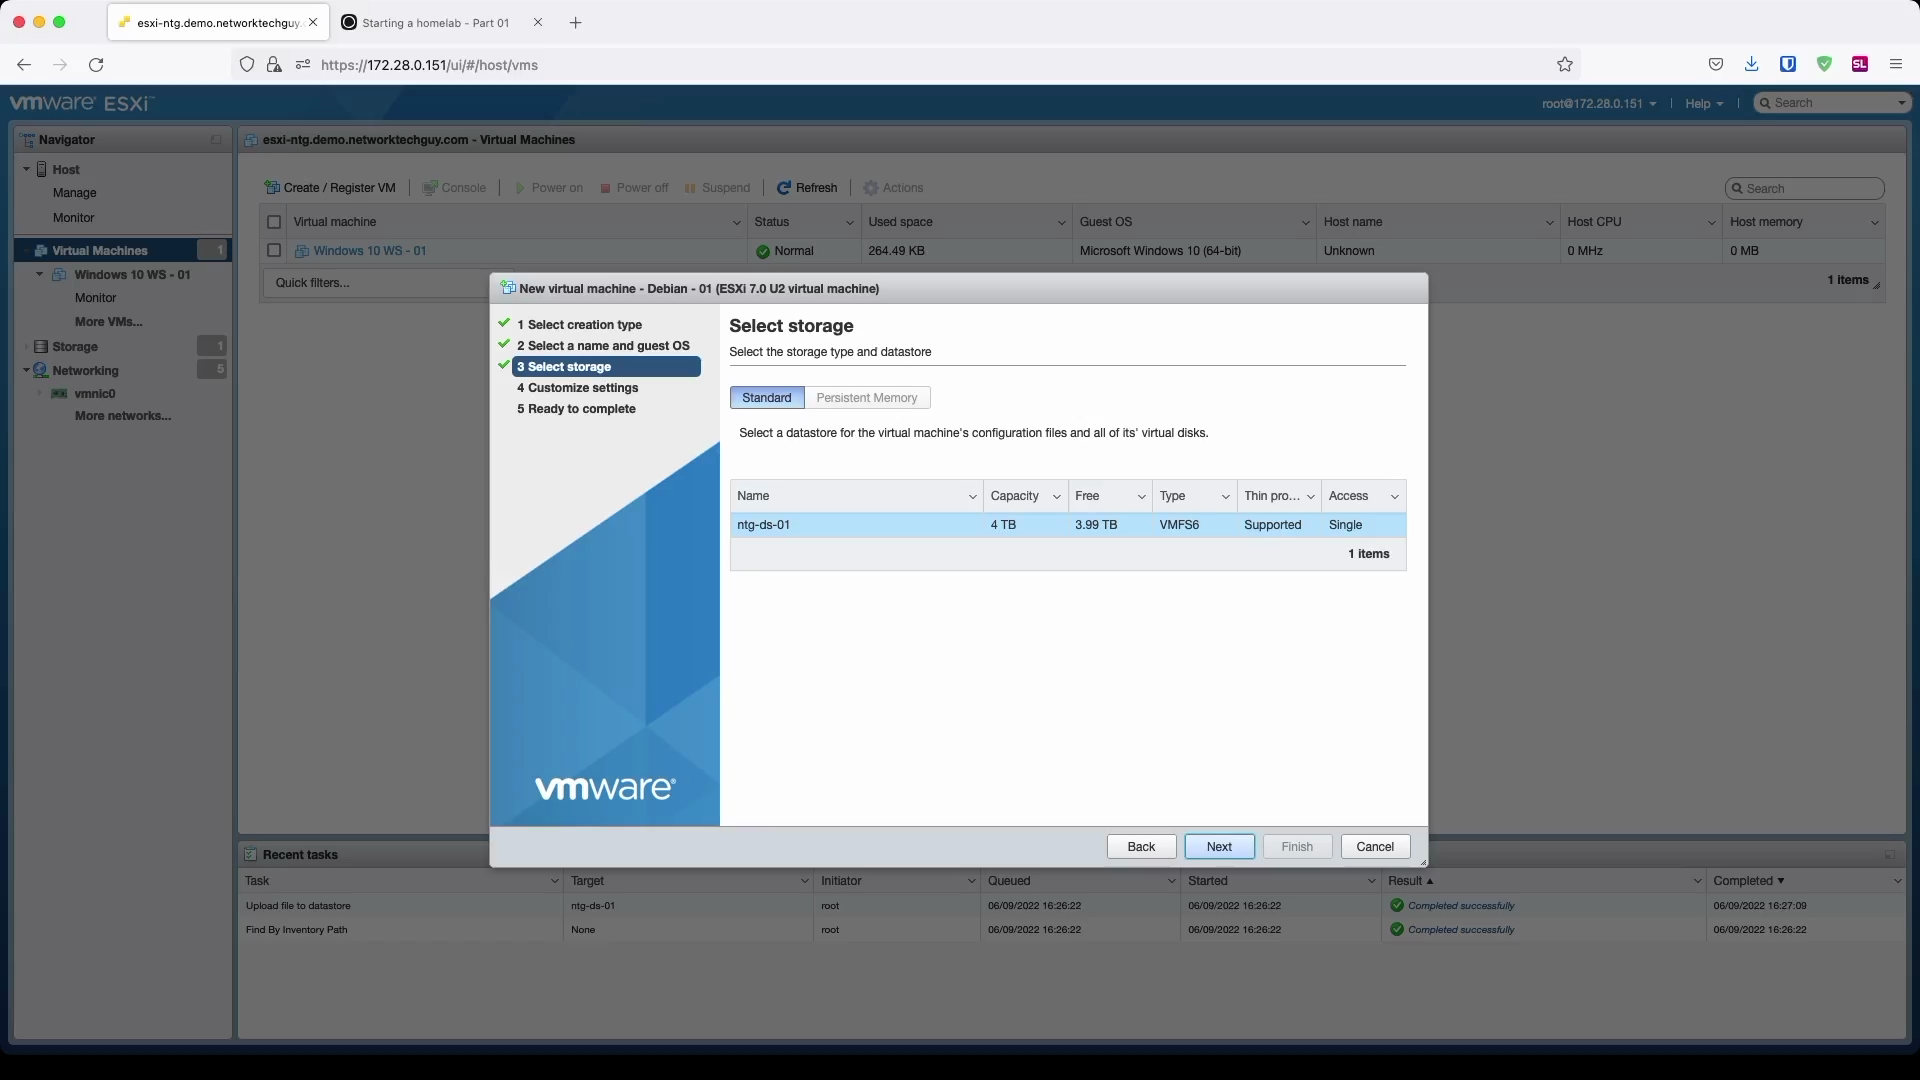
Choose a datastore in the next window
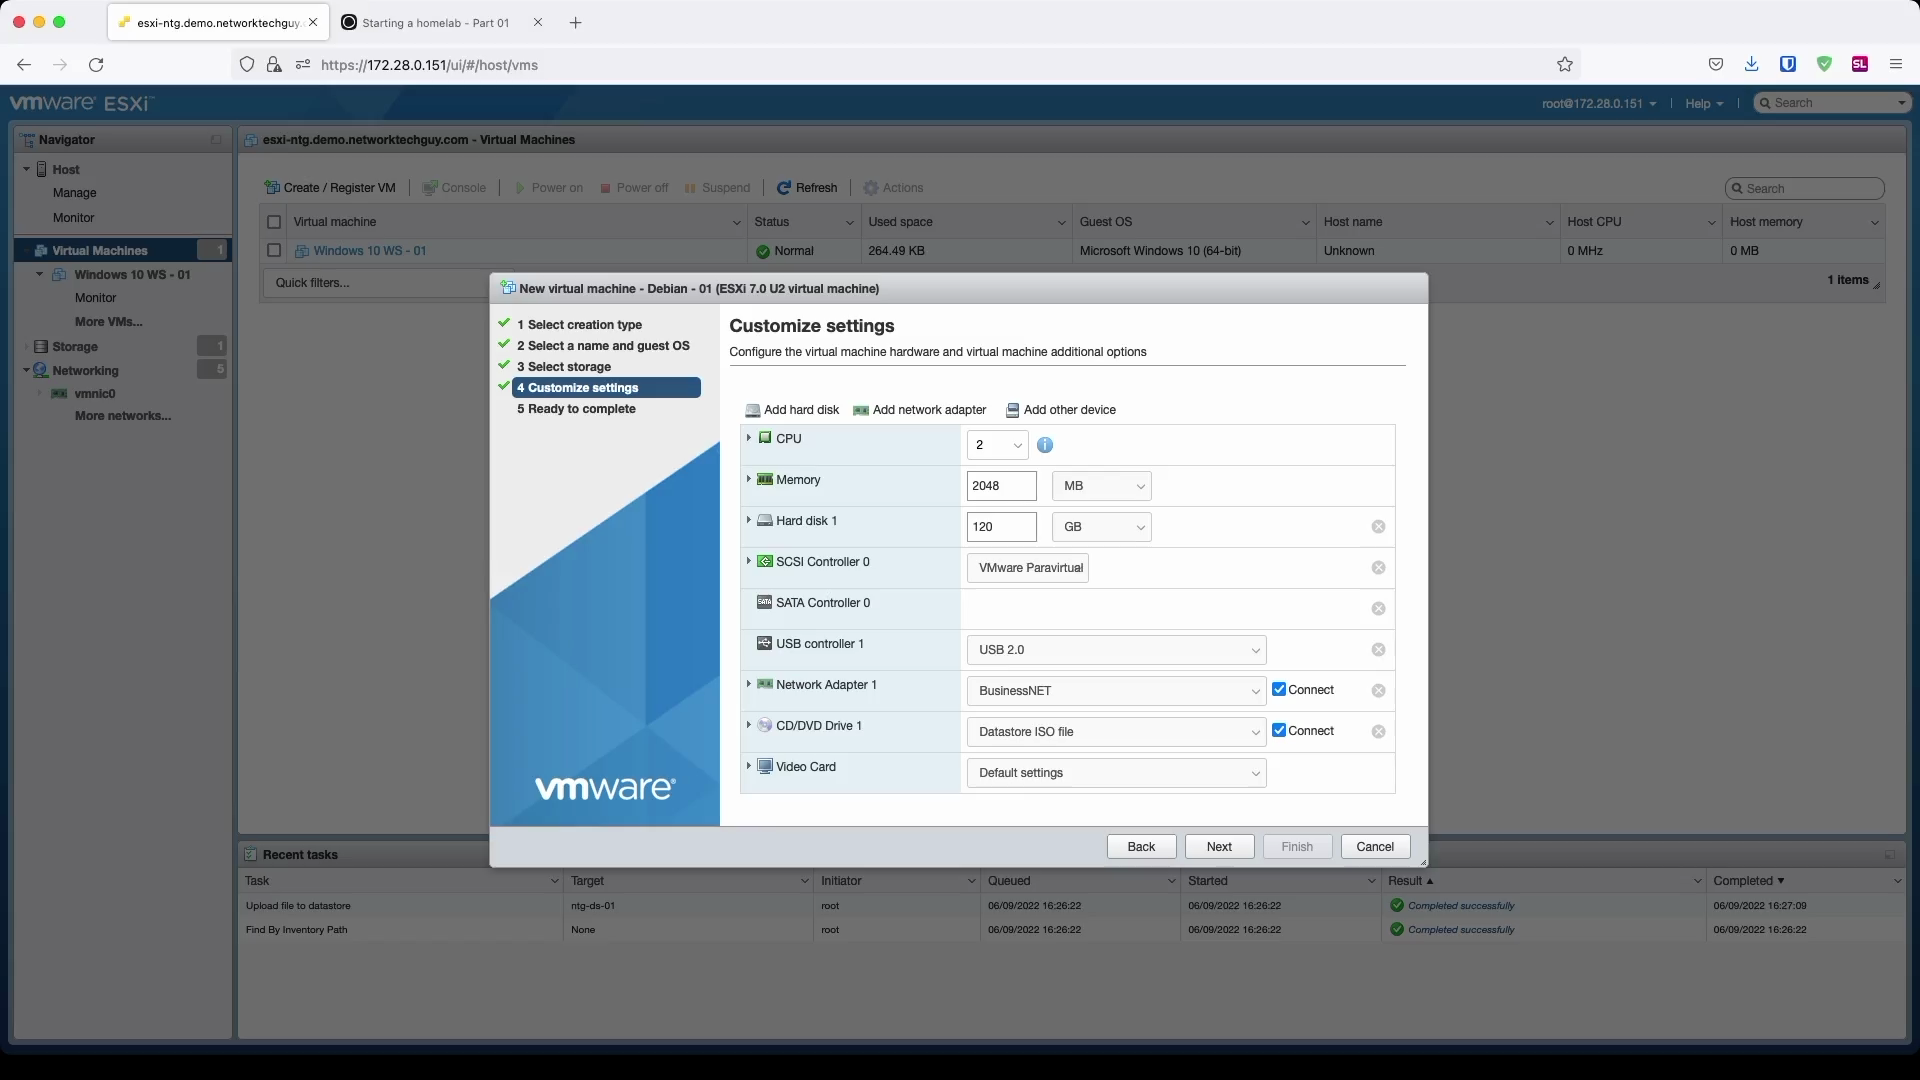
Customize settings in the next window. Debian doesn't require a lot of system resources, so you can easily get by by assigning 1-2 vCPUs and 2 GB of RAM to it. We are going to assign a little bit more disk space to it as we will use this server later on for different services, among which proxy may be the one to eat up most of the disk space. I already stated that, but here's a repeat: you can easily add more vCPUs and RAM in the future, but HDD is something that you want to get right the first time, as it is a real hassle to change it later on.
Select a proper PortGroup for the network adapter and under CD/DVD Drive 1 set it to Datastore ISO file and browse to the ISO image that you uploaded earlier. Click Next to continue and finally, Finish in the next window after that.
Reminder: if you want to access the VM from your home network, make sure to use
VM Networkinstead ofBusinessNETas it is presented here. If you don't do that, and you don't have a GW/FW for yourBusinessNET, you will not be able to access it from your home network. This will all change once we install a firewall in one of the following posts.
Start the installation by starting the VM.
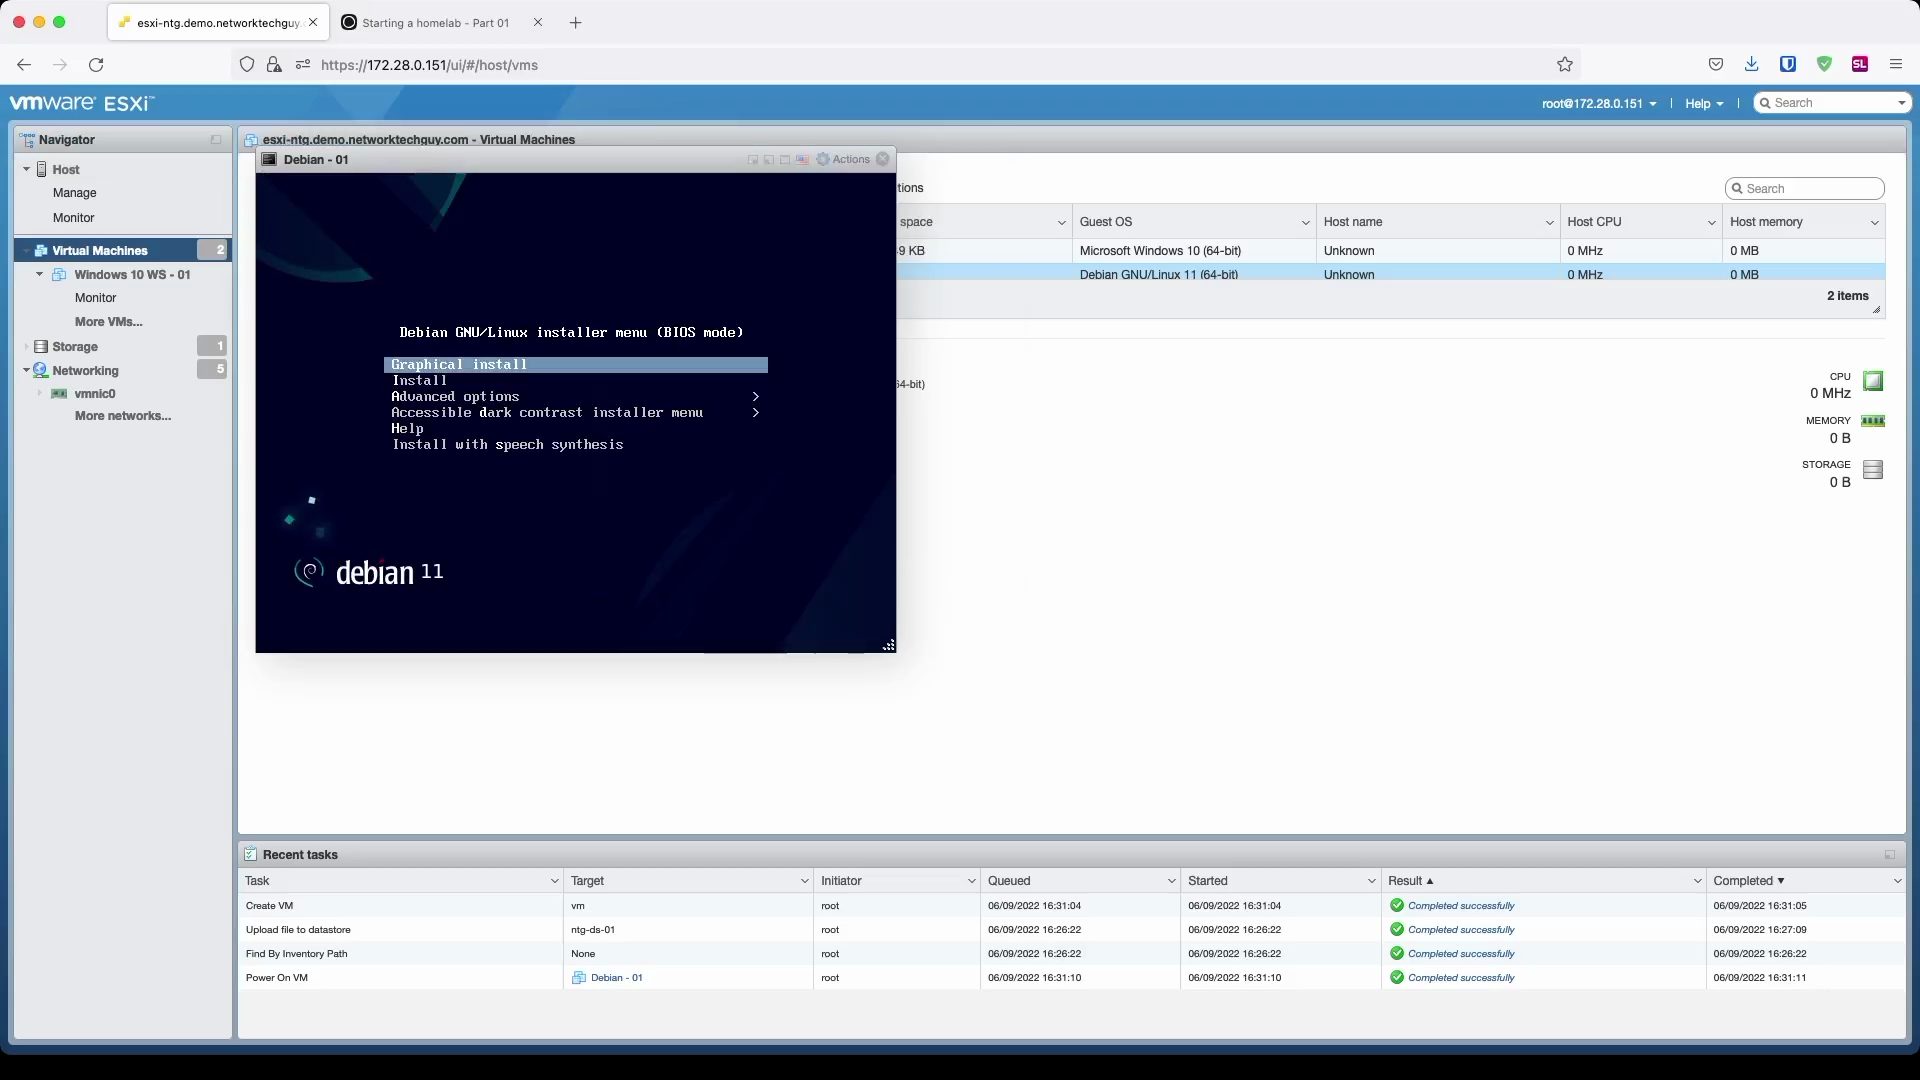
In the first window, choose a language for the installation.
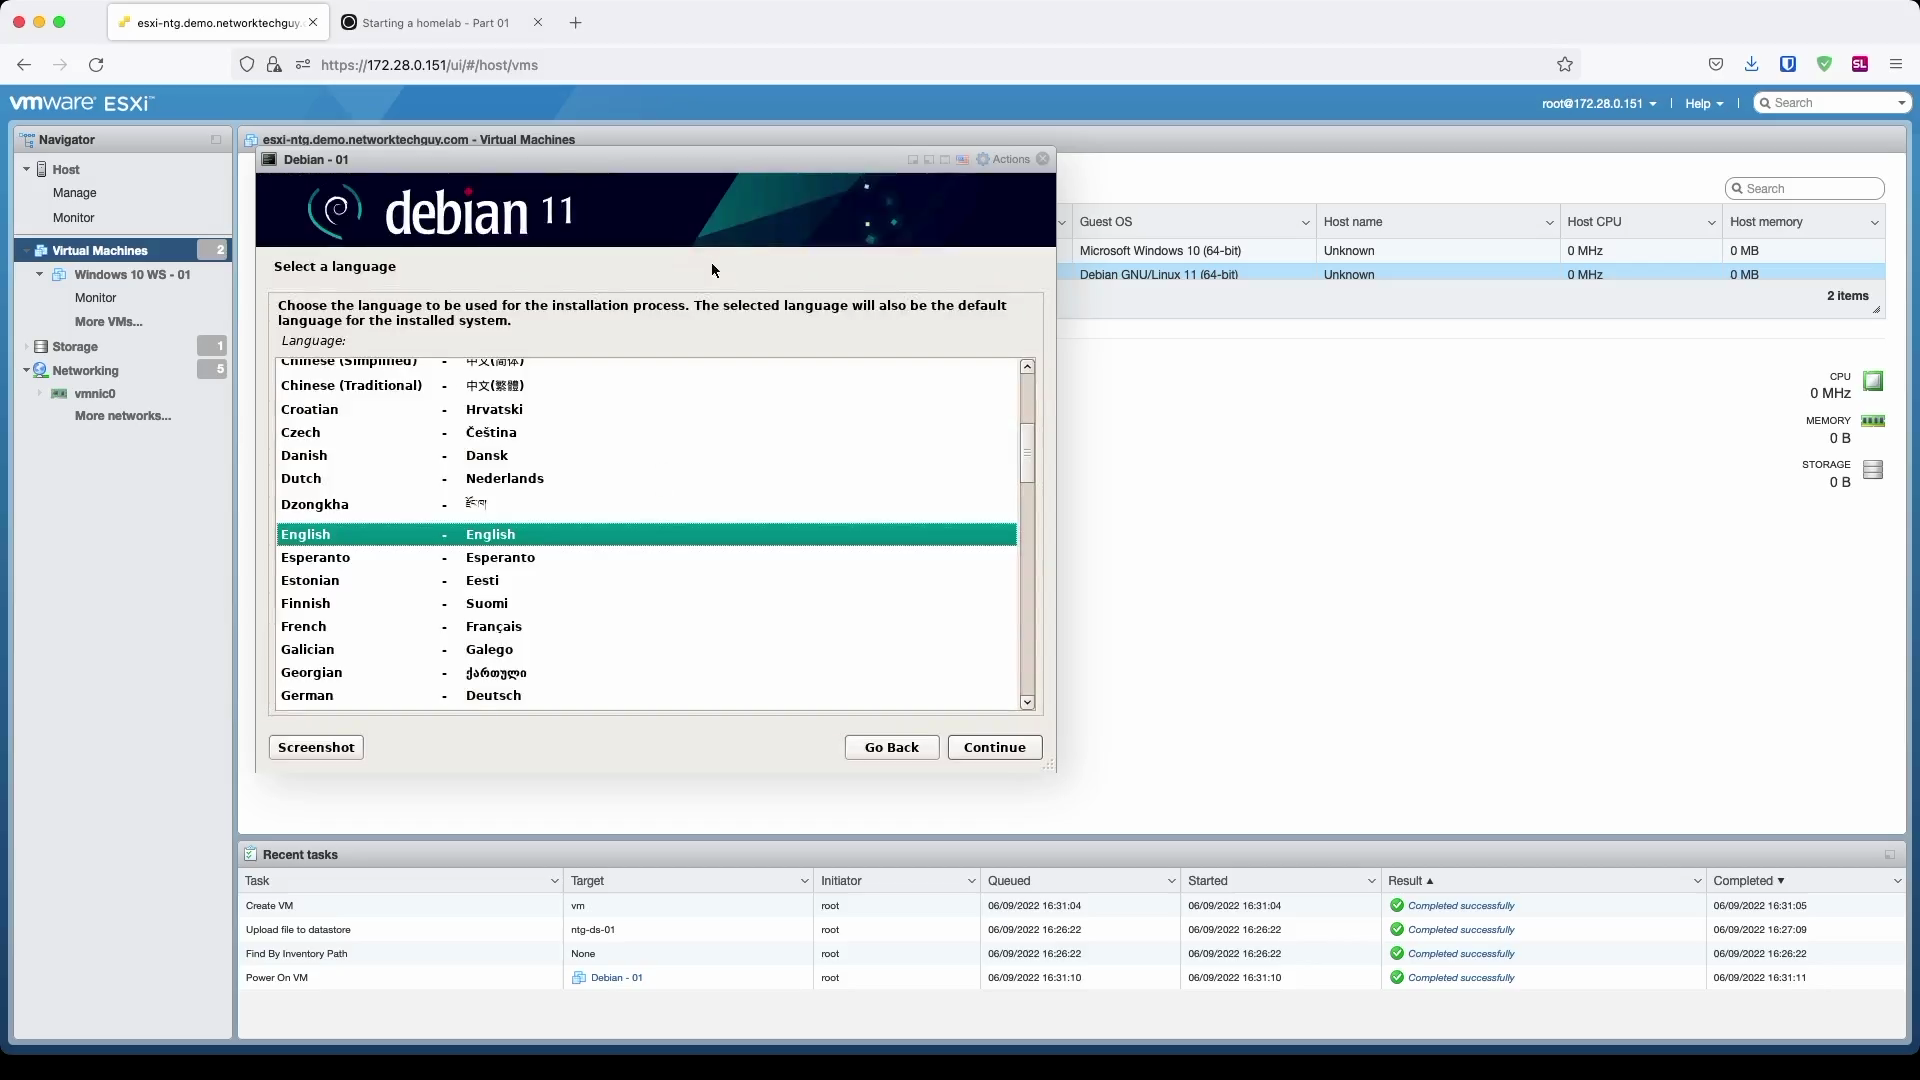
In the next window you will choose your location
Choose the keyboard layout that you use:

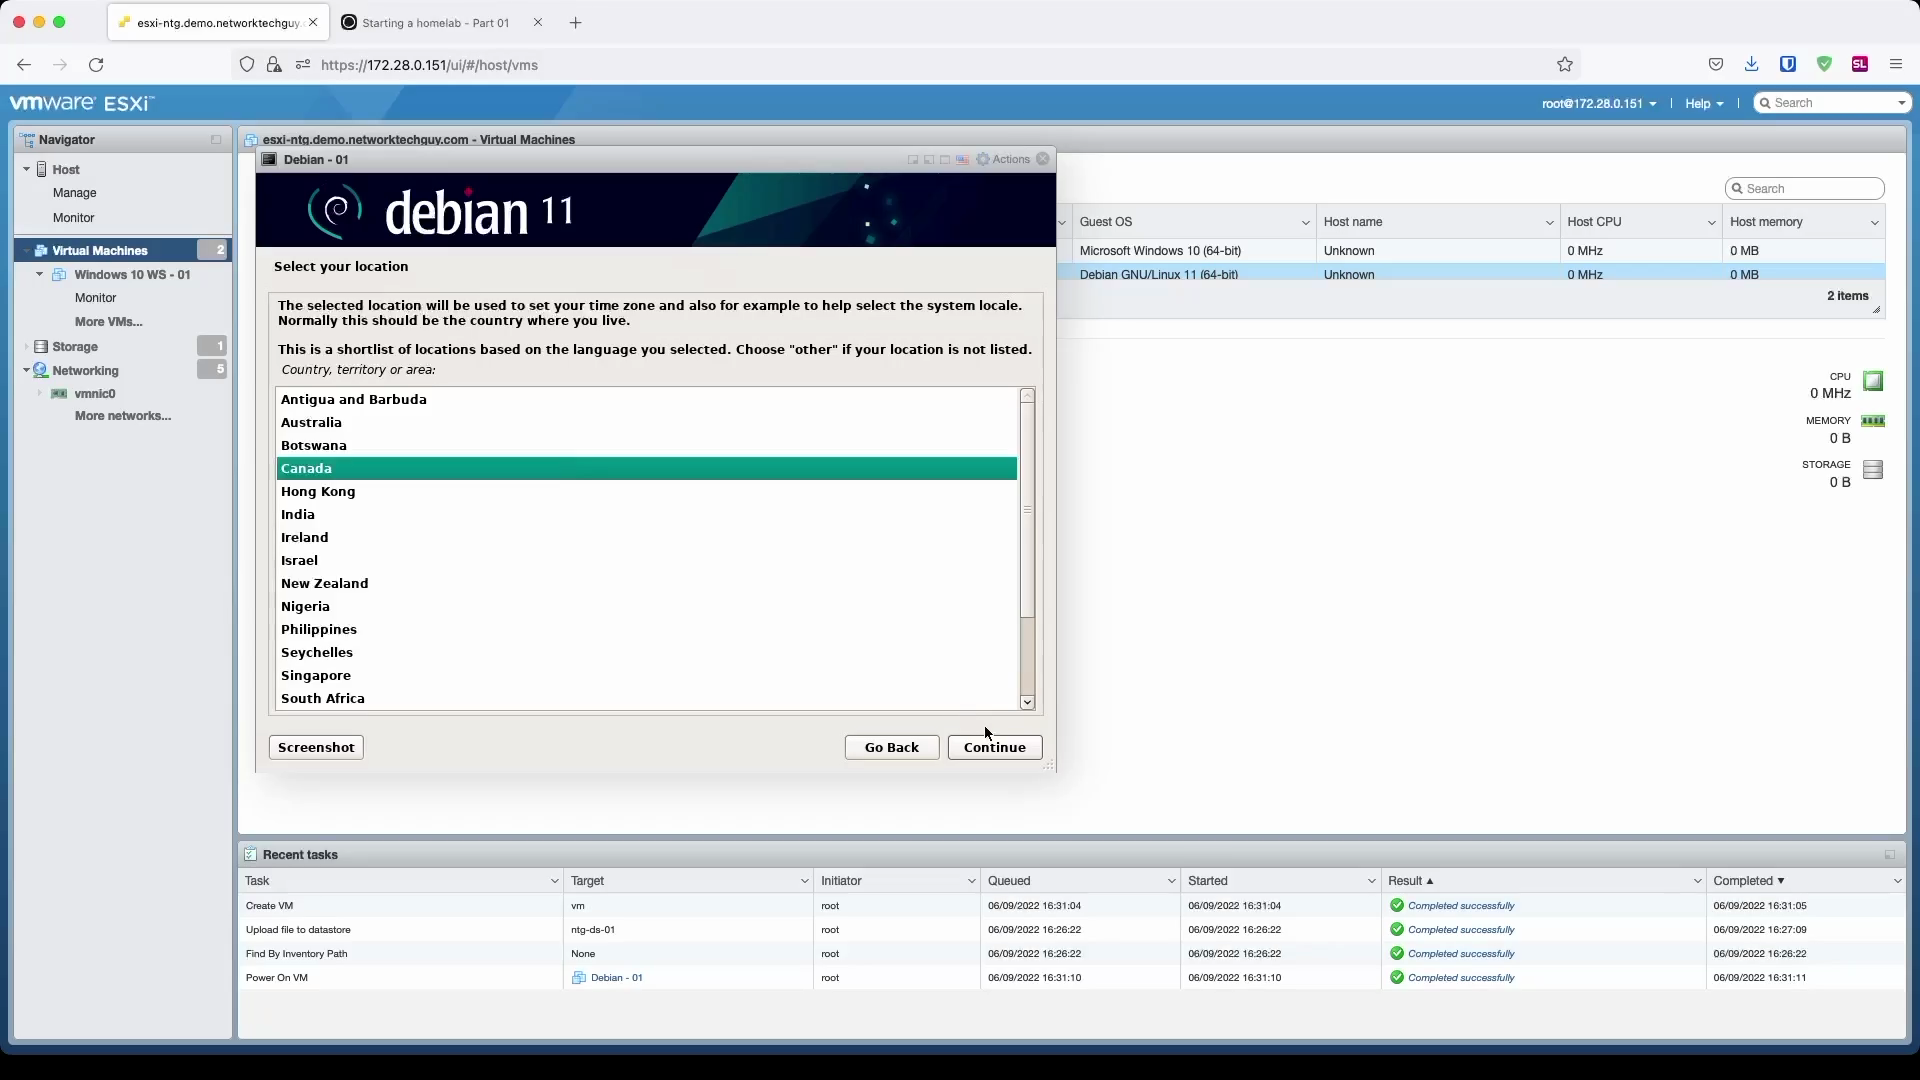
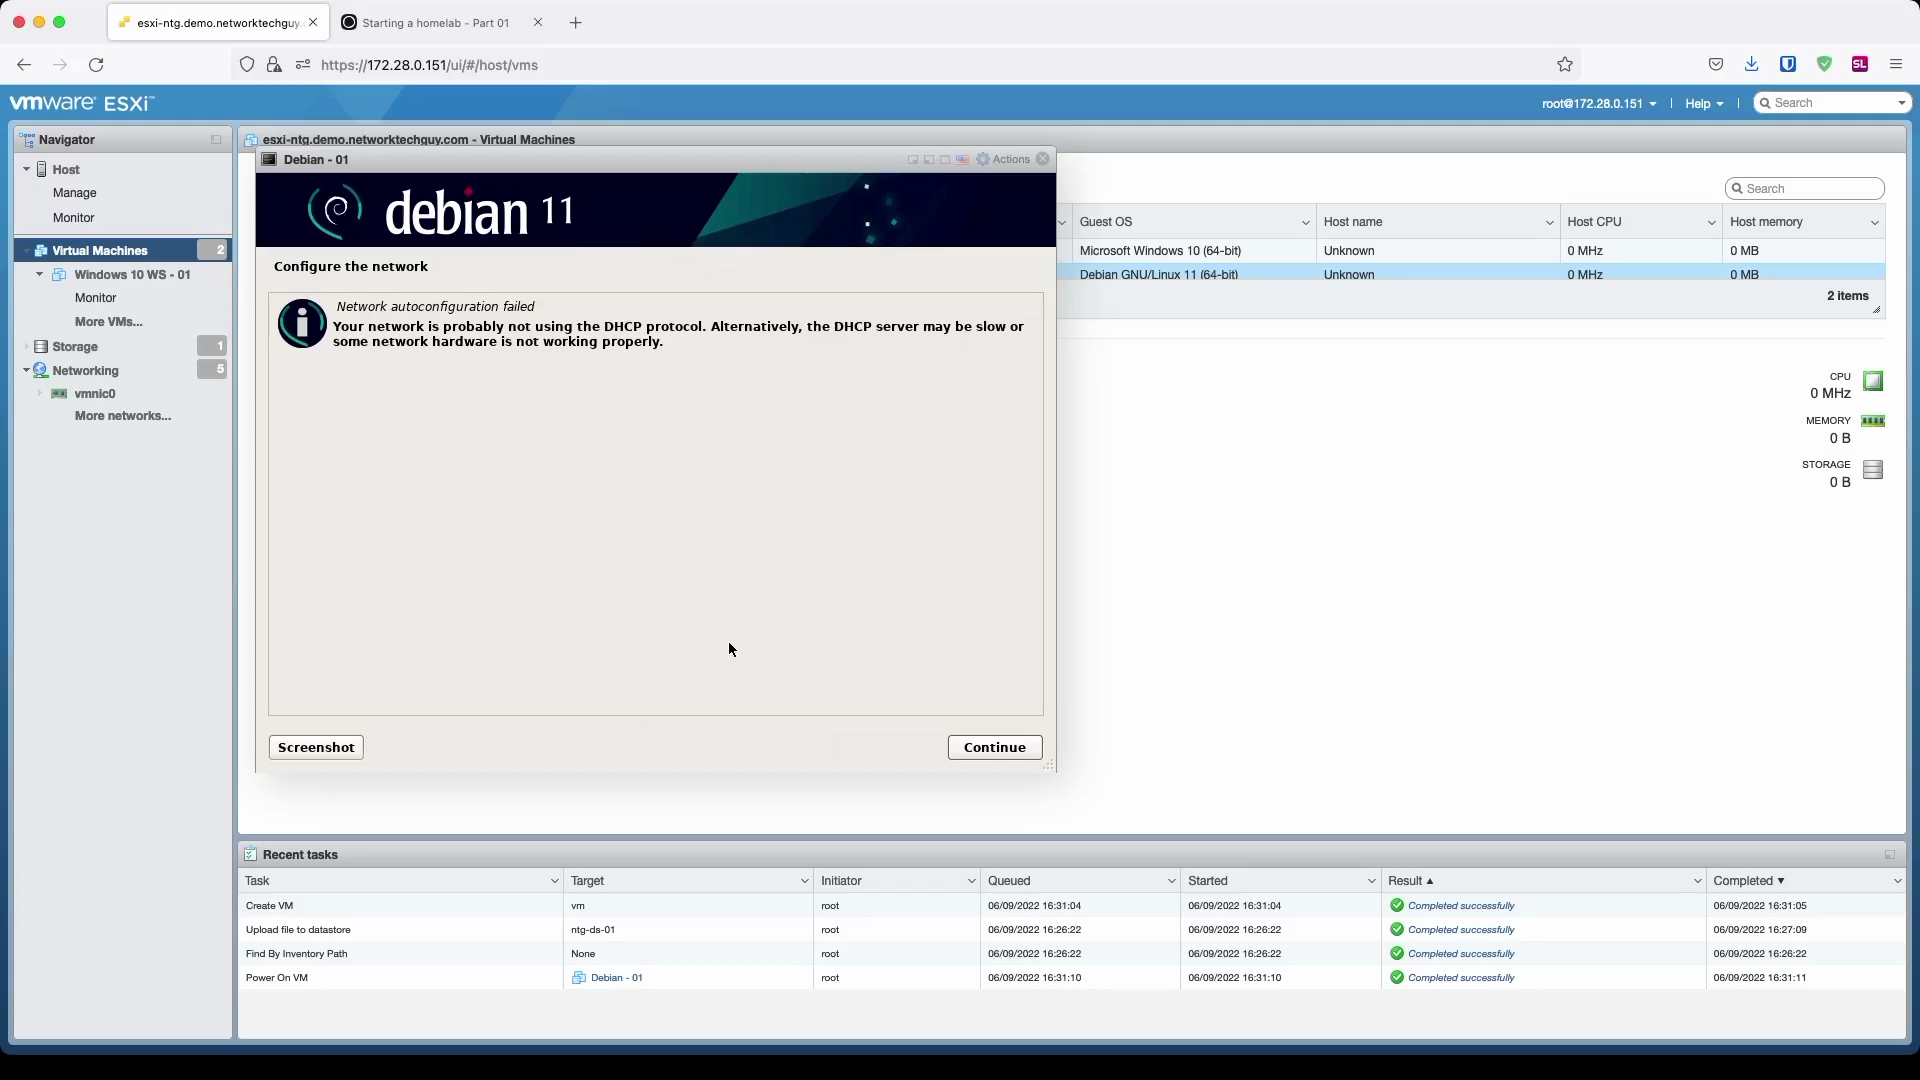
Since I don't have a DHCP running on the selected subnet, I have to enter my IP information manually:
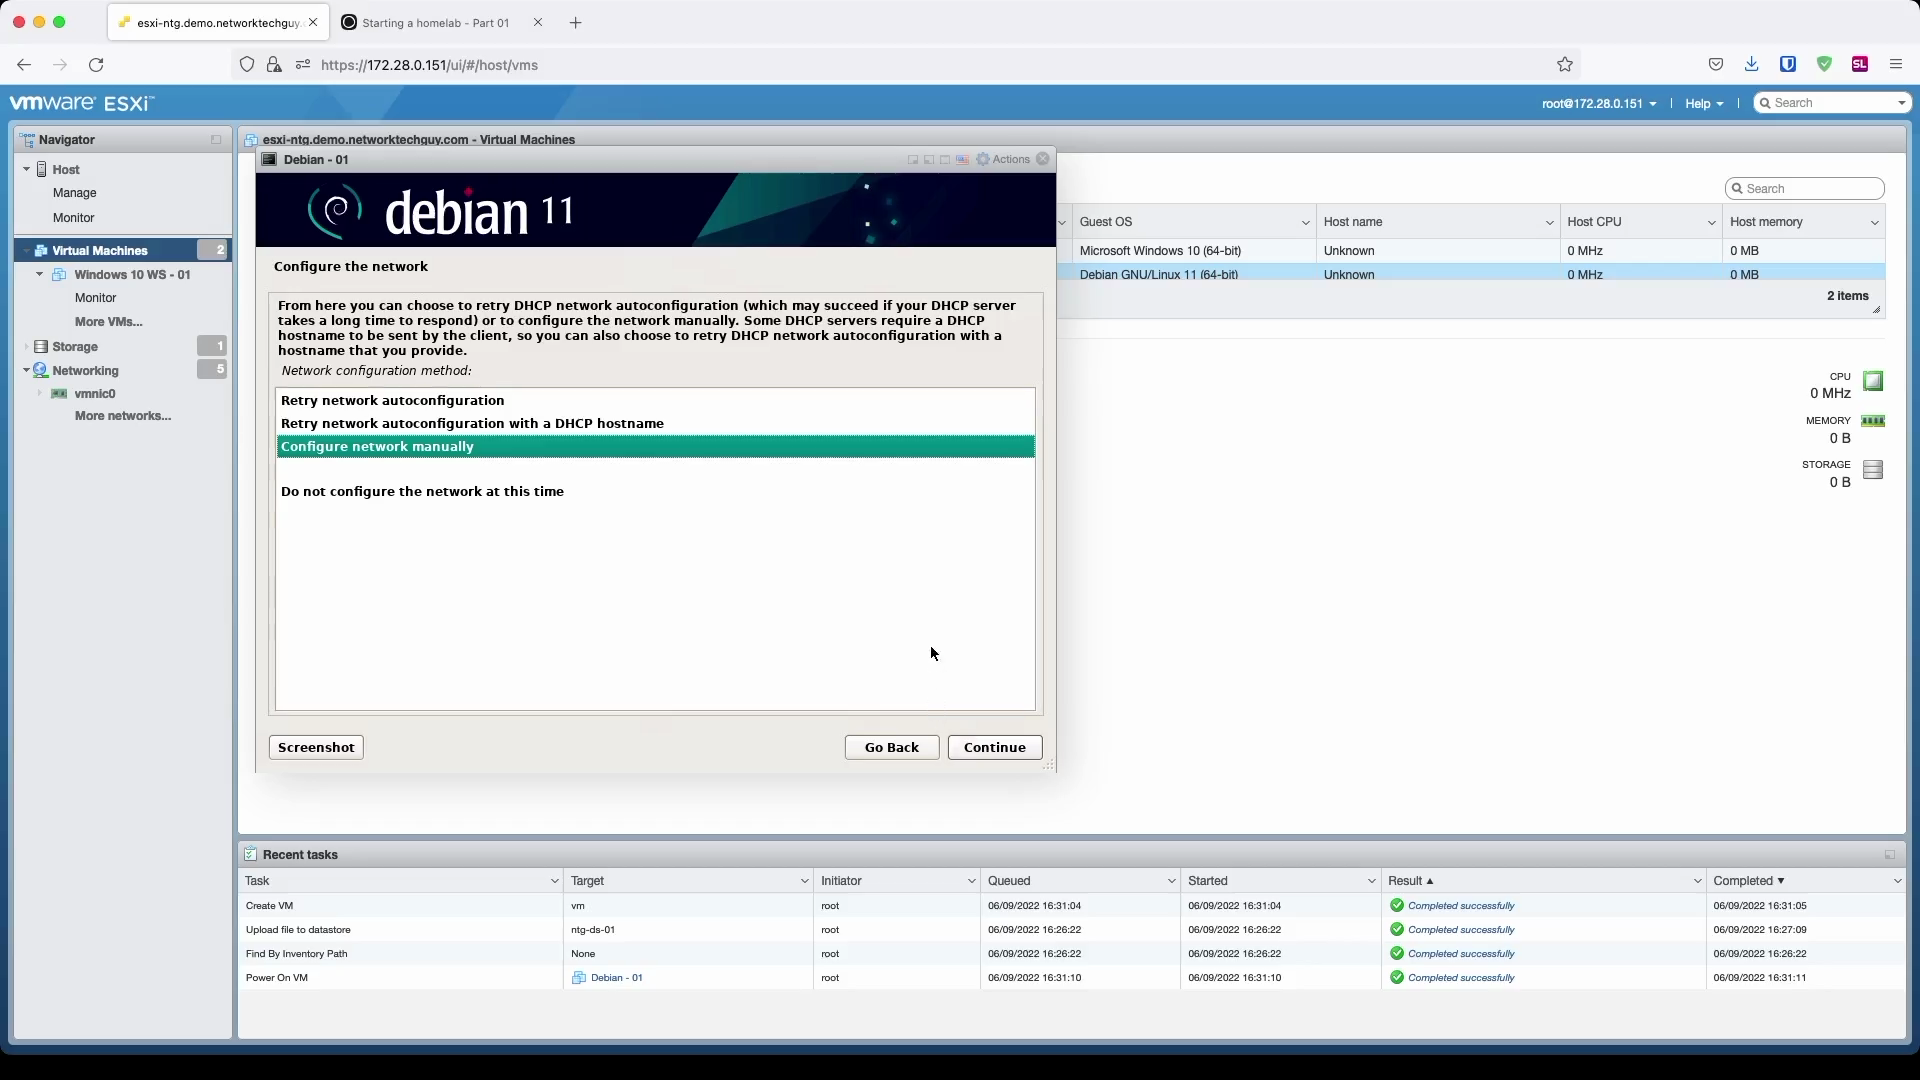
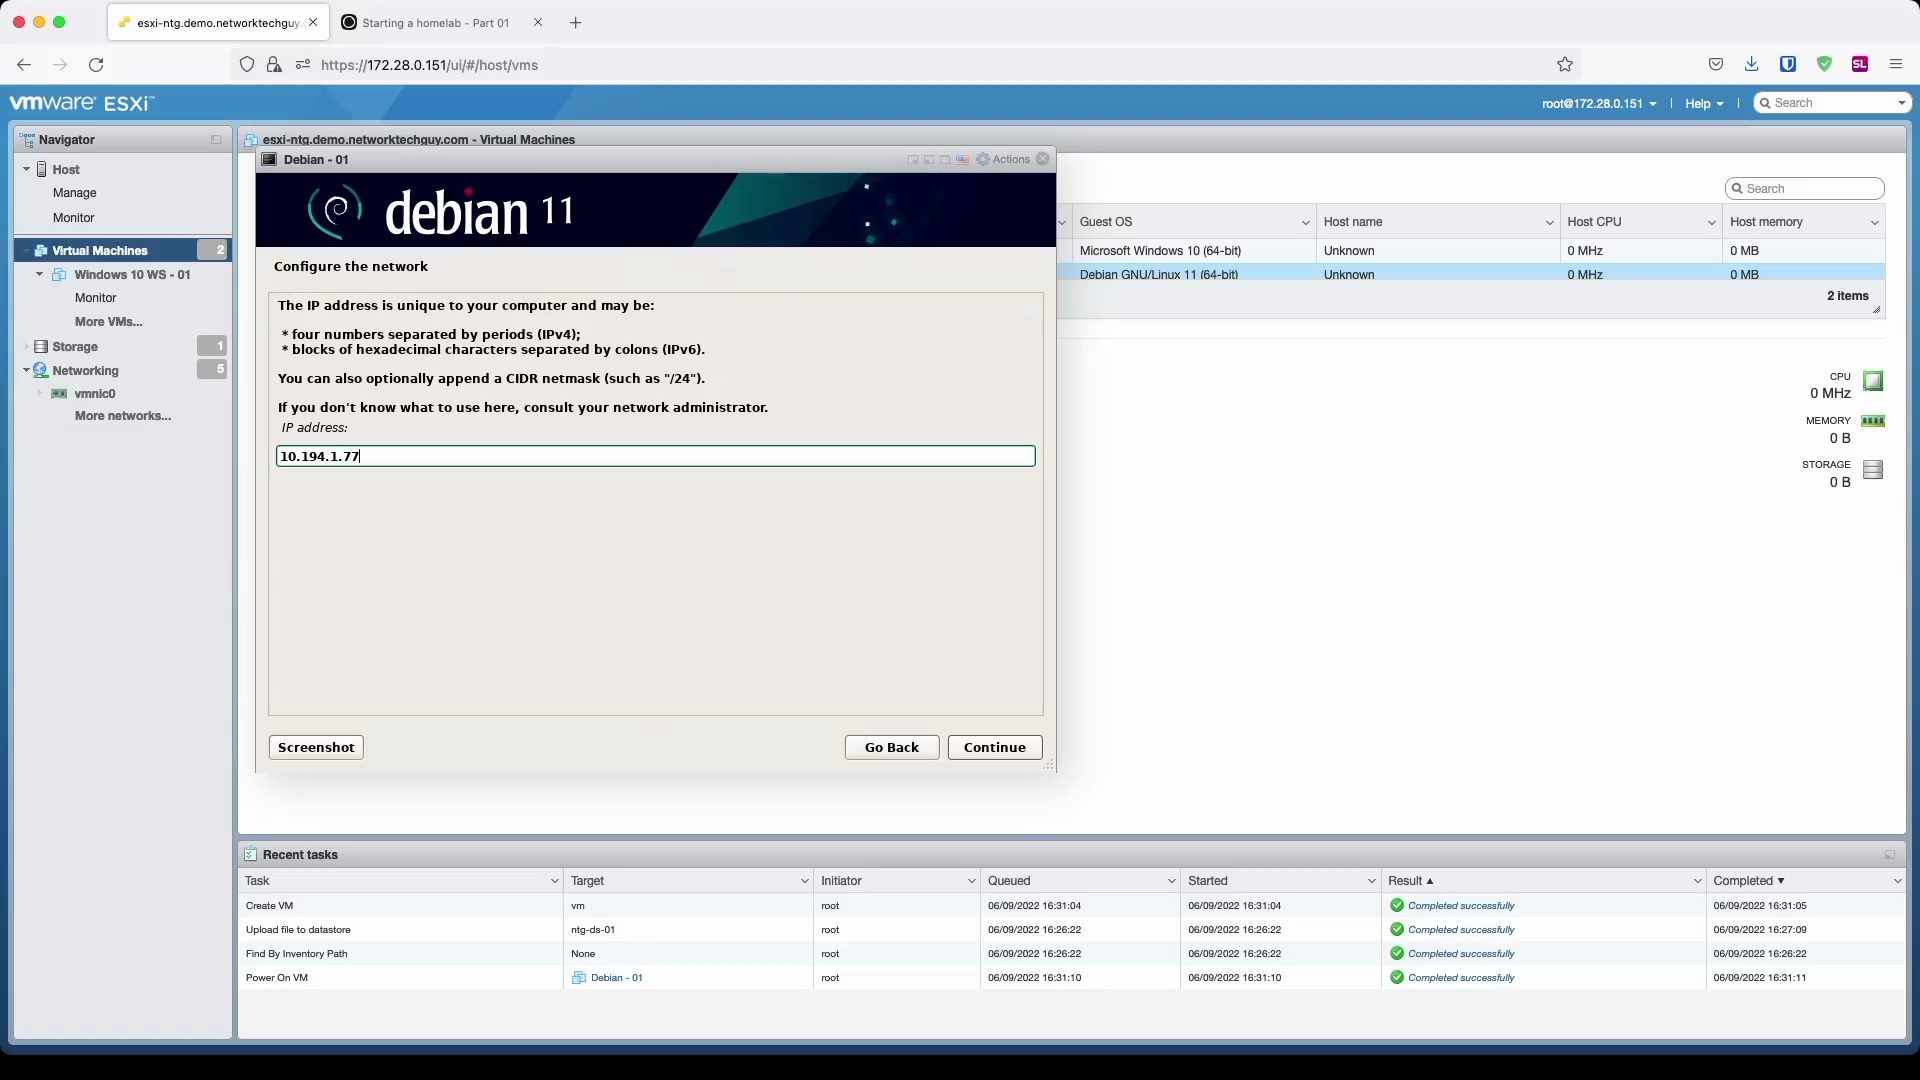
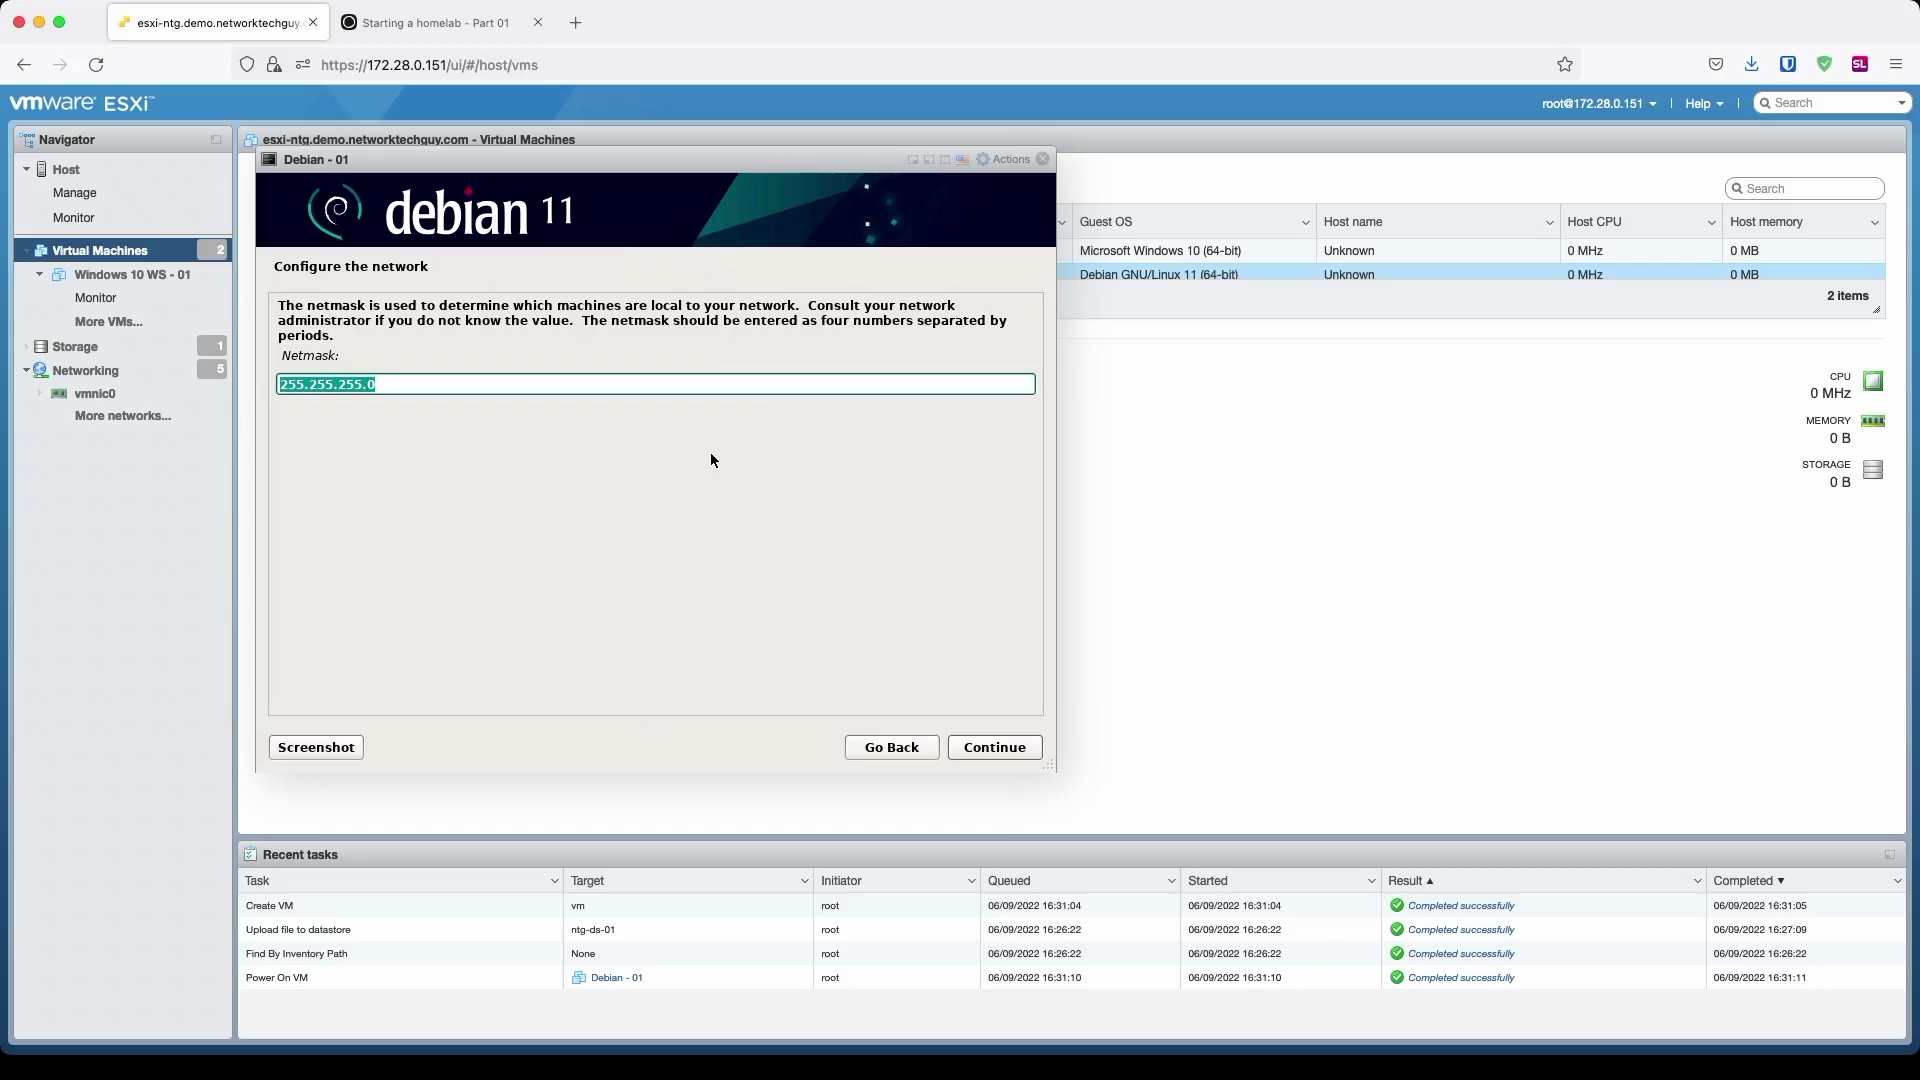
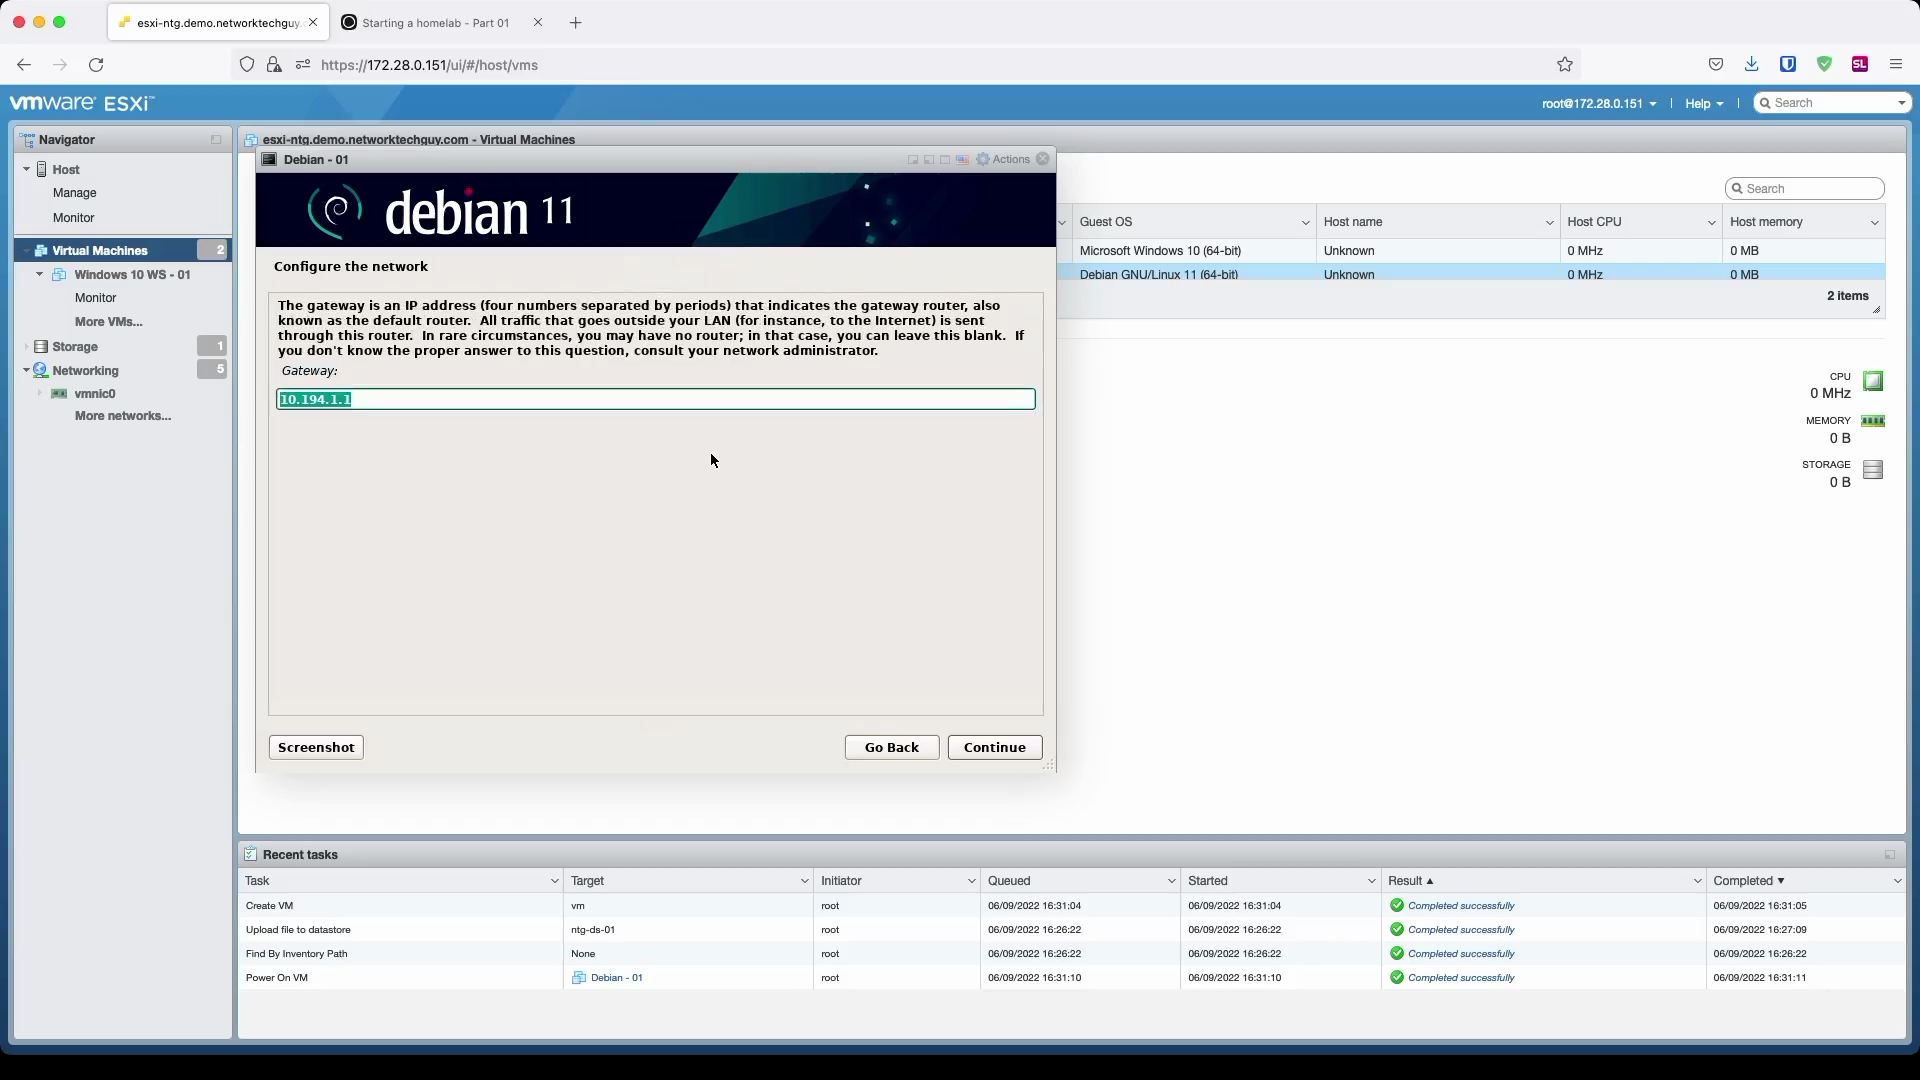
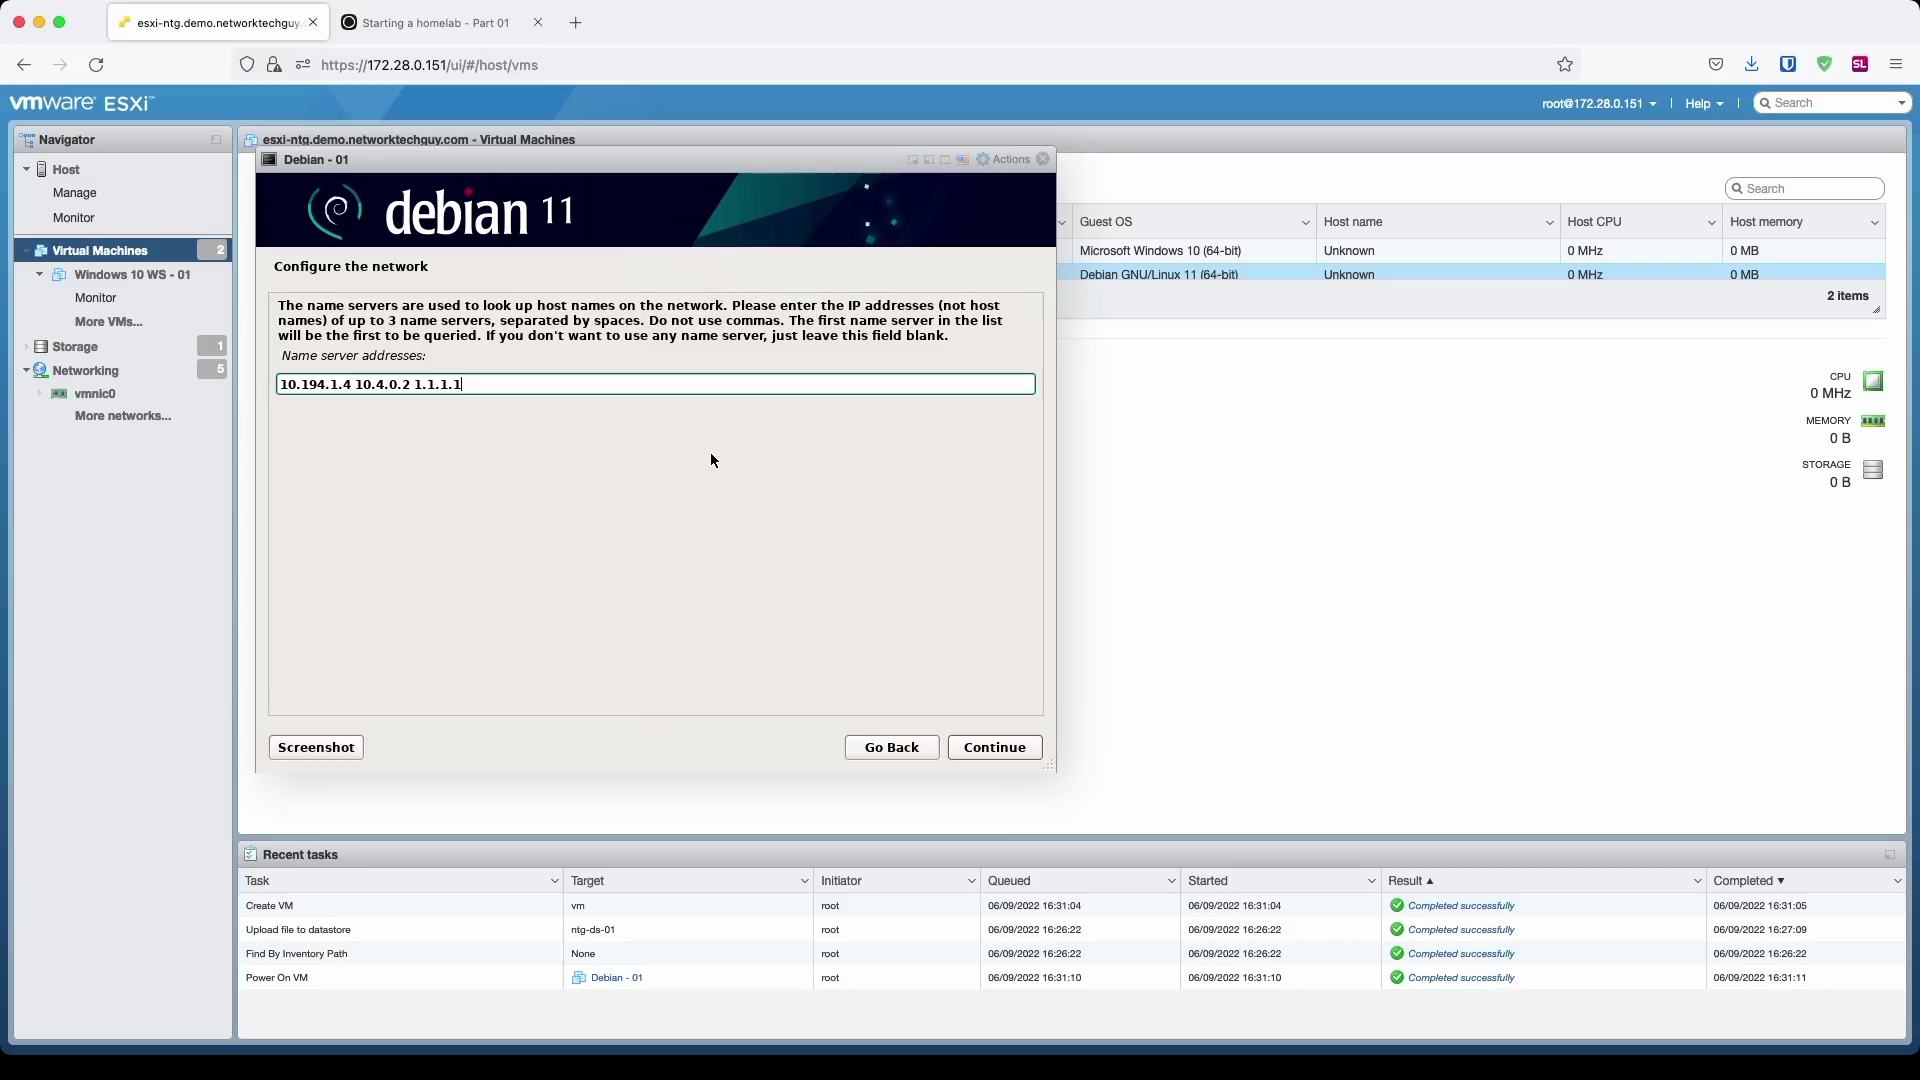
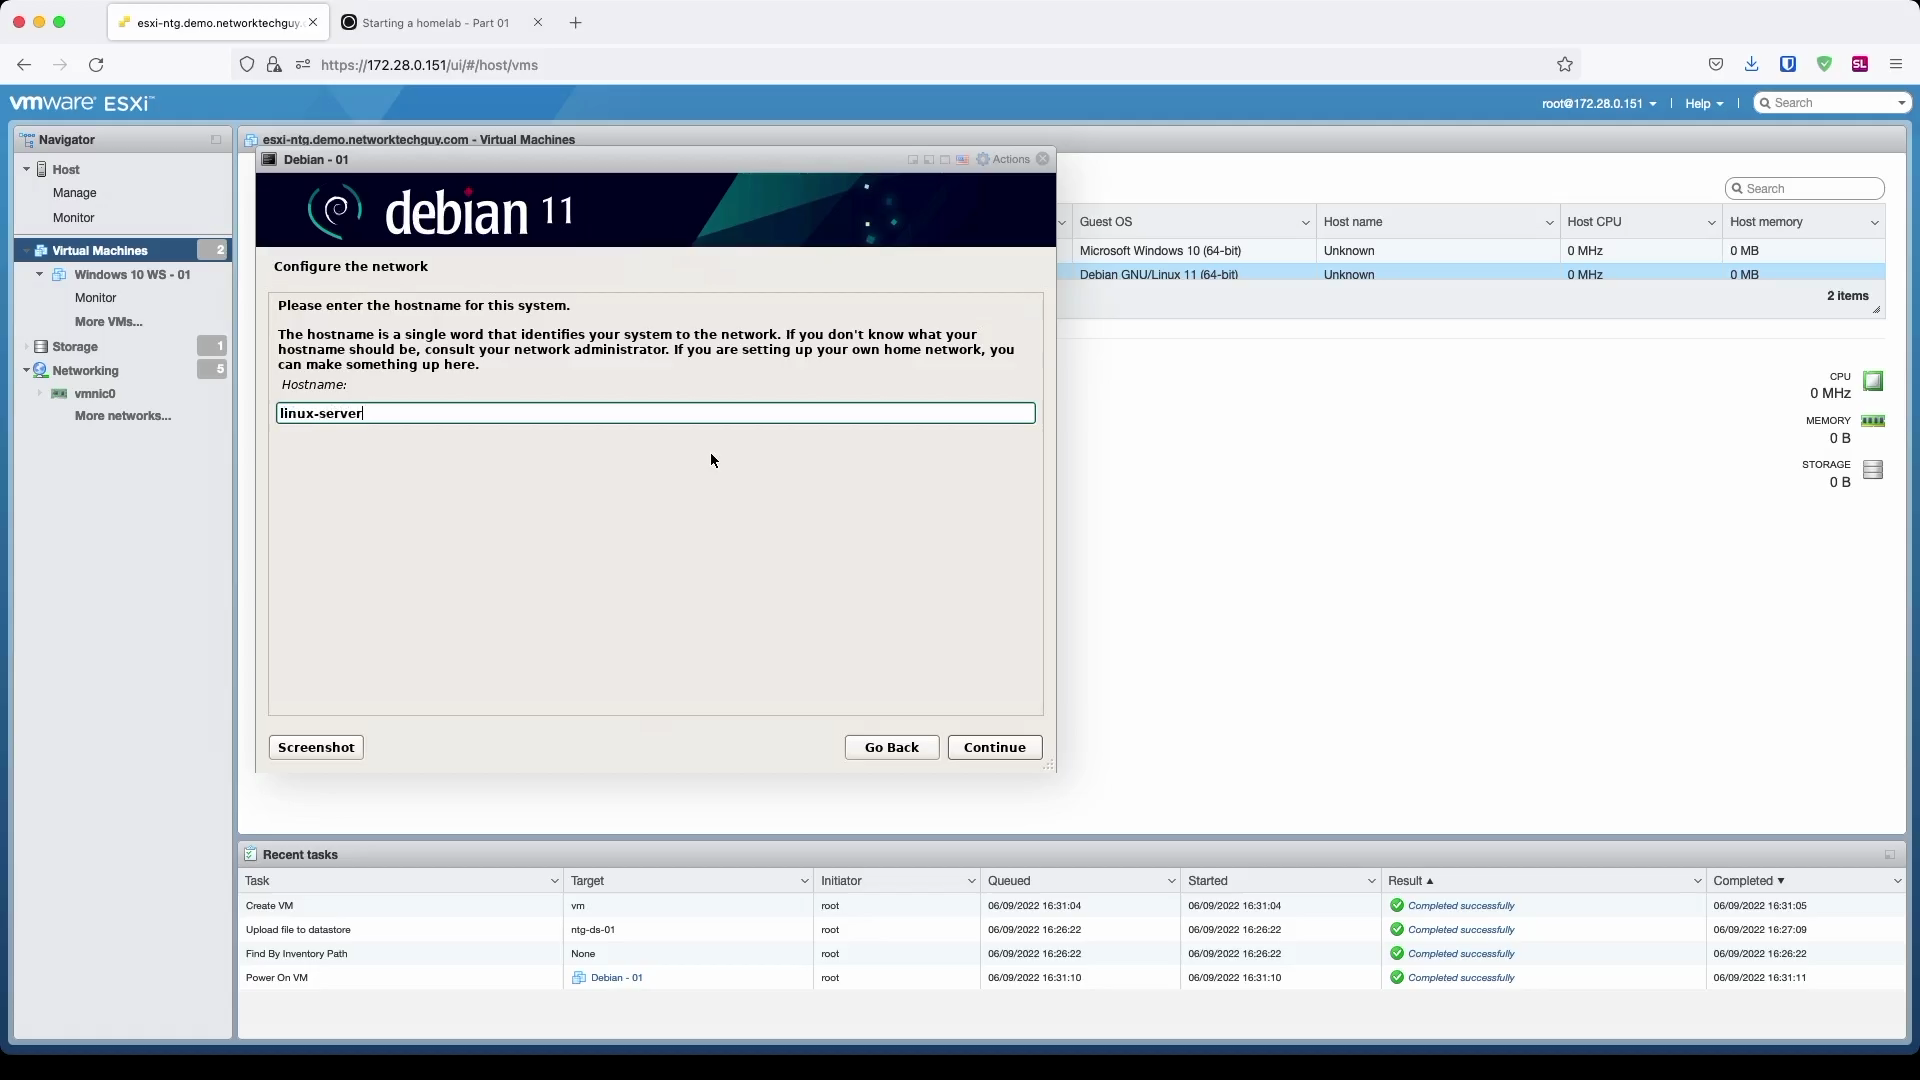
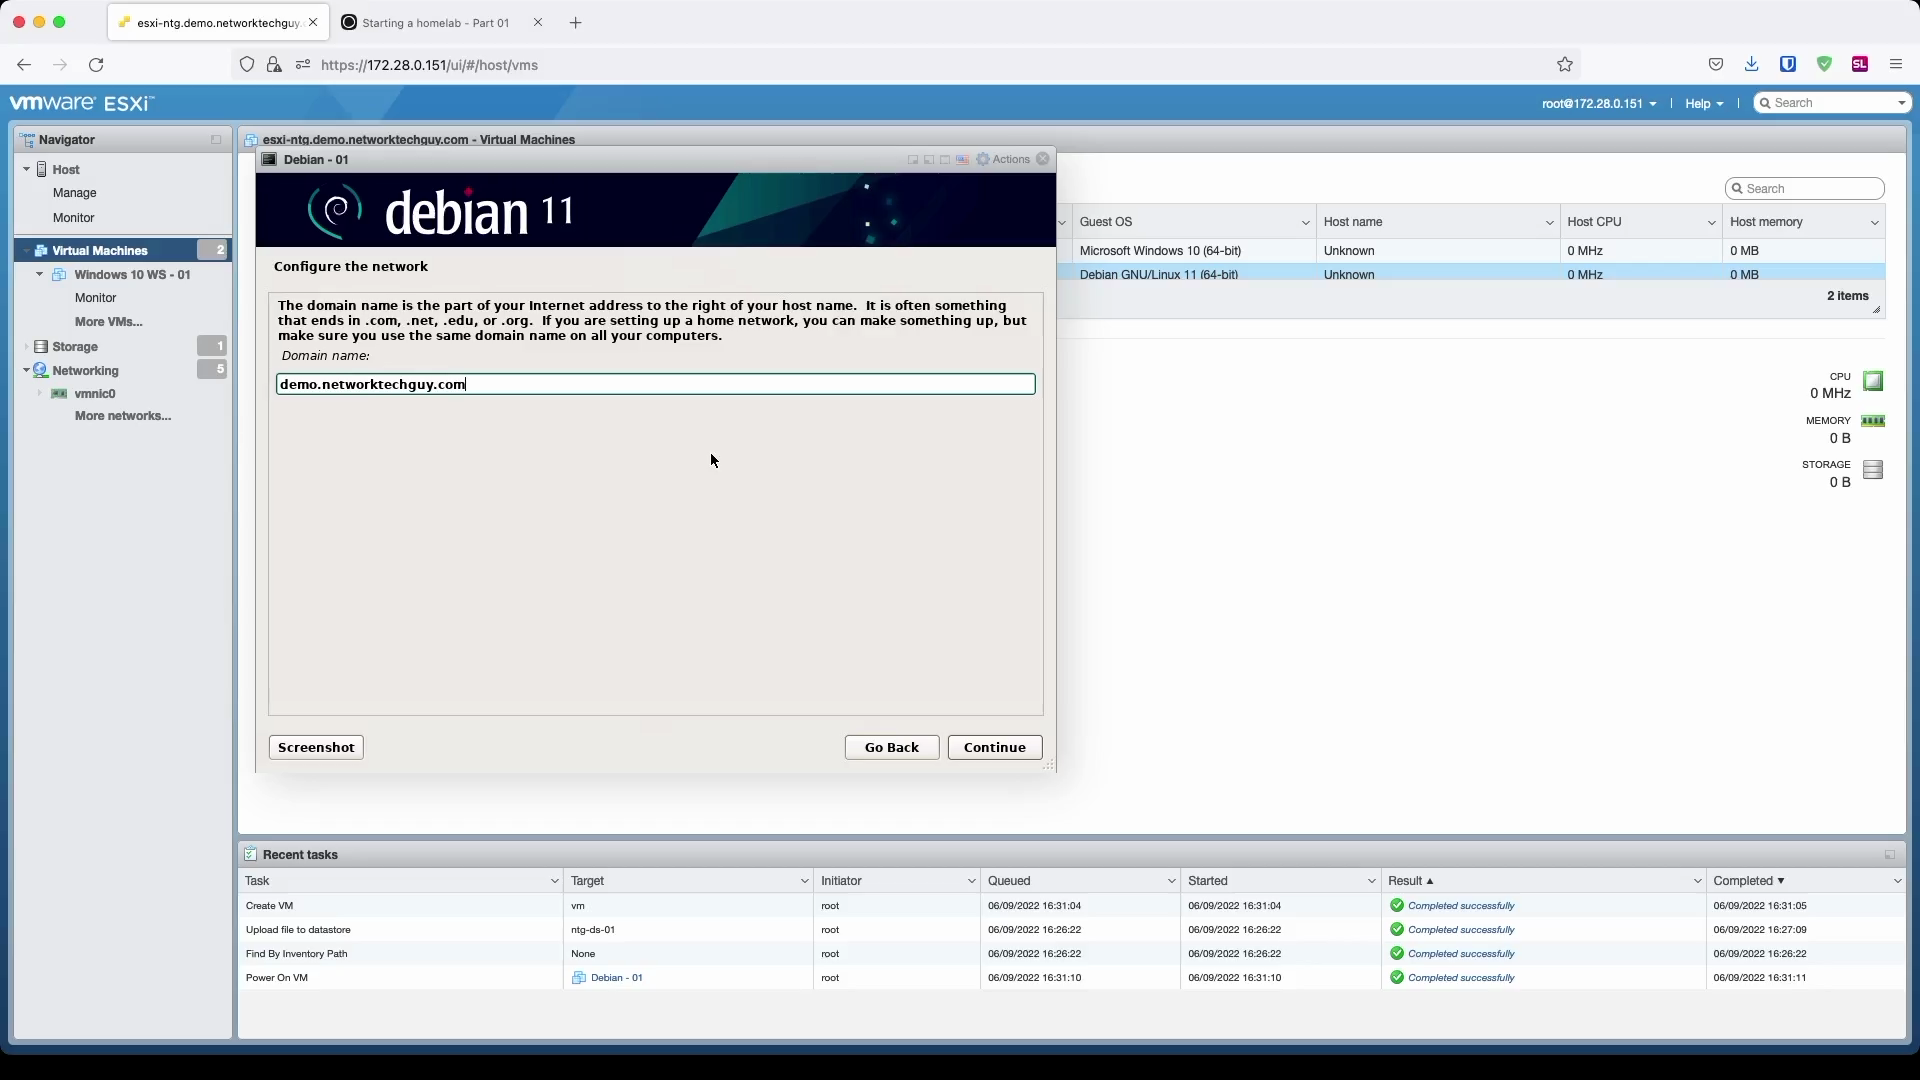
You will notice later on that based on the hostname and the domain name you chose here, FQDN (fully qualified domain name) will be formed based on that information:
nex@linux-server:~$ hostname
linux-server.demo.networktechguy.com
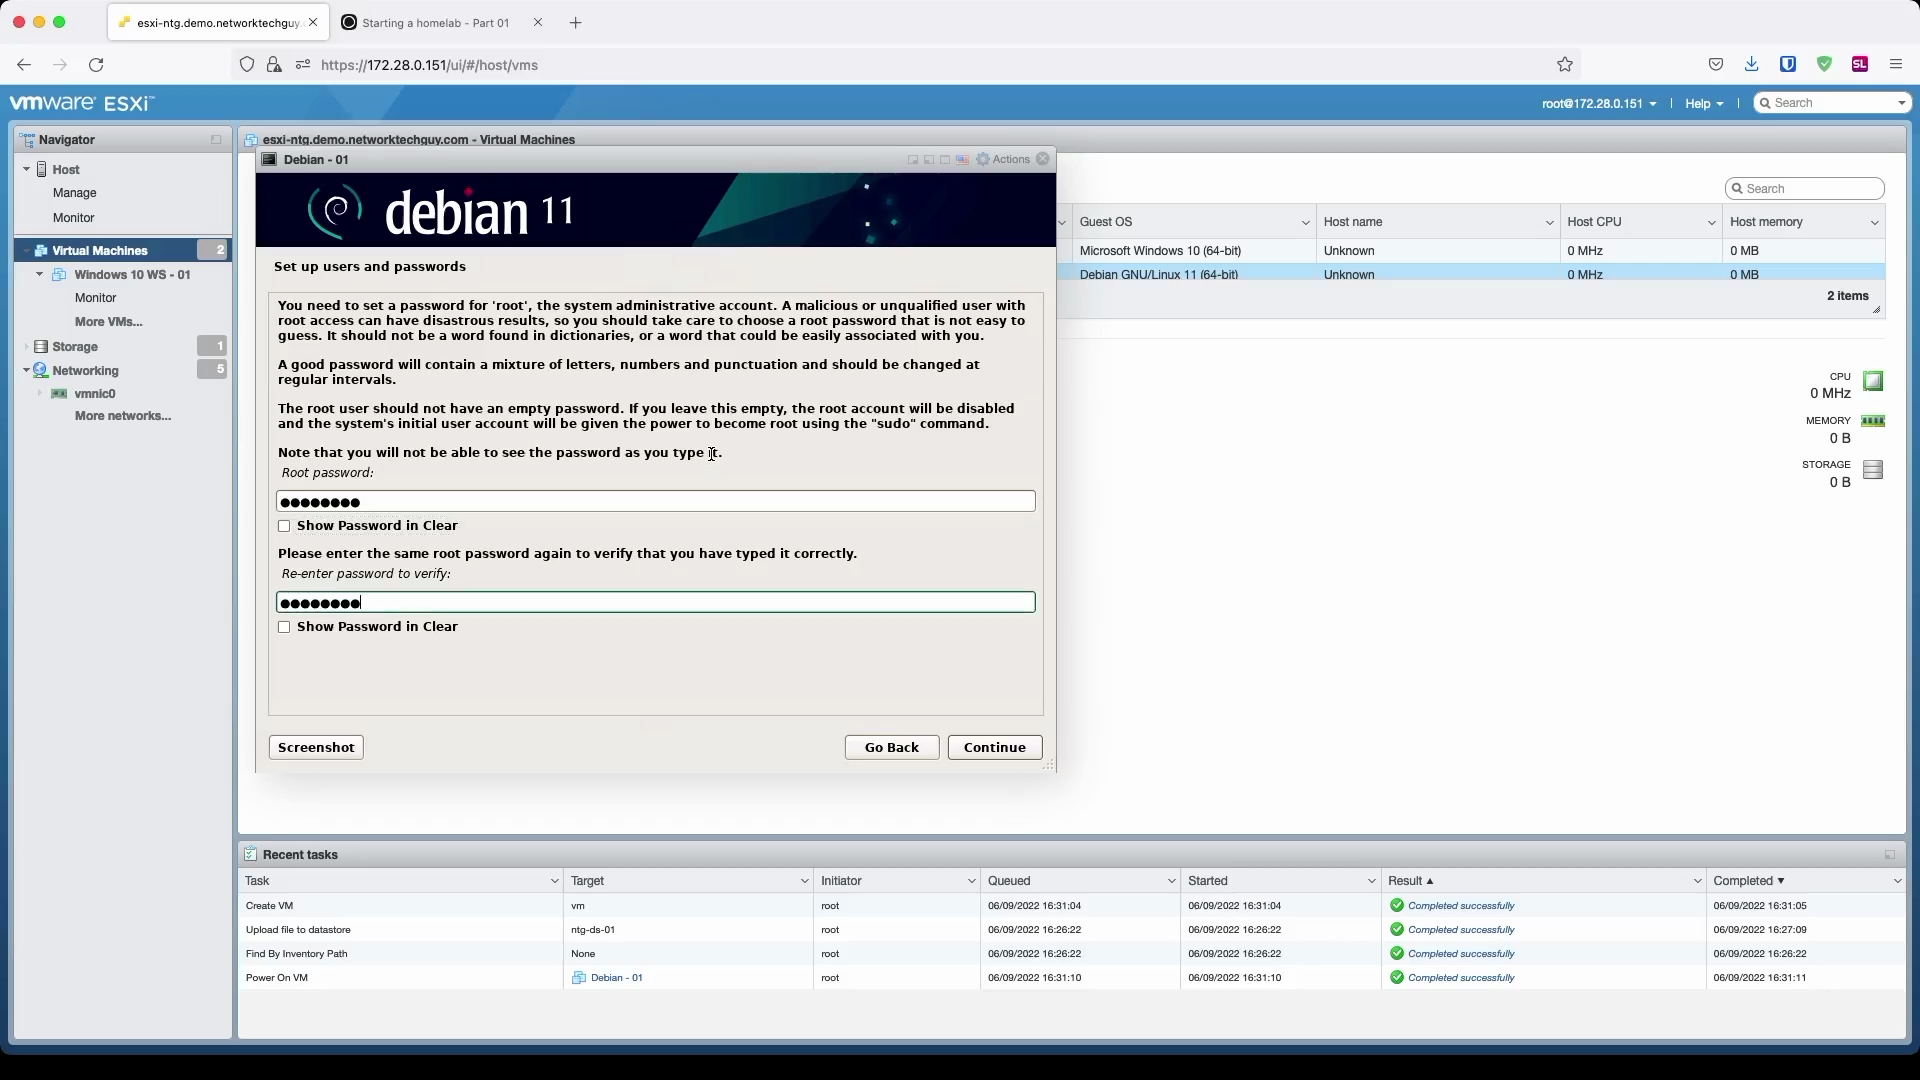
We will continue by entering the root password. This is one of the differences in the install process between Debian and Ubuntu. In Debian, you define the root password during the installation process, while in Ubuntu, root user is not configured during the installation process at all. To actually use it once the system is installed, in Ubuntu you first have to set the password to it, while in Debian you can actually use it right away. Ubuntu immediately relies on sudo for you to do any system tasks, while Debian without any additional setup requires you to use the root account. In both systems though, you can't use the root user to connect to the system via SSH by default.
Creating a new user - start by a name, followed by a username and finally, set a password for the new user.
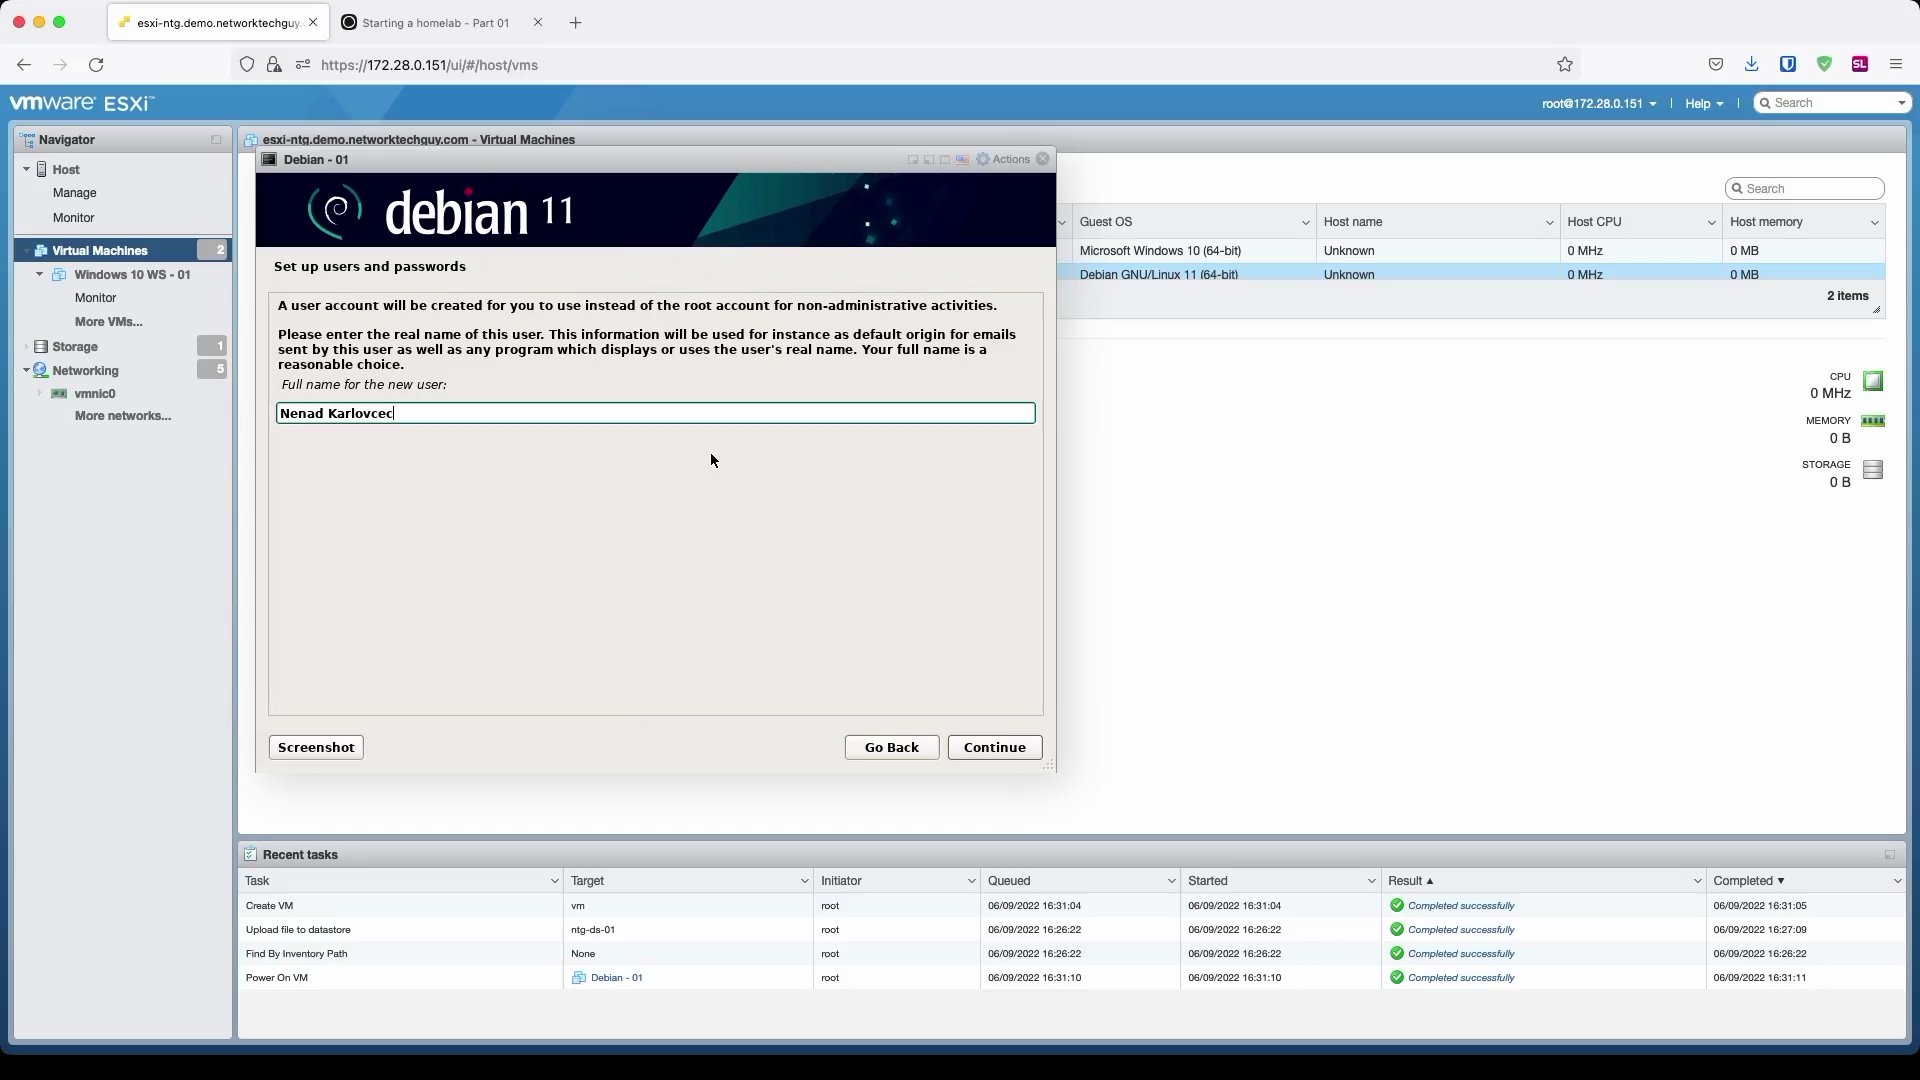
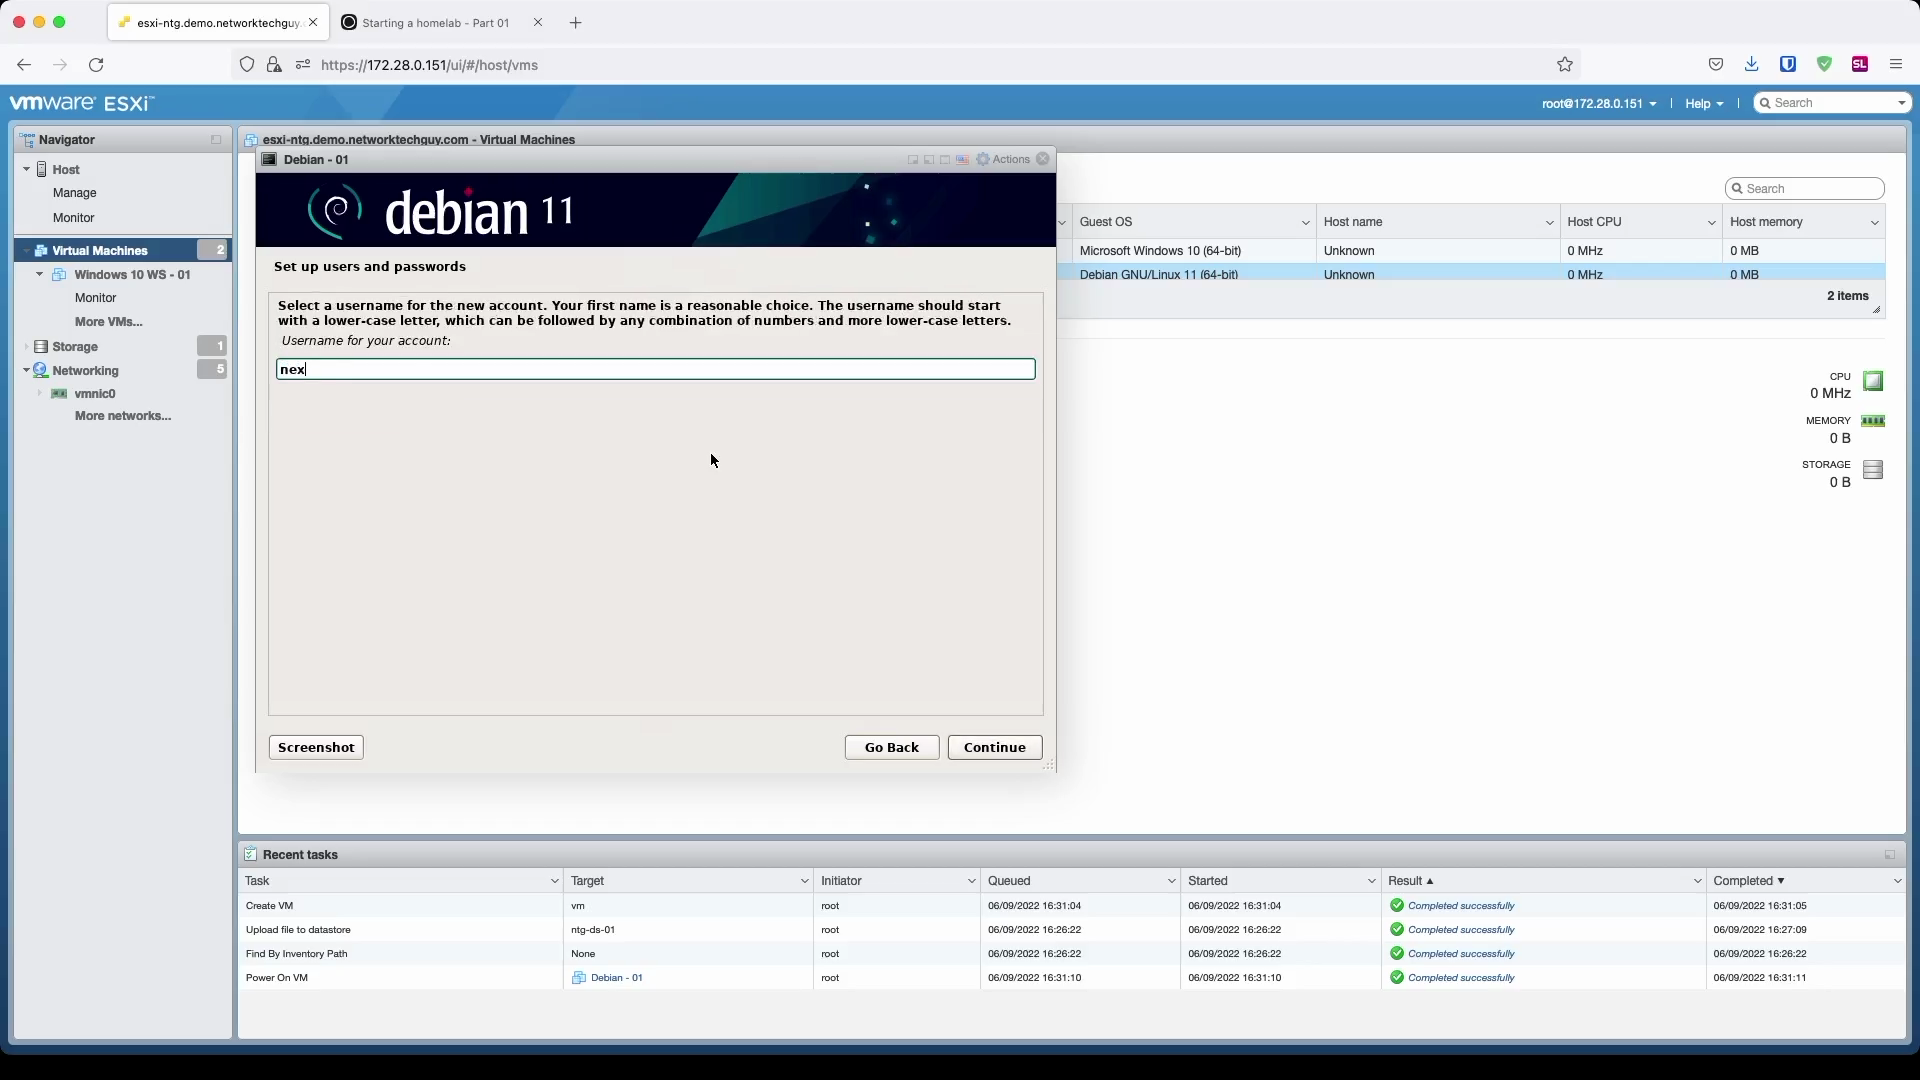
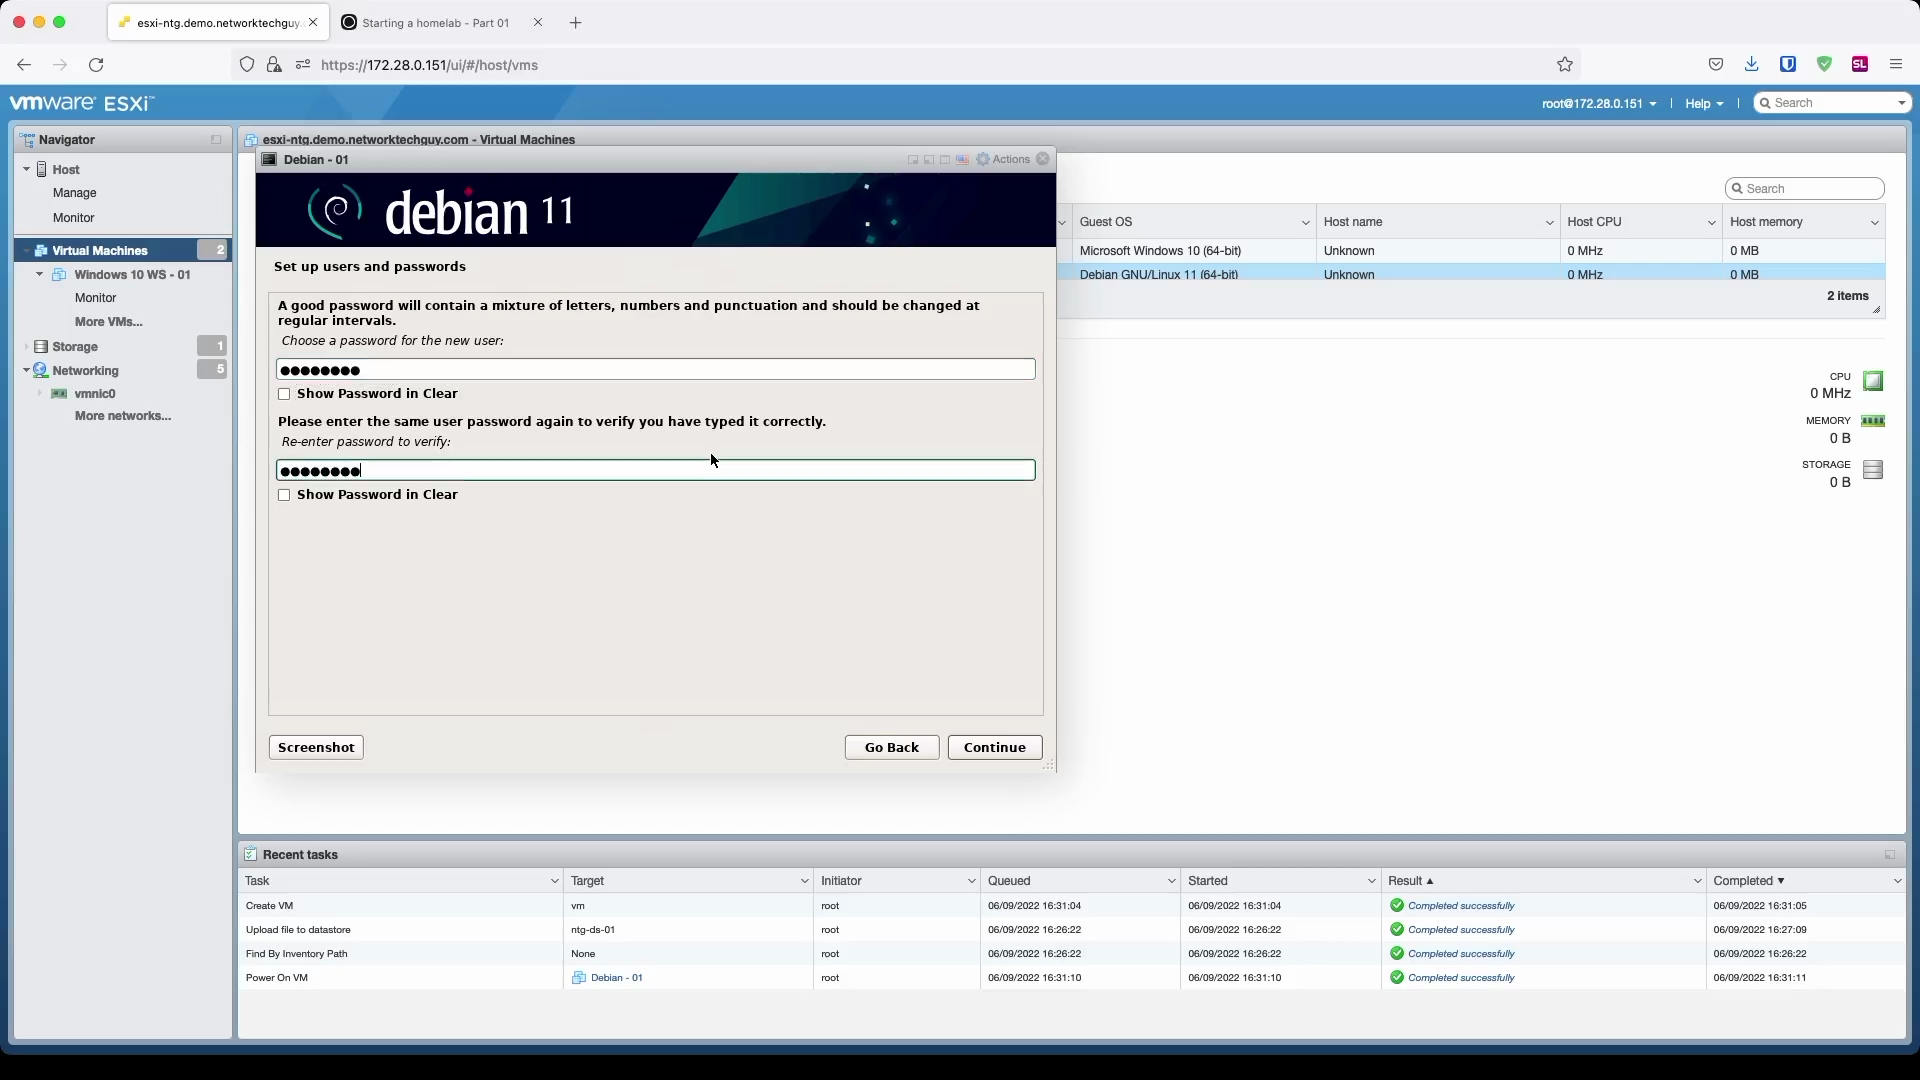
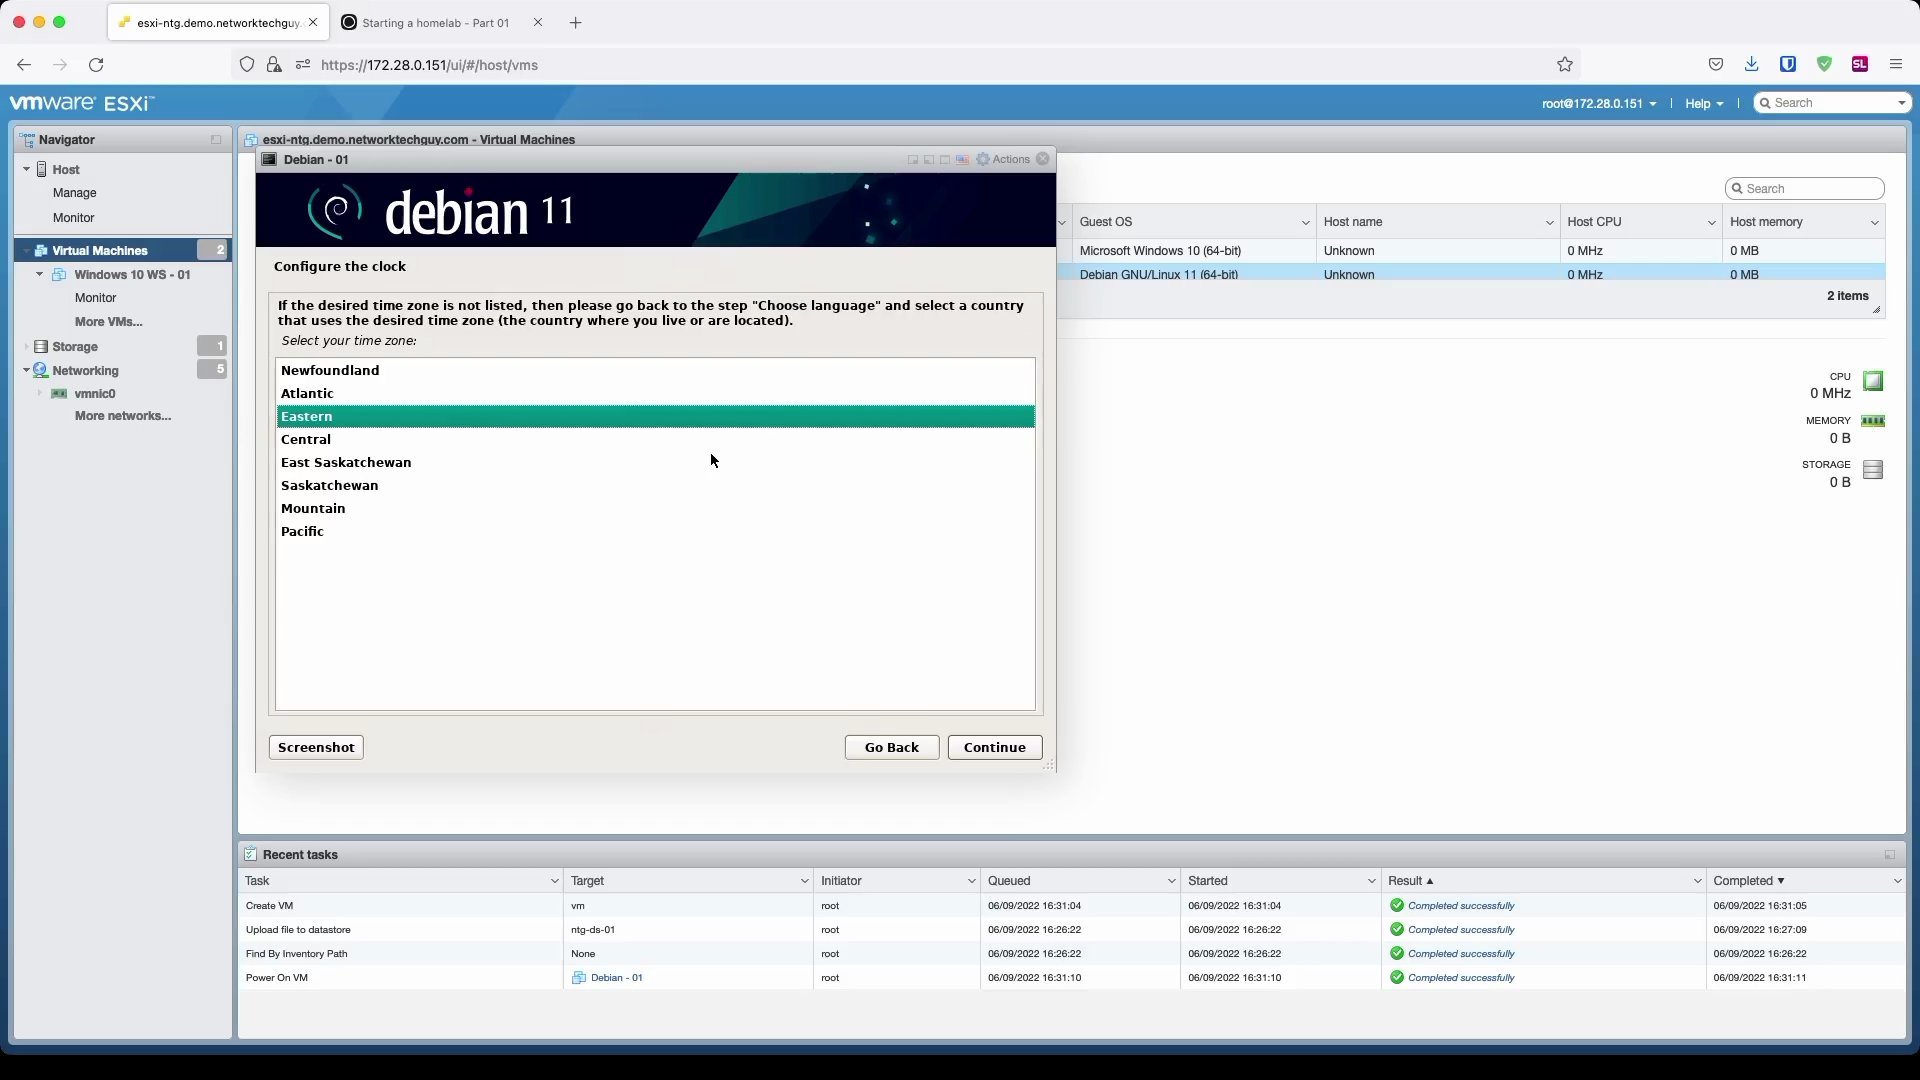
In the next window, select your timezone
In the next few windows we will configure disk settings for our new VM.
We will select Guided - use entire disk and set up LVM in the first window (although, Guided - use entire disk would work here as well because it's a VM and we will not be adding additional HDDs to the VM in the future; choosing LVM is just a good practice). LVM stands for Logical Volume Manager and what it does is that it basically takes all the disk drives that you assigned to the VM - or physical HDDs/SSDs if you're installing it on a bare-metal - and then presents it to the operating system as a single drive (in a most basic setup) that can then be used as a partition with the OS. I mentioned that we won't be adding HDDs to our VM, but if we were, by using LVMs we would actually just have to add the drive to the LVM and that additional disk space would then be presented to the operating system.
Note: This is a very simplified view of the whole process, there are additional steps in-between!
Since this is a home server, we will not choose LVM with encryption because that would mean that we would have to connect to the ESXi console every time we reboot the server as it will ask for an encryption password to decrypt the drive to continue with the boot process.
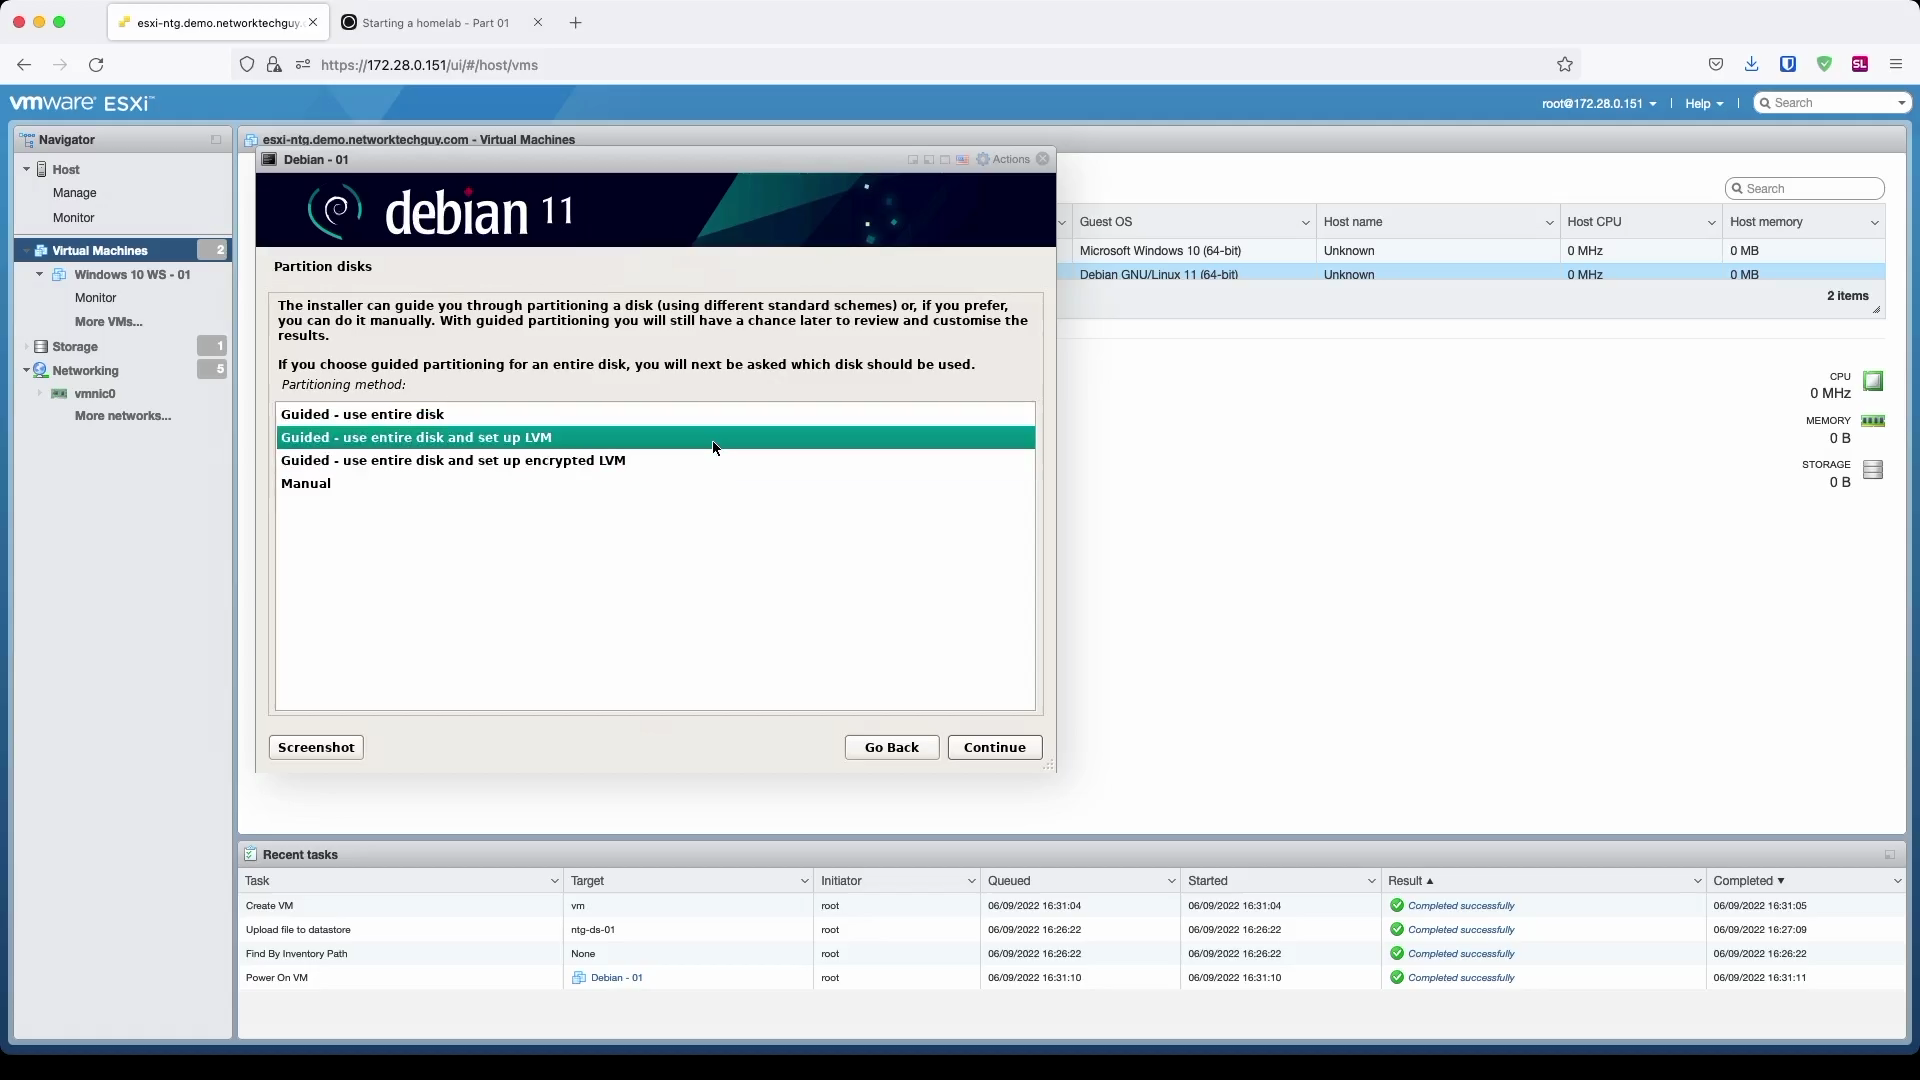
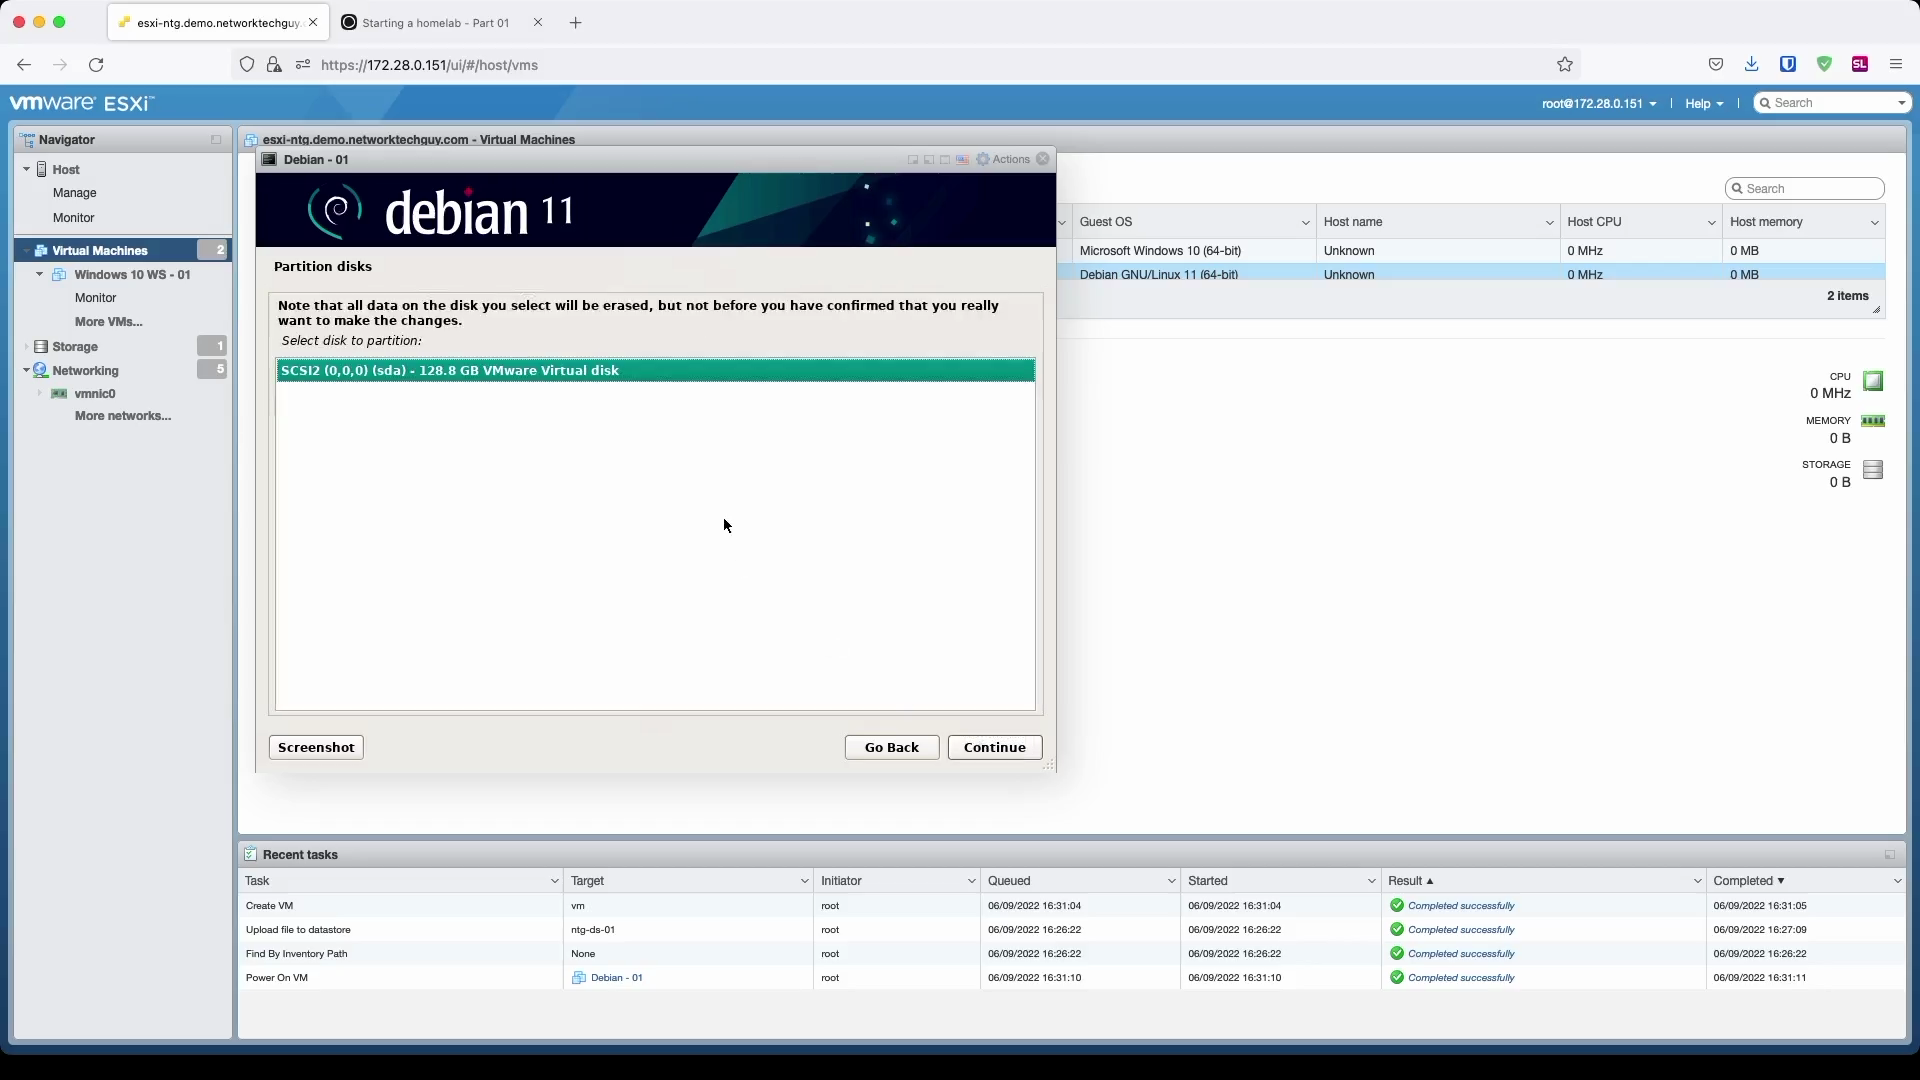
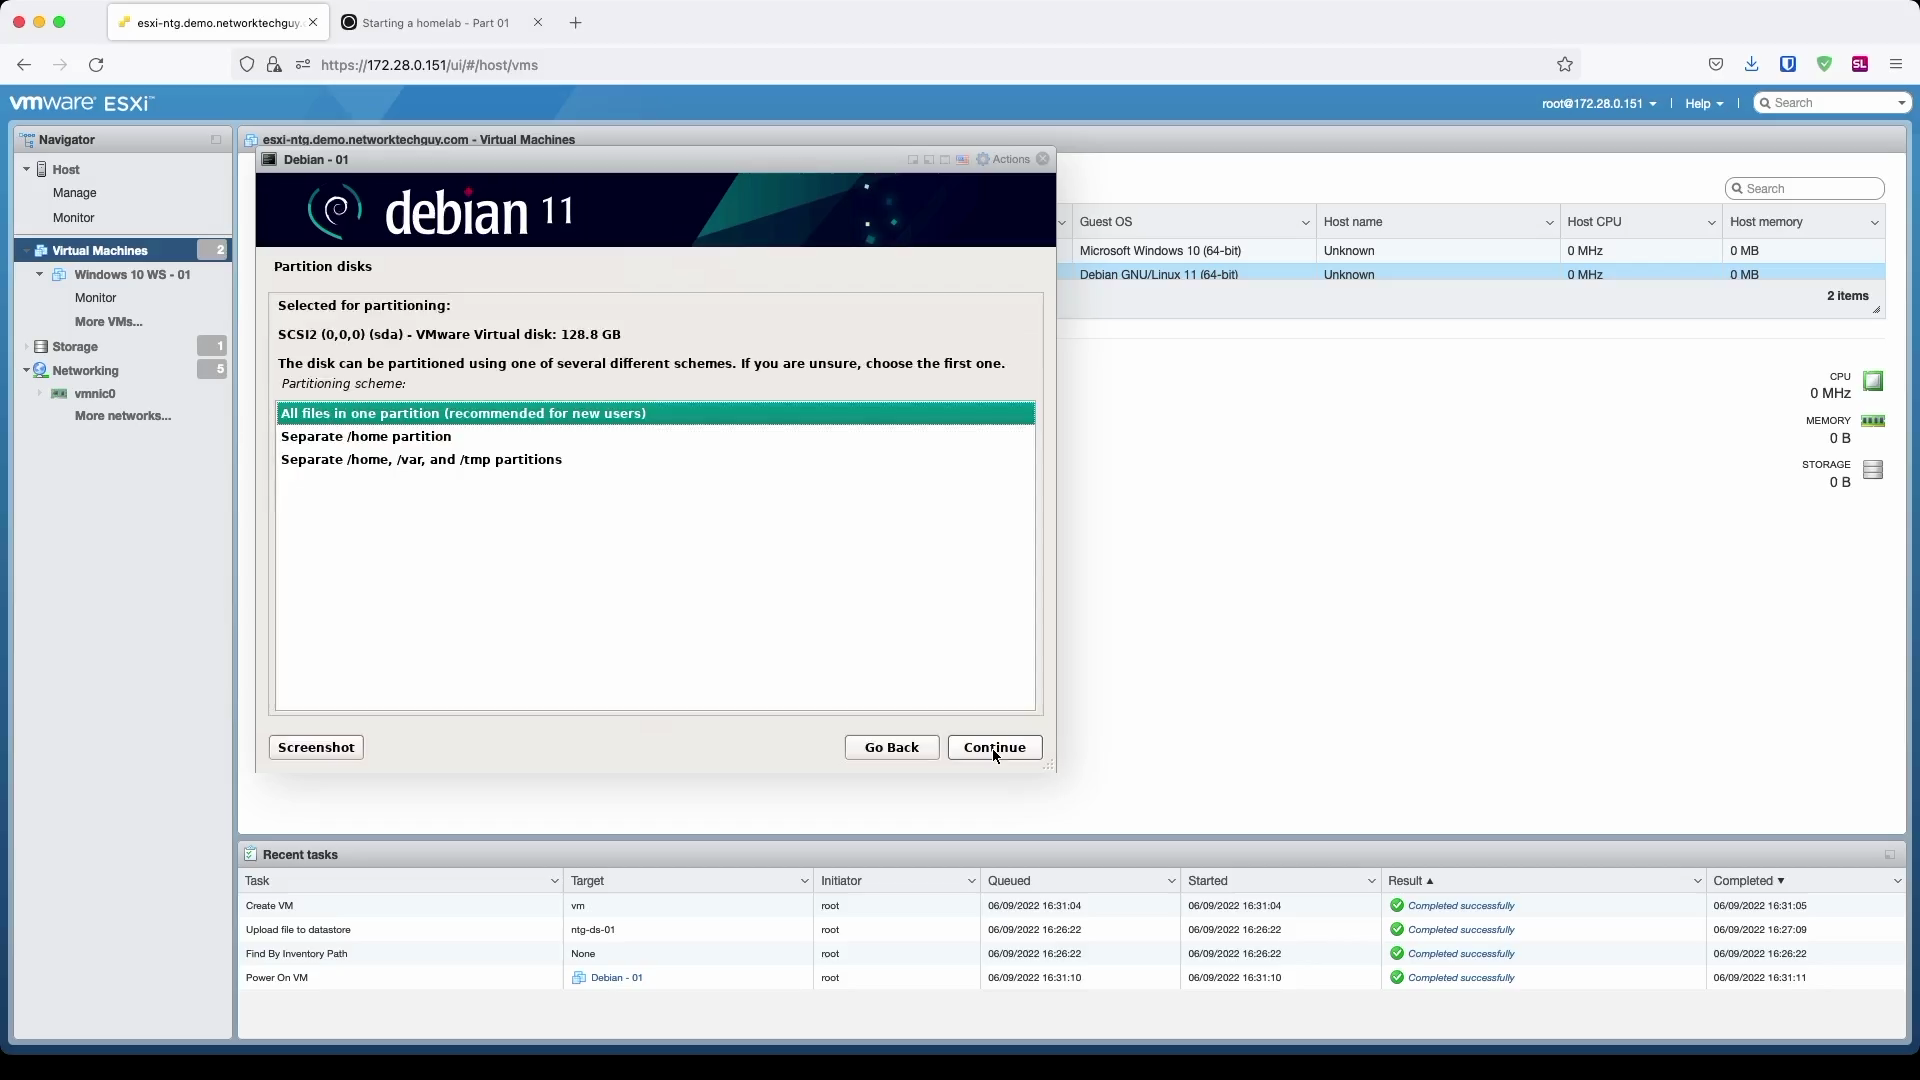
Finally, choose how you want to keep files on the disk. This is important because if you want to implement file-system specific functions, such as assigning quotas to your users, home directory (and subsequently all users directories) needs to be in a separate partition from the rest of the system.
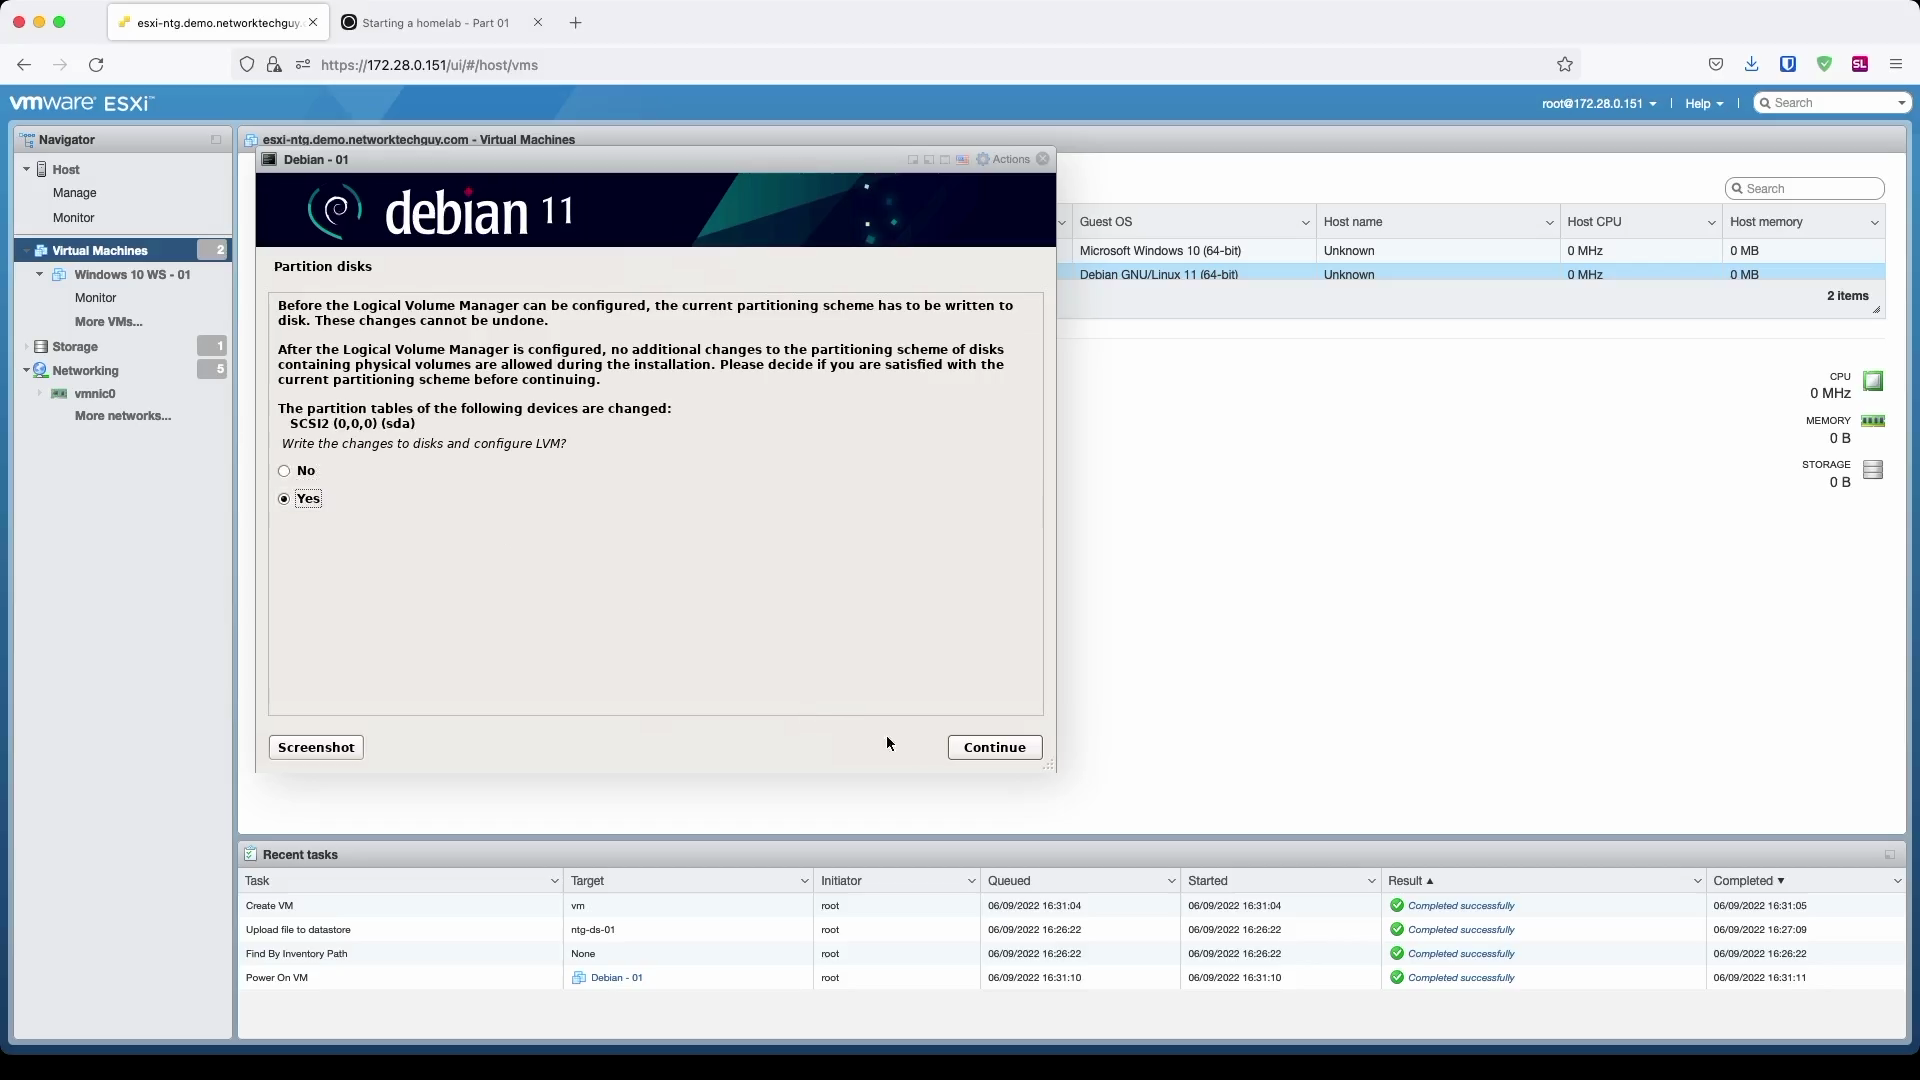
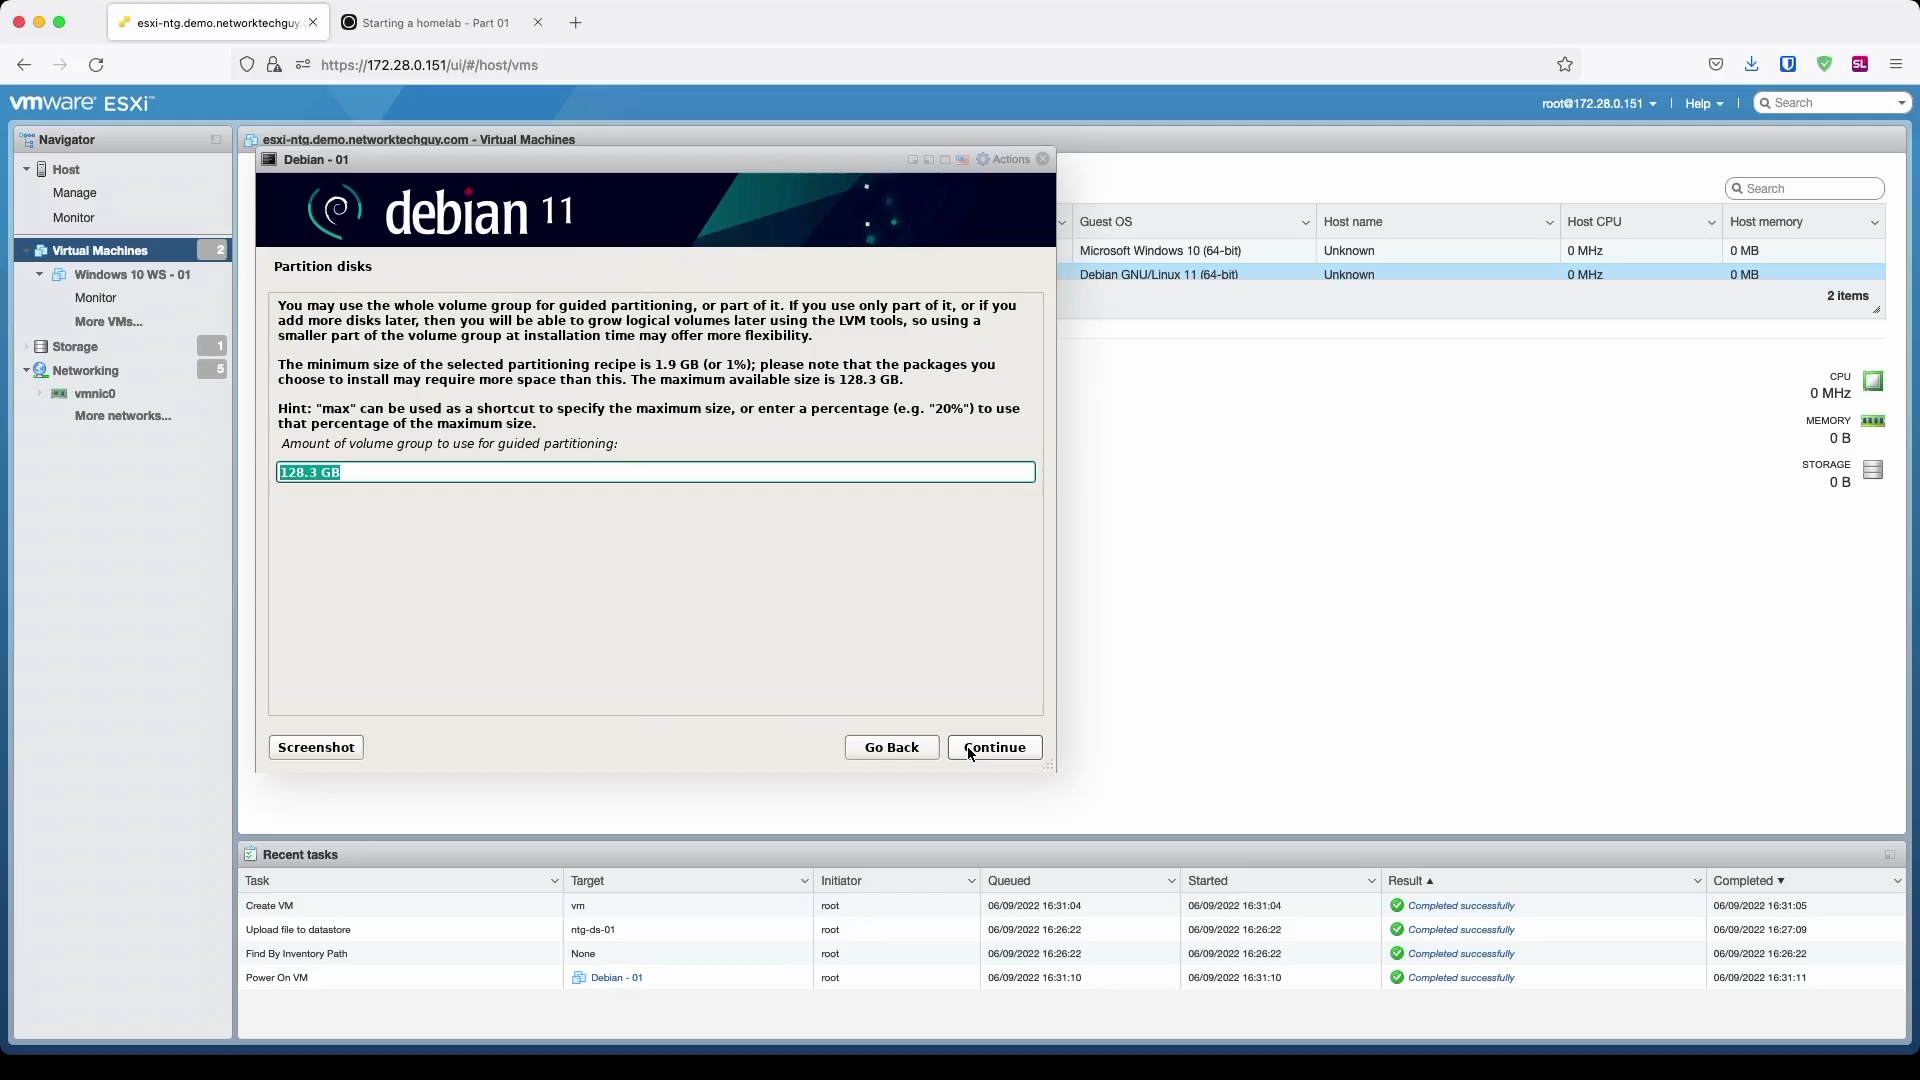
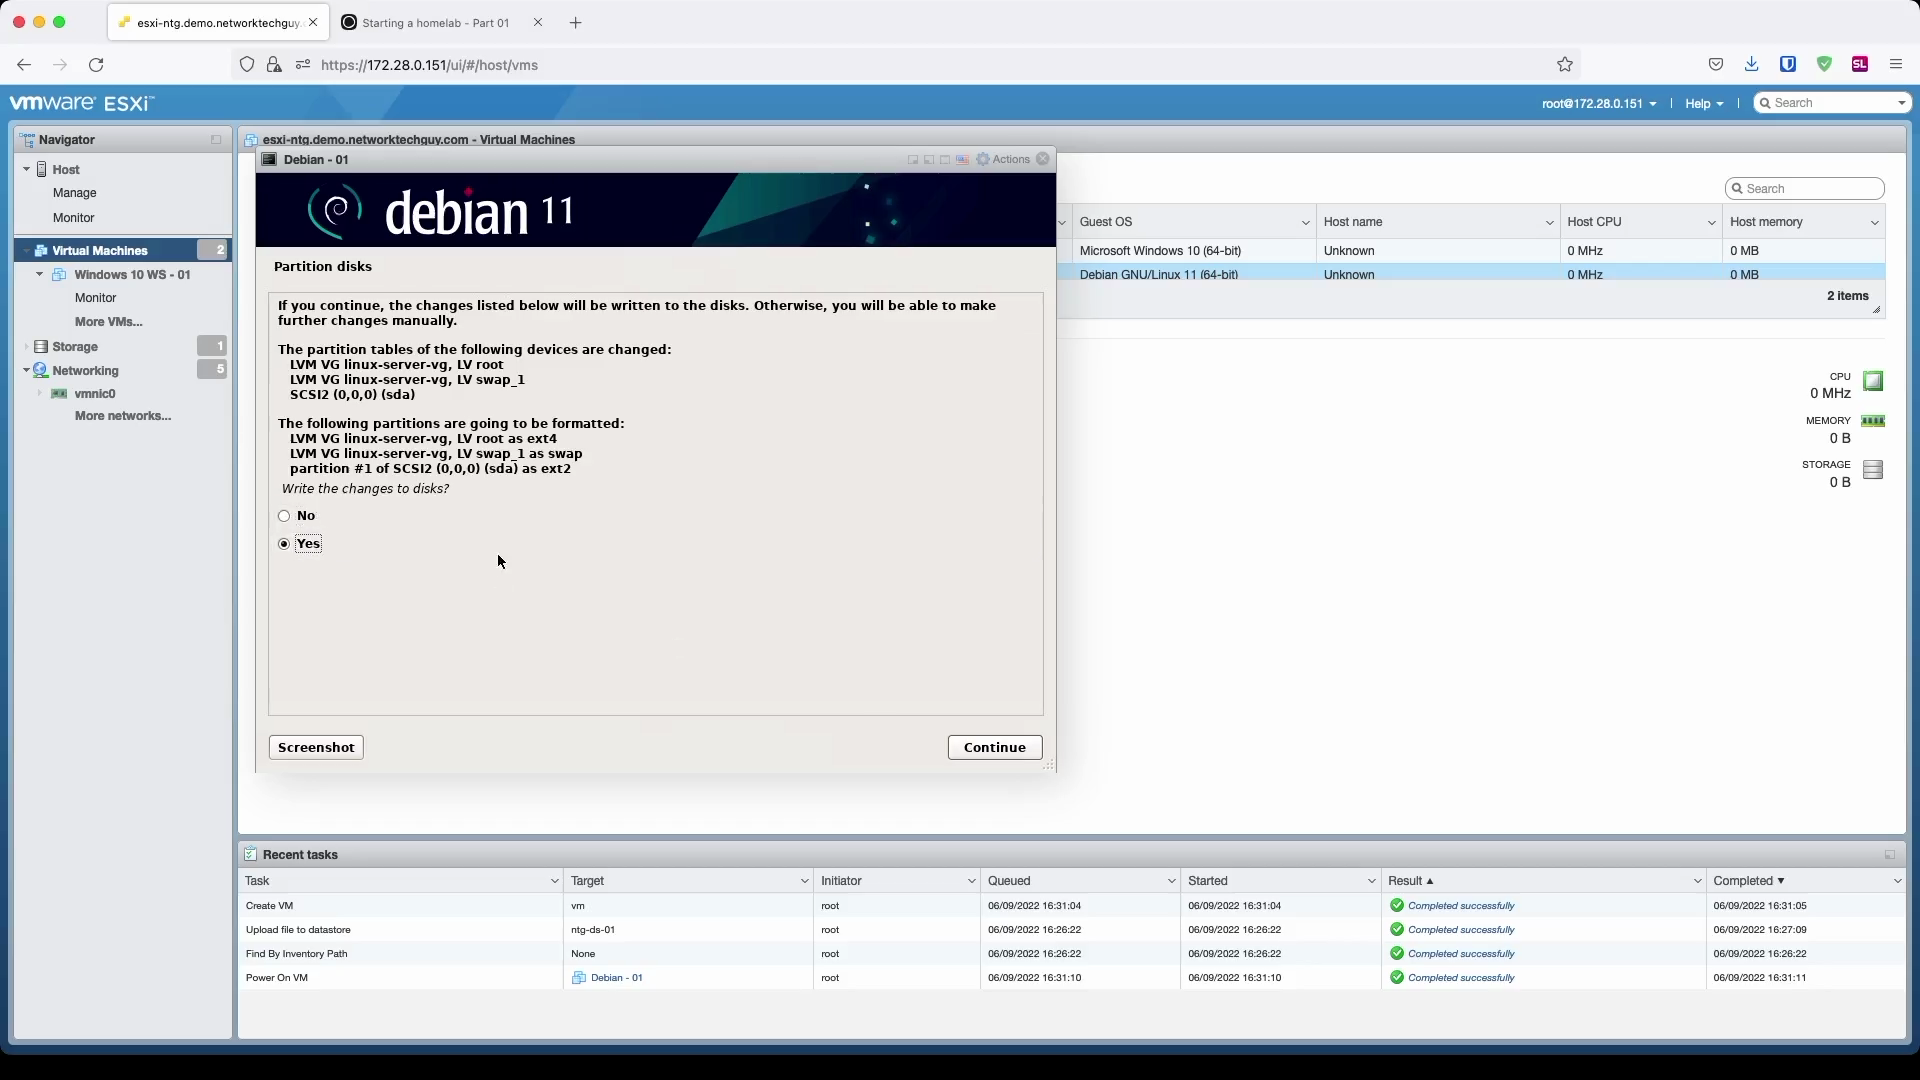
Since we are building a homelab, we don't care about stuff like that, so we will set it to All files in one partition. In the next windows confirm that you want to write LVM-related changes to the HDD, confirm its size, and finally confirm all the changes.
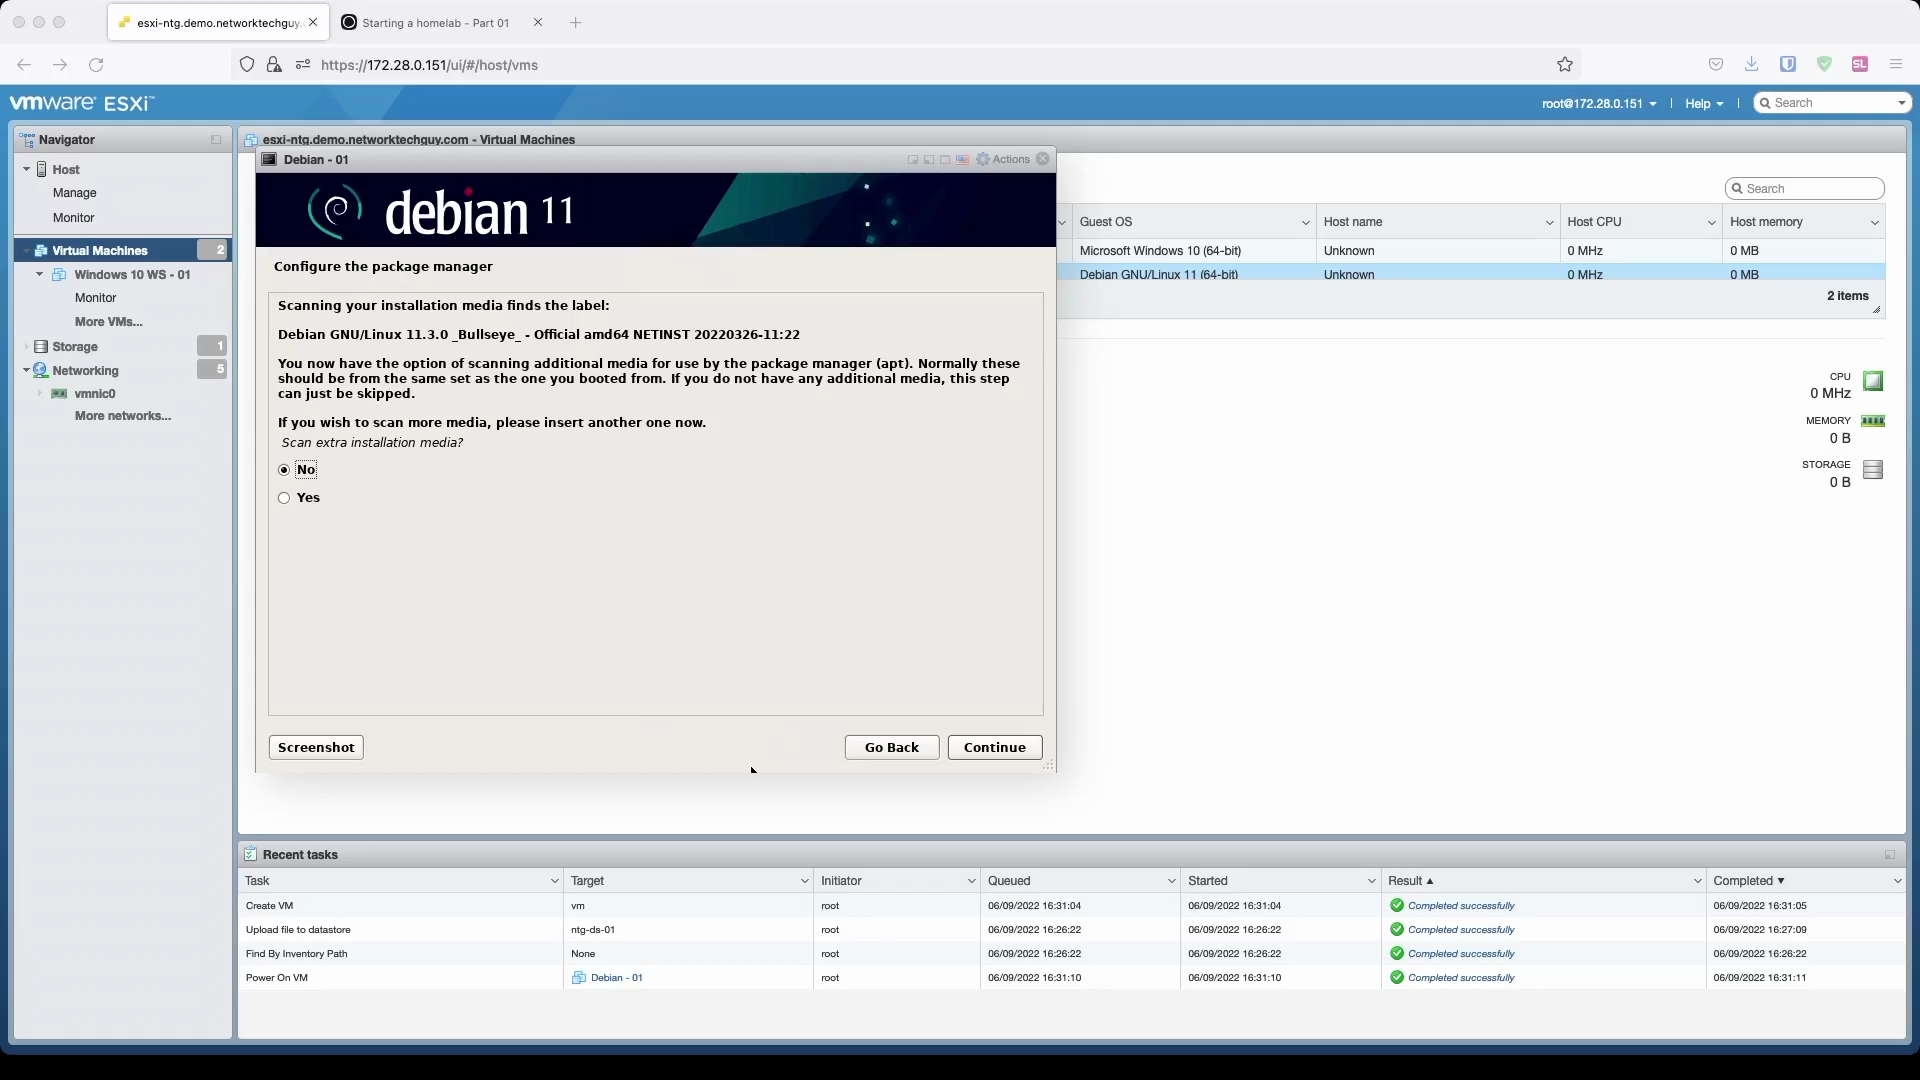
Since we are installing the system from a netinstall ISO image that is extremely small in size, the system will ask you if you want to scan additional media for packages. That is because the image we installed is literally the base system only without any additional services. Everything we will need in the future we will install from the Internet with apt.
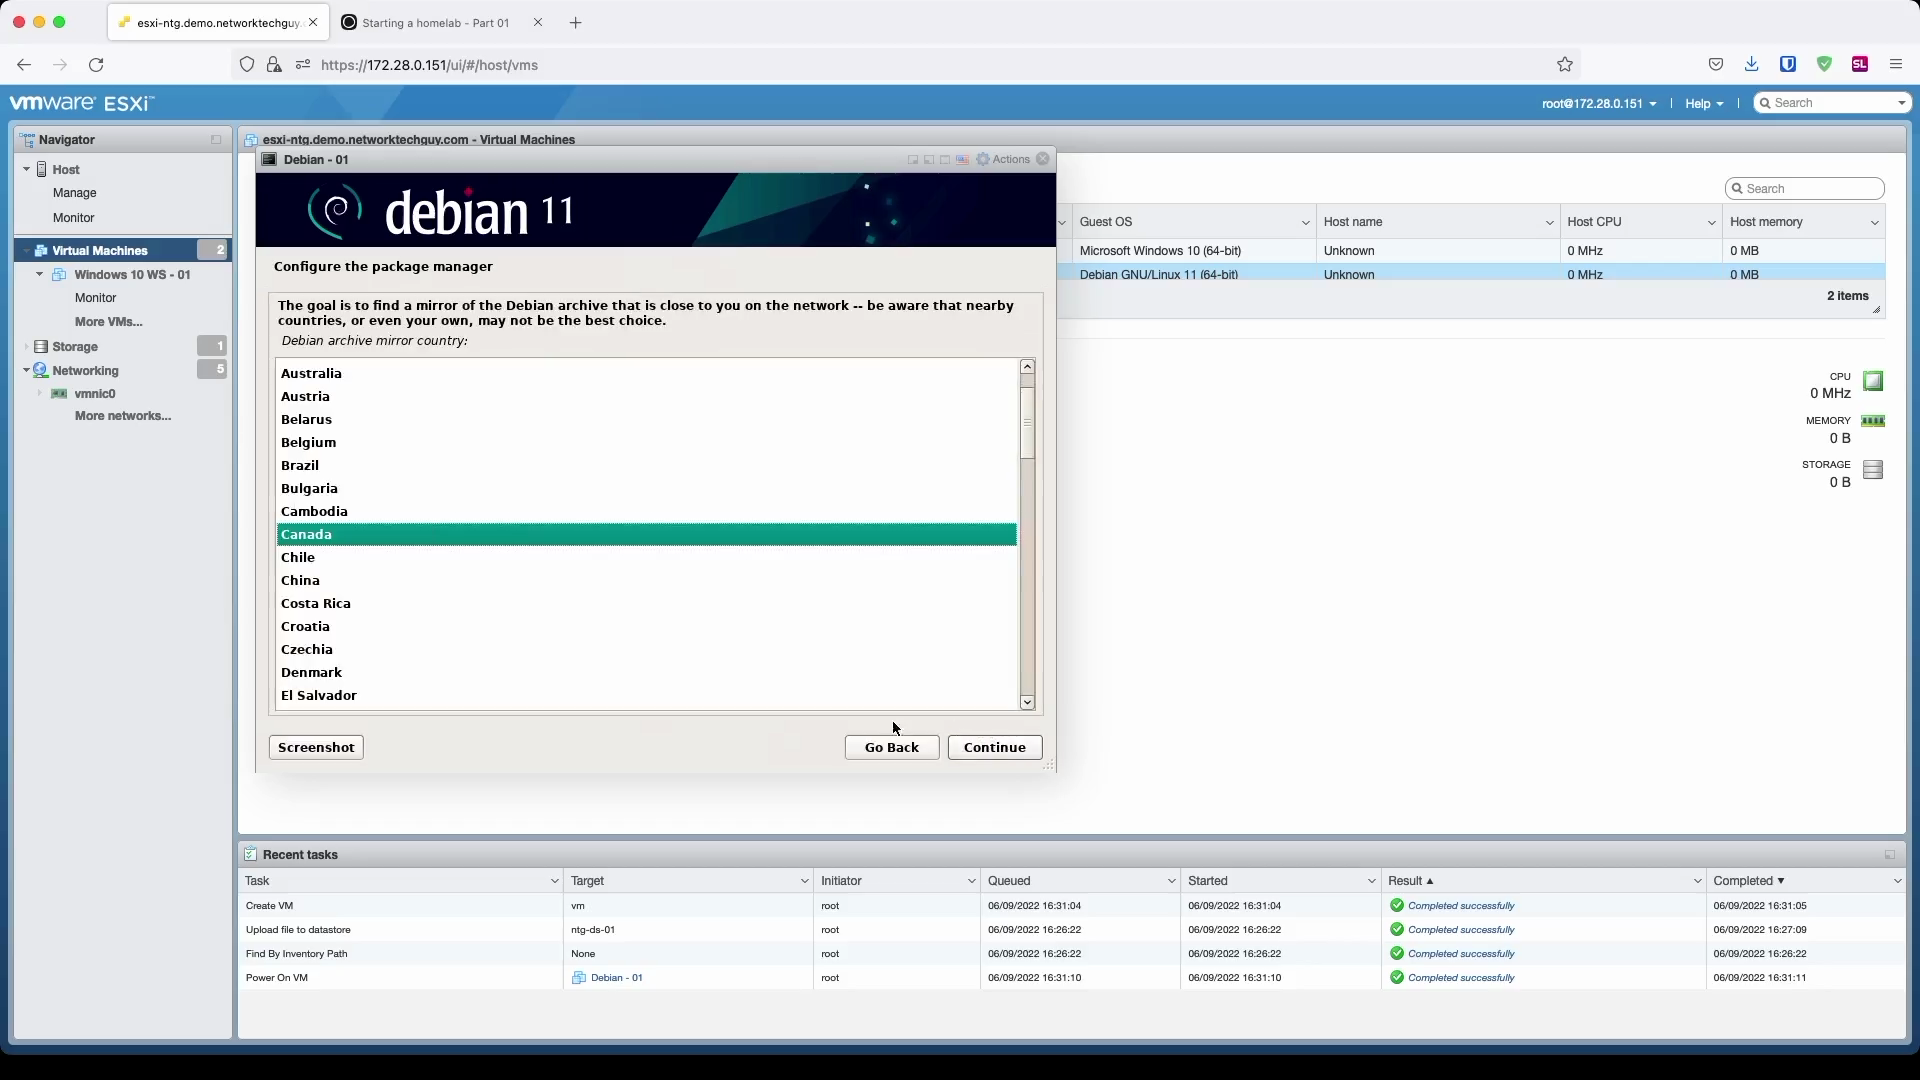
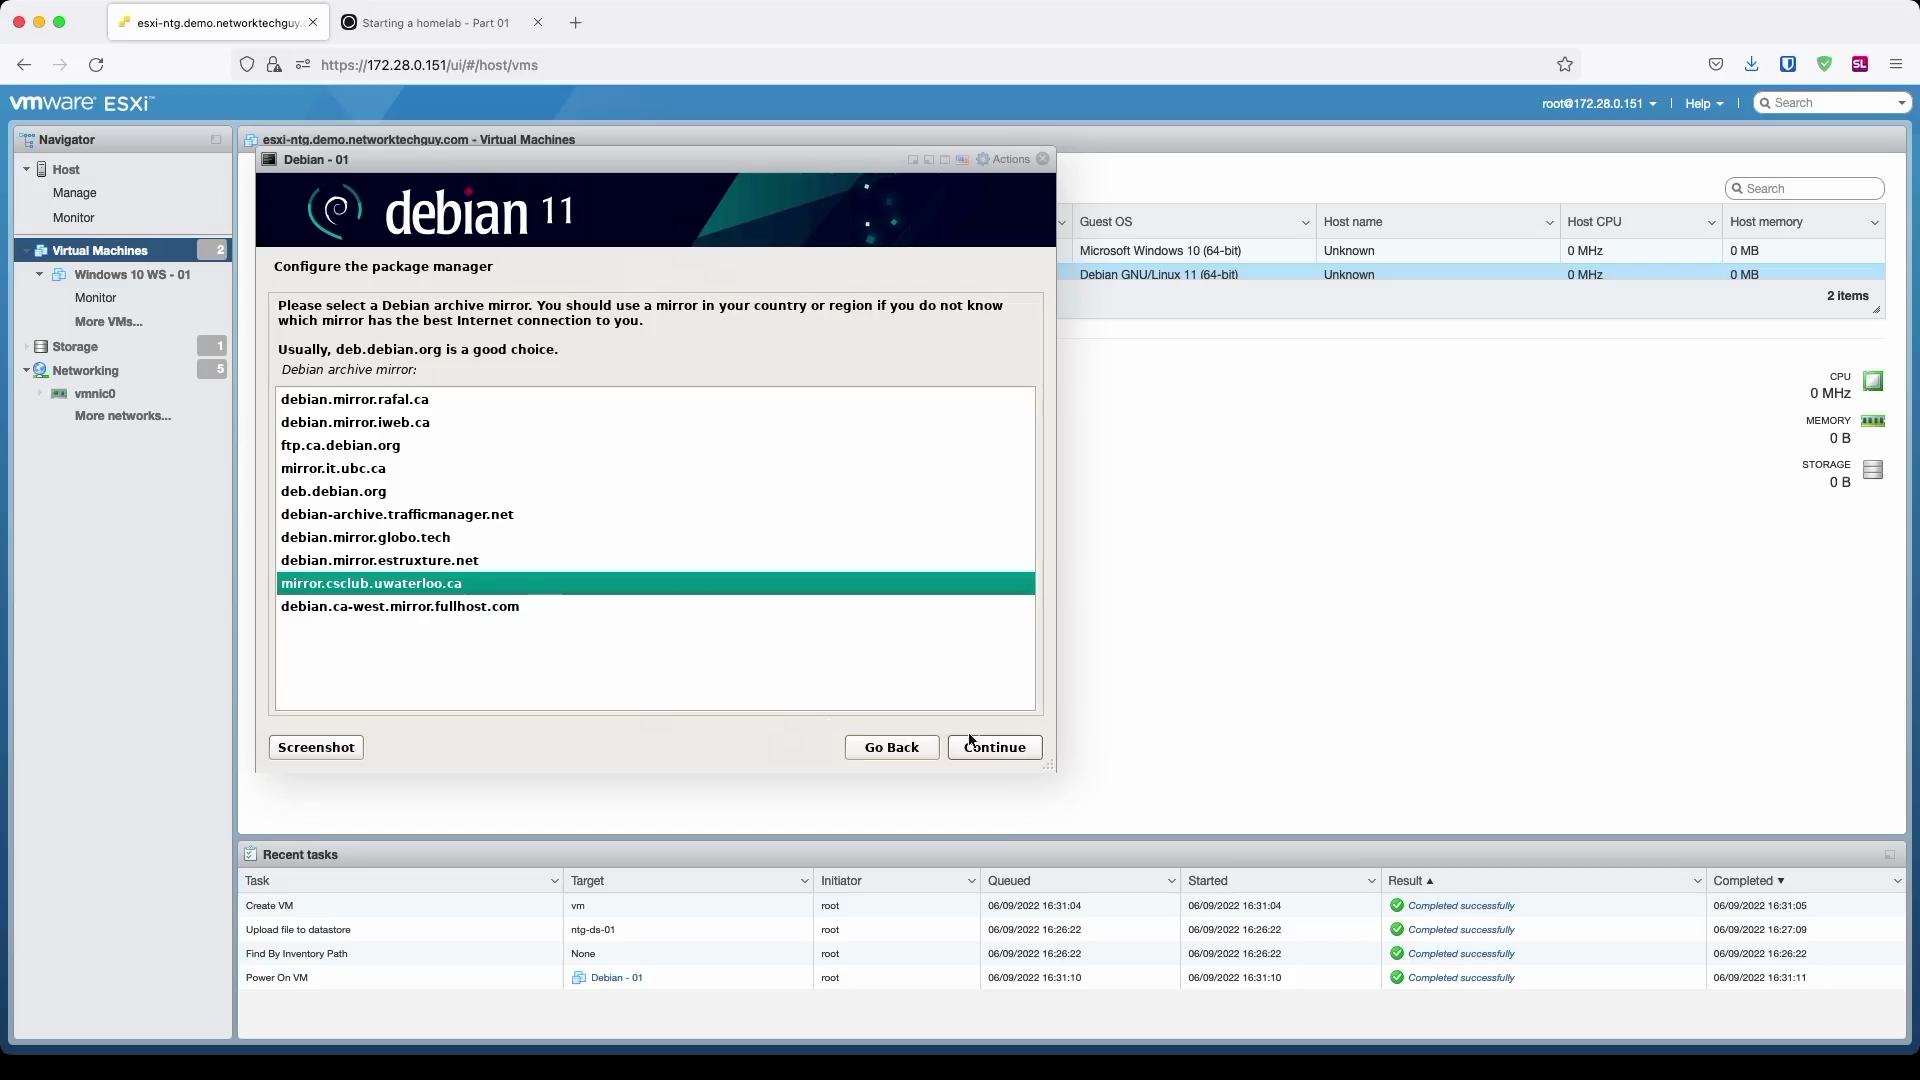
We need to give some information to the system on where to pick the new packages from when we issue apt commands, so we will choose a region and, if needed, a custom Debian archive mirror from the provided selection. This is because, sometimes, mirrors are actually much quicker than the pre-selected main mirror deb.debian.org.
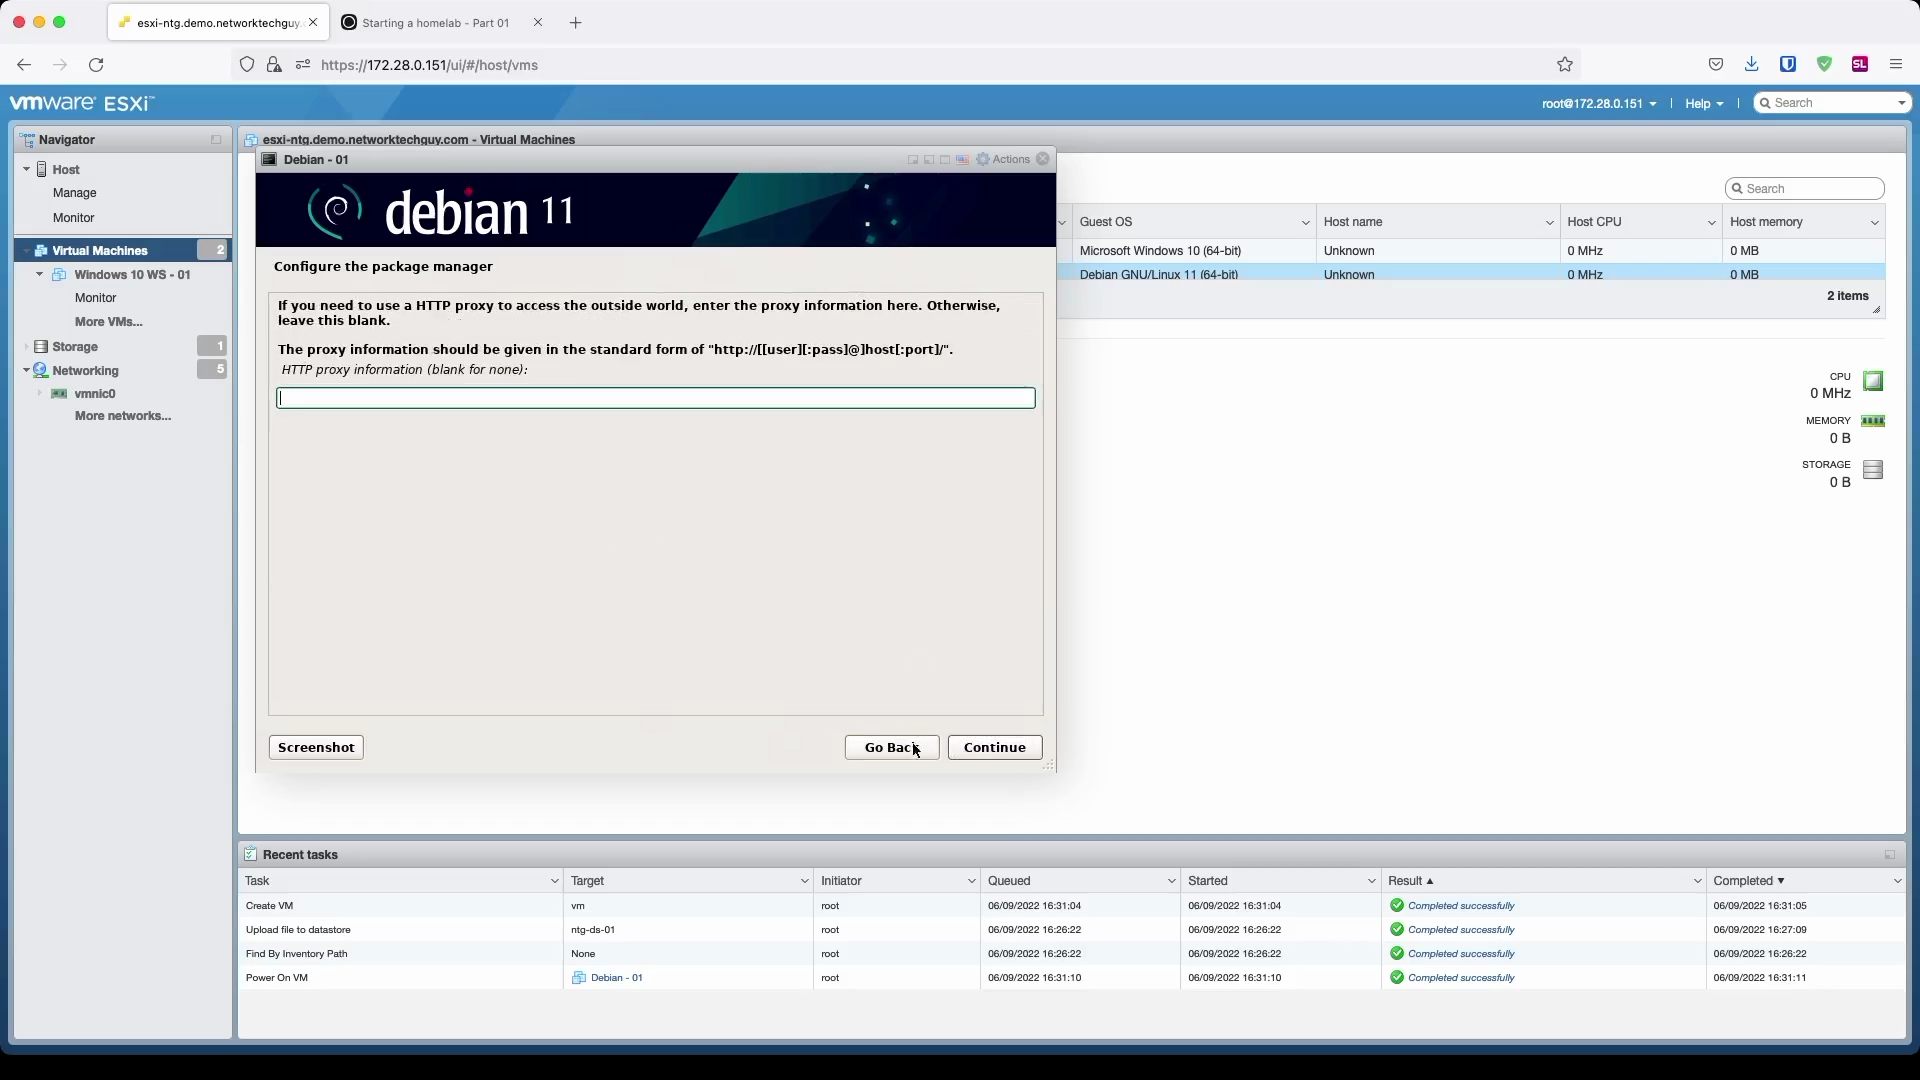
Finally, enter your proxy configuration, if you already have a proxy server in your network.
Note: these proxy settings will only apply to
aptand are not related to other services that may require HTTP/HTTPS access to the internet.
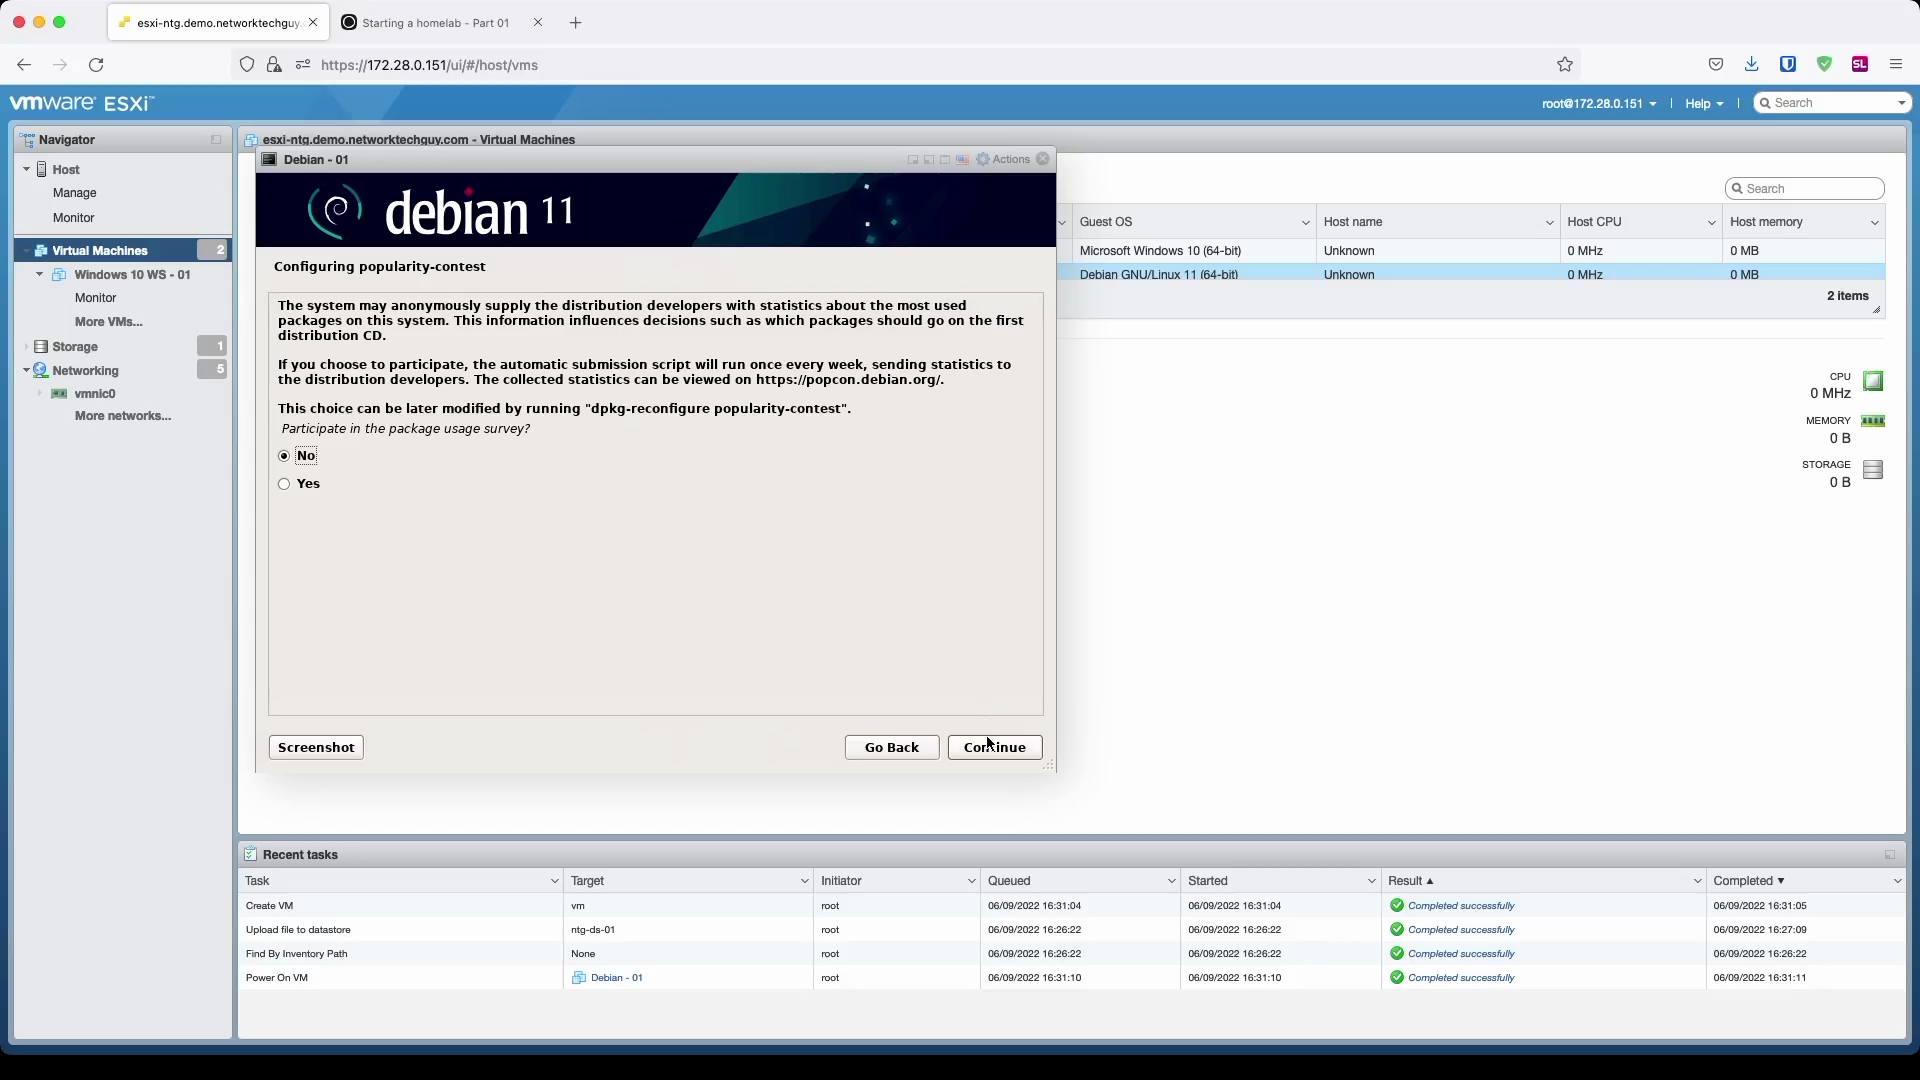
In the next few steps we will finalize the whole installation. First, choose whether you want to share your system info about the packages you use. Since I'm doing this in a lab environment, I choose No.
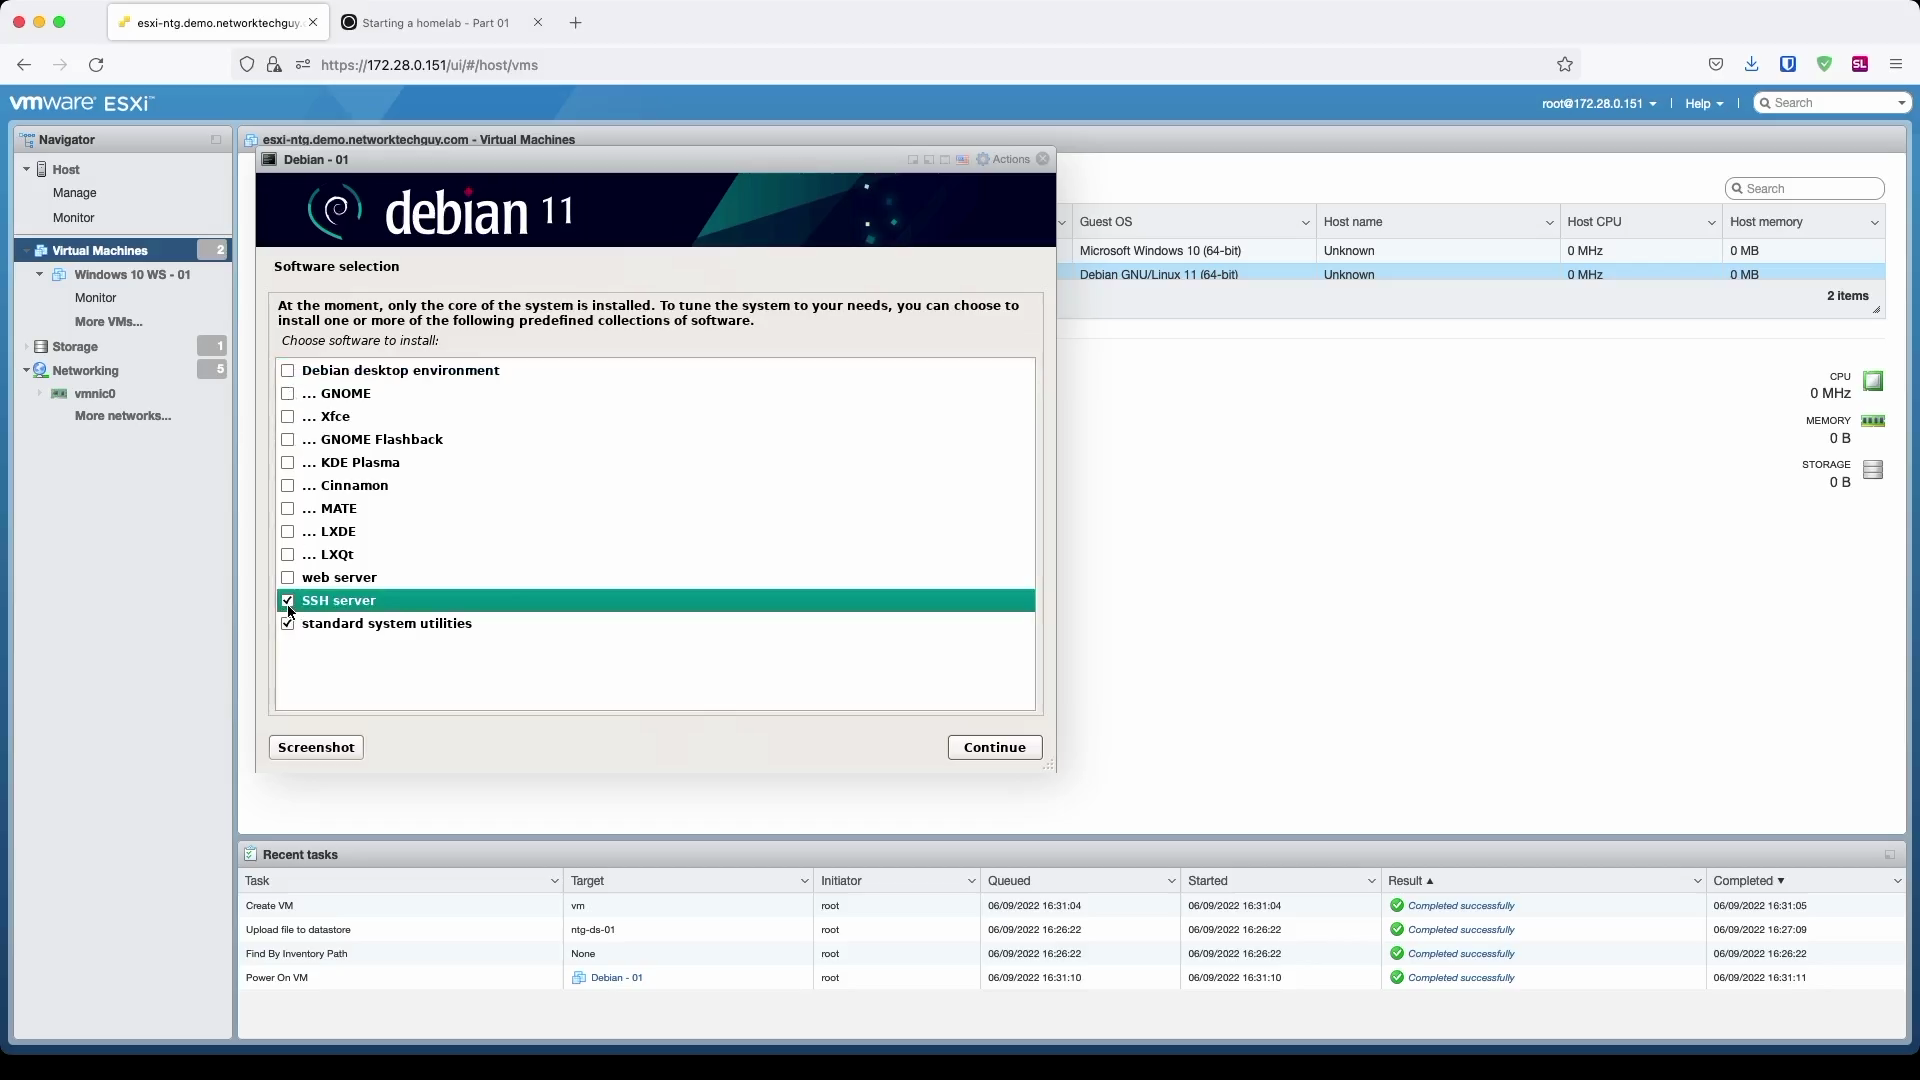
Next window will ask you about the additional software you may want to install. We will de-select Debian desktop environment as we will not be using this VM as a desktop and select SSH server since we will need to be able to remotely connect to this server.
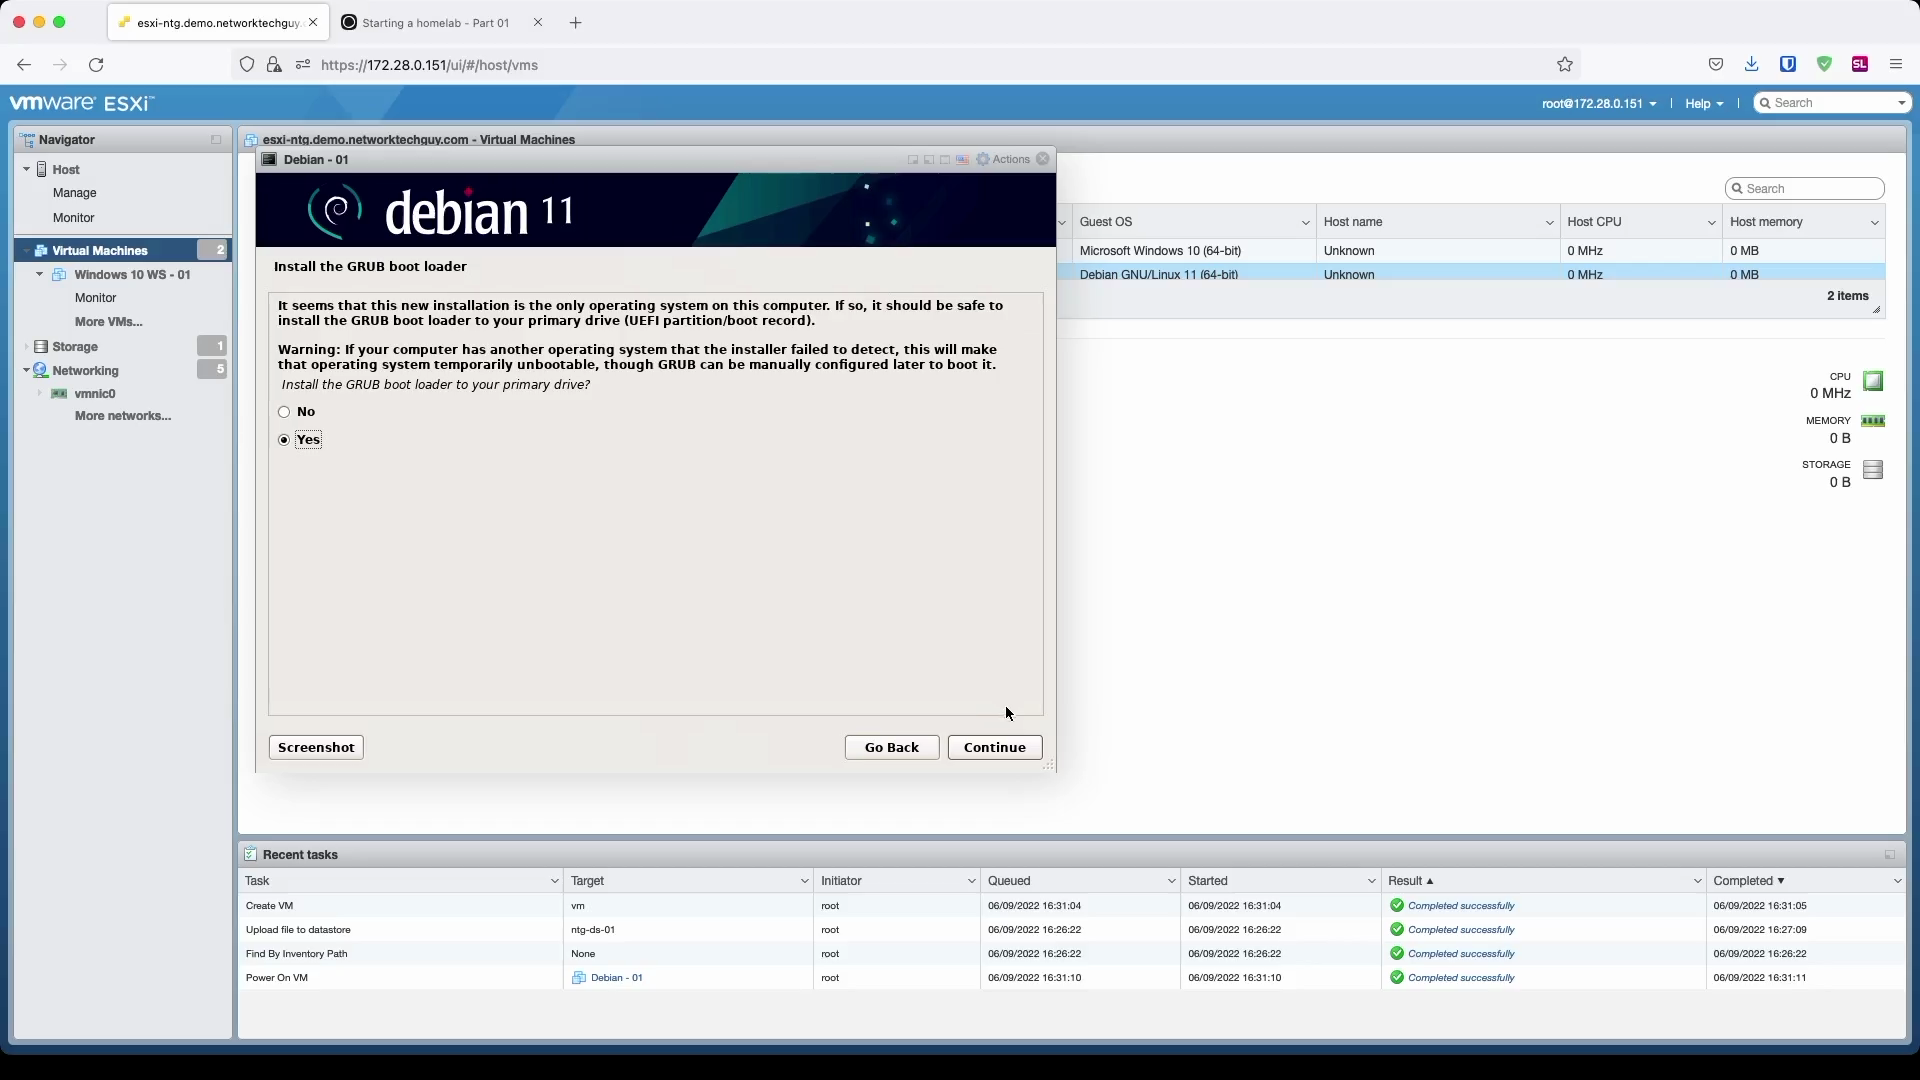
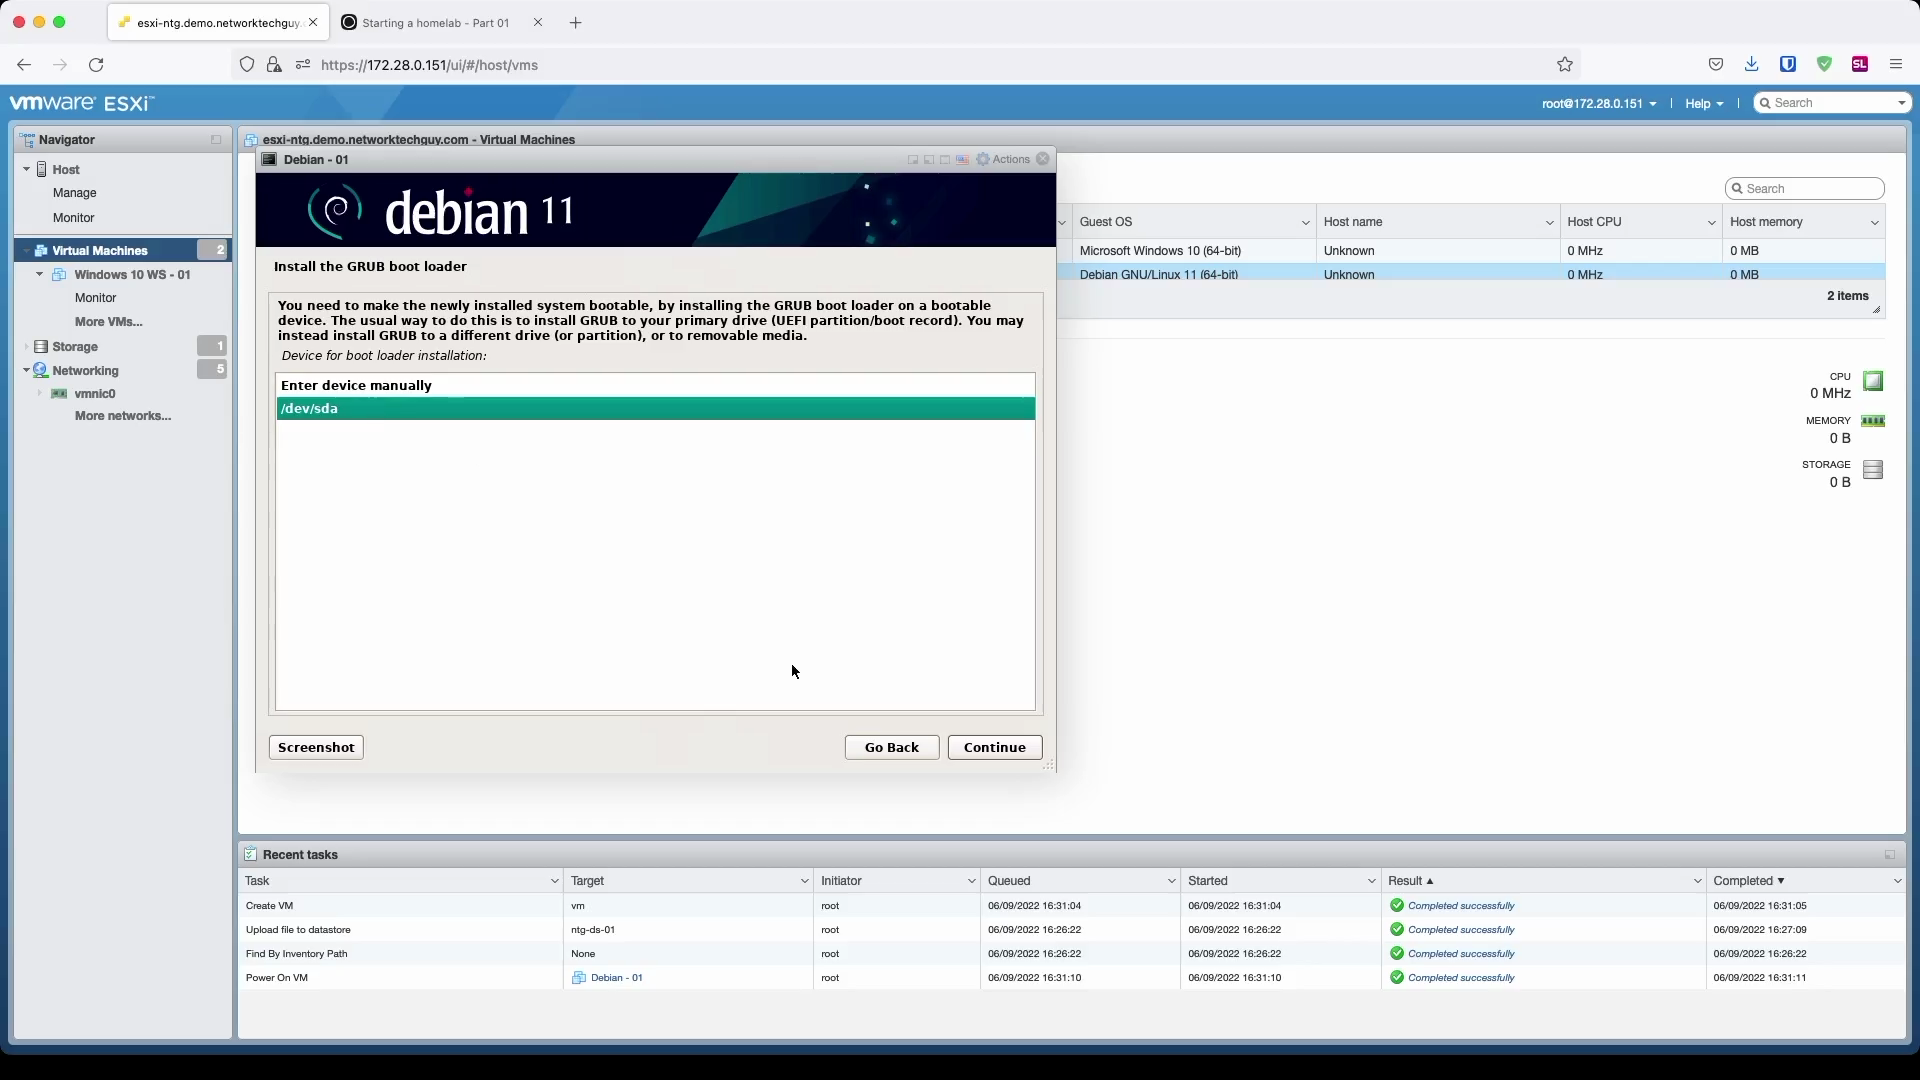
Final two setup windows are related to GRUB, Linux's bootloader software. It is usually represented by the blue (or some other) coloured menu when the system boots up that allows you to choose what operating system you want to start.
In the last window press Continue to finalize the installation and reboot your new server.
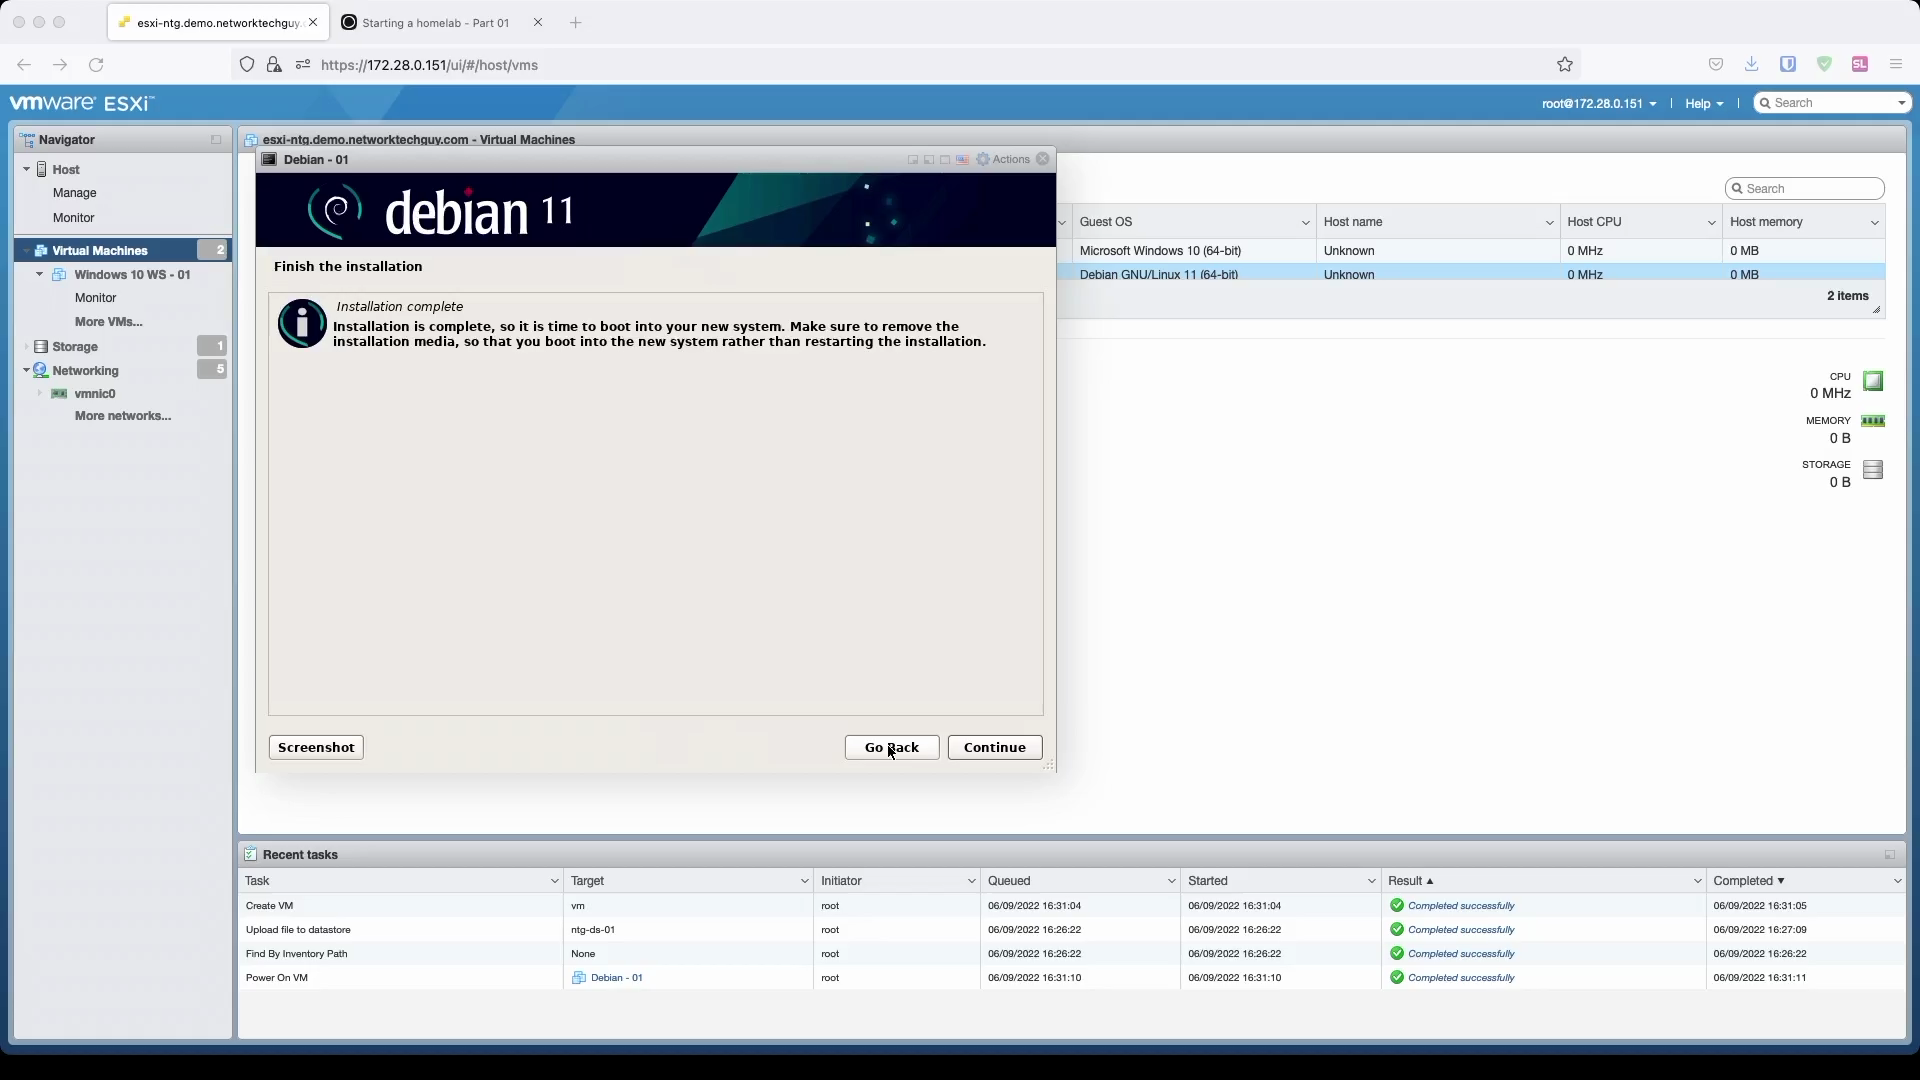
If everything went well, once the system has rebooted, you should be presented with the default prompt which asks you for your login credentials. Type your username and password and press enter and you should be presented with the user login prompt.
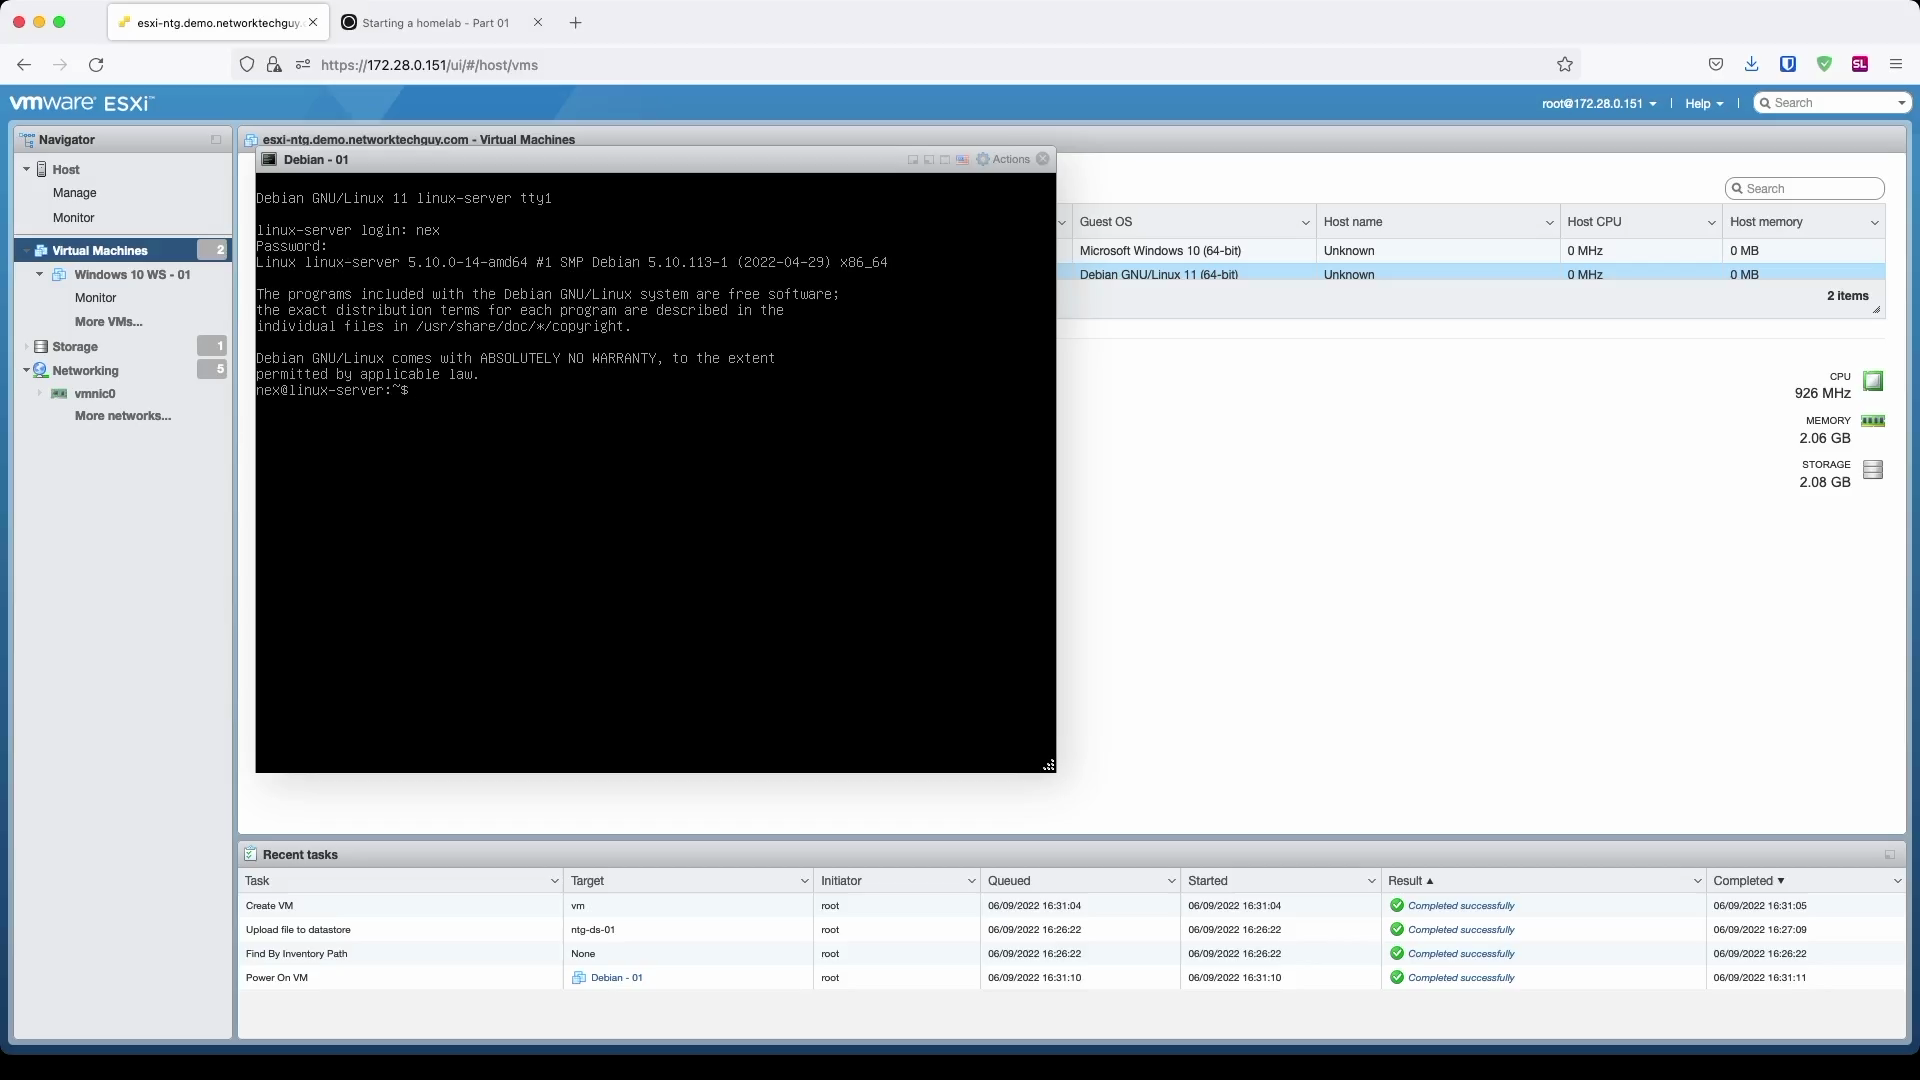
And that's it - you installed your (first) Linux server and you can now use it to install and configure different services.
We will continue by configuring some additional stuff.
Updating the system
To update the system, we usually issue a command like:
sudo apt update && sudo apt -y upgrade
Unfortunately, sudo is actually not installed by default on a Debian system. So, we will first switch to the root user and install sudo:
su -
apt install sudo
Once sudo is installed, we need to add ourself to the sudoers group:
usermod -aG sudo username
This will now allow us to run sudo commands which is considered a much safer approach to system administration as it implies that you are aware that you are going to run that command as a superuser.
Exit the root user and exit the system and then log back in for sudoers to take effect.
Finally, we can enter the update command:
sudo apt update && sudo apt -y upgrade
If there are any outstanding updates, they will be installed at this point.
Checking the timezone
I like to check on the timezone and system clock on new systems just to make sure that everything's in order:
nex@linux-server:~$ timedatectl
               Local time: Thu 2022-06-09 21:21:35 EDT
           Universal time: Fri 2022-06-10 01:21:35 UTC
                 RTC time: Fri 2022-06-10 01:21:35
                Time zone: America/Toronto (EDT, -0400)
System clock synchronized: yes
              NTP service: active
          RTC in local TZ: no
If your timezone hasn't been set correctly, you can set it with the following command:
sudo timedatectl set-timezone America/Toronto
Of course, replace America/Toronto with your own region.
Checking the hostname
Next, I like to check that the hostname has been properly set and that it is using an FQDN (this will be useful later on):
nex@linux-server:~$ hostnamectl
   Static hostname: linux-server.demo.networktechguy.com
         Icon name: computer-vm
           Chassis: vm
        Machine ID: 0cfe0ab3e0d643409b9a66daa71f94a6
           Boot ID: 0b3c45044da347559eb01b17fe10a863
    Virtualization: vmware
  Operating System: Debian GNU/Linux 11 (bullseye)
            Kernel: Linux 5.10.0-14-amd64
      Architecture: x86-64
If it hasn't, change it with:
sudo hostnamectl set-hostname FQDN.name.of.your.computer
Disable IPv6 stack if you're not using it
One more thing that I like to check is the status of the IPv6 stack on the computer. Since I don't use it in my home network, I usually disable it on my computers/servers.
So, type ip ad sh at your prompt and it will show you something like this:
nex@jumpbox:~$ ip ad sh
1: lo: <LOOPBACK,UP,LOWER_UP> mtu 65536 qdisc noqueue state UNKNOWN group default qlen 1000
    link/loopback 00:00:00:00:00:00 brd 00:00:00:00:00:00
    inet 127.0.0.1/8 scope host lo
       valid_lft forever preferred_lft forever
    inet6 ::1/128 scope host
       valid_lft forever preferred_lft forever
2: ens192: <BROADCAST,MULTICAST,UP,LOWER_UP> mtu 1500 qdisc mq state UP group default qlen 1000
    link/ether 00:0c:29:f9:a8:10 brd ff:ff:ff:ff:ff:ff
    altname enp11s0
    inet 10.194.1.77/24 brd 10.194.1.255 scope global ens192
       valid_lft forever preferred_lft forever
    inet6 fe80::250:56ff:feb6:2e80/64 scope link
       valid_lft forever preferred_lft forever
Notice that both intefaces, 1 (lo0 or loopback) and 2 (ens160, your ethernet adapter), have both inet and inet6 addresses. inet is your IPv4 address while inet6 is your IPv6 address. You may be asking yourself how did you even get this IPv6 address since we haven't configured it during the install. The answer is simple: it's a link-local IPv6 address which in a nutshell is similar to an APIPA IPv4 address, an address that is assigned to the computer by the OS in case IPv6 stack is enabled, but not manually set and there is no IPv6 DHCP server available. You have most likely seen an IPv4 address that looks like 169.254.x.x - these are APIPA addresses and are automatically assigned to computers in case there is no DHCP server available.
We will disable IPv6 stack on our server:
sudo nano /etc/sysctl.conf
This will open the sysctl.conf file in nano, a basic editor available on the system. You can use a different editor if you prefer, like vim or joe.
In the editor, go to the end of the file and add the following line:
net.ipv6.conf.all.disable_ipv6 = 1
Now, enter the command:
sudo sysctl -p
This will apply the config change to the file you just made and if we check the addressing now, it should show something like this:
1: lo: <LOOPBACK,UP,LOWER_UP> mtu 65536 qdisc noqueue state UNKNOWN group default qlen 1000
    link/loopback 00:00:00:00:00:00 brd 00:00:00:00:00:00
    inet 127.0.0.1/8 scope host lo
       valid_lft forever preferred_lft forever
2: ens192: <BROADCAST,MULTICAST,UP,LOWER_UP> mtu 1500 qdisc mq state UP group default qlen 1000
    link/ether 00:0c:29:f9:a8:10 brd ff:ff:ff:ff:ff:ff
    altname enp11s0
    inet 10.194.1.77/24 brd 10.194.1.255 scope global ens192
       valid_lft forever preferred_lft forever
Install fail2ban
fail2ban is a system service that, once istalled and configured, monitors the logs for intrusion attempts based on the predefined criteria. If it matches a pattern, it will put the offender on a ban list and the user will no longer be able to connect to the system for a predefined period.
Since we installed only a base Debian system, there are no iptables (Debian's integrated firewall) installed so we have to install it first:
sudo apt install iptables
Since we are only running SSH here at the moment, we will only configure fail2ban for SSH daemon (service):
nex@linux-server:~$ sudo netstat -tunlp | grep LISTEN
[sudo] password for nex:
tcp        0      0 0.0.0.0:22              0.0.0.0:*               LISTEN      598/sshd: /usr/sbin
tcp6       0      0 :::22                   :::*                    LISTEN      598/sshd: /usr/sbin
You may have noticed that ssh listens on both TCPv4 and TCPv6; this is a default setting for ssh server service and can be disabled by editing the file /etc/ssh/sshd_config and setting the parameter AddressFamily to AddressFamily inet - don't forget to remove the leading # as it means the line is commented. After that, restart the ssh service by issuing a command sudo systemctl restart sshd.
Let's configure fail2ban now. We start by installing it first:
sudo apt install fail2ban
Next, we need to configure a jail for fail2ban. jail is just a text file that defines what fail2ban will do.
Create a new file with your editor:
sudo nano /etc/fail2ban/jail.local
and enter the following text:
[sshd]
enabled = true
port = ssh
filter = sshd
logpath = /var/log/auth.log
maxretry = 3
findtime = 300
bantime = 1d
ignoreip = 127.0.0.1/8 X.Y.Z.D/XY
Let's explain these lines.
[sshd]- this is the name of thejailenabled = true- this means that we wantfail2banto use this jailport = ssh- what service will be monitoredfilter = sshd- tells what daemon/servicefail2banshould look forlogpath = /var/log/auth.log- tellsfail2banwhere to look for the logsmaxretry = 3- how many times is user allowed to try a passwordfindtime = 300- what is the period for whichfail2banwill consider login attempts; 300 seconds means that it will look within 300 seconds and check how many times a user has attempted to log into the systembantime = 1d- for how long will the user be banned from the systemignoreip = 127.0.0.1/8 X.Y.Z.D/XY- IP host/network addresses that will be ignored by fail2ban; replaceX.Y.Z.D/XYwith your own settings, but make sure that you add at least your own computer to this list so that you can avoid being banned byfail2banin case you enter a wrong password
Apply the changes by restarting fail2ban:
sudo systemctl restart fail2ban
Note:
fail2banas configured here only applies to SSH connections. That means that, in case you get yourself locked out of the system by it, you can always connect to your ESXi server vSphere management and from there open a console window. This is considered an ESXi VM console window:
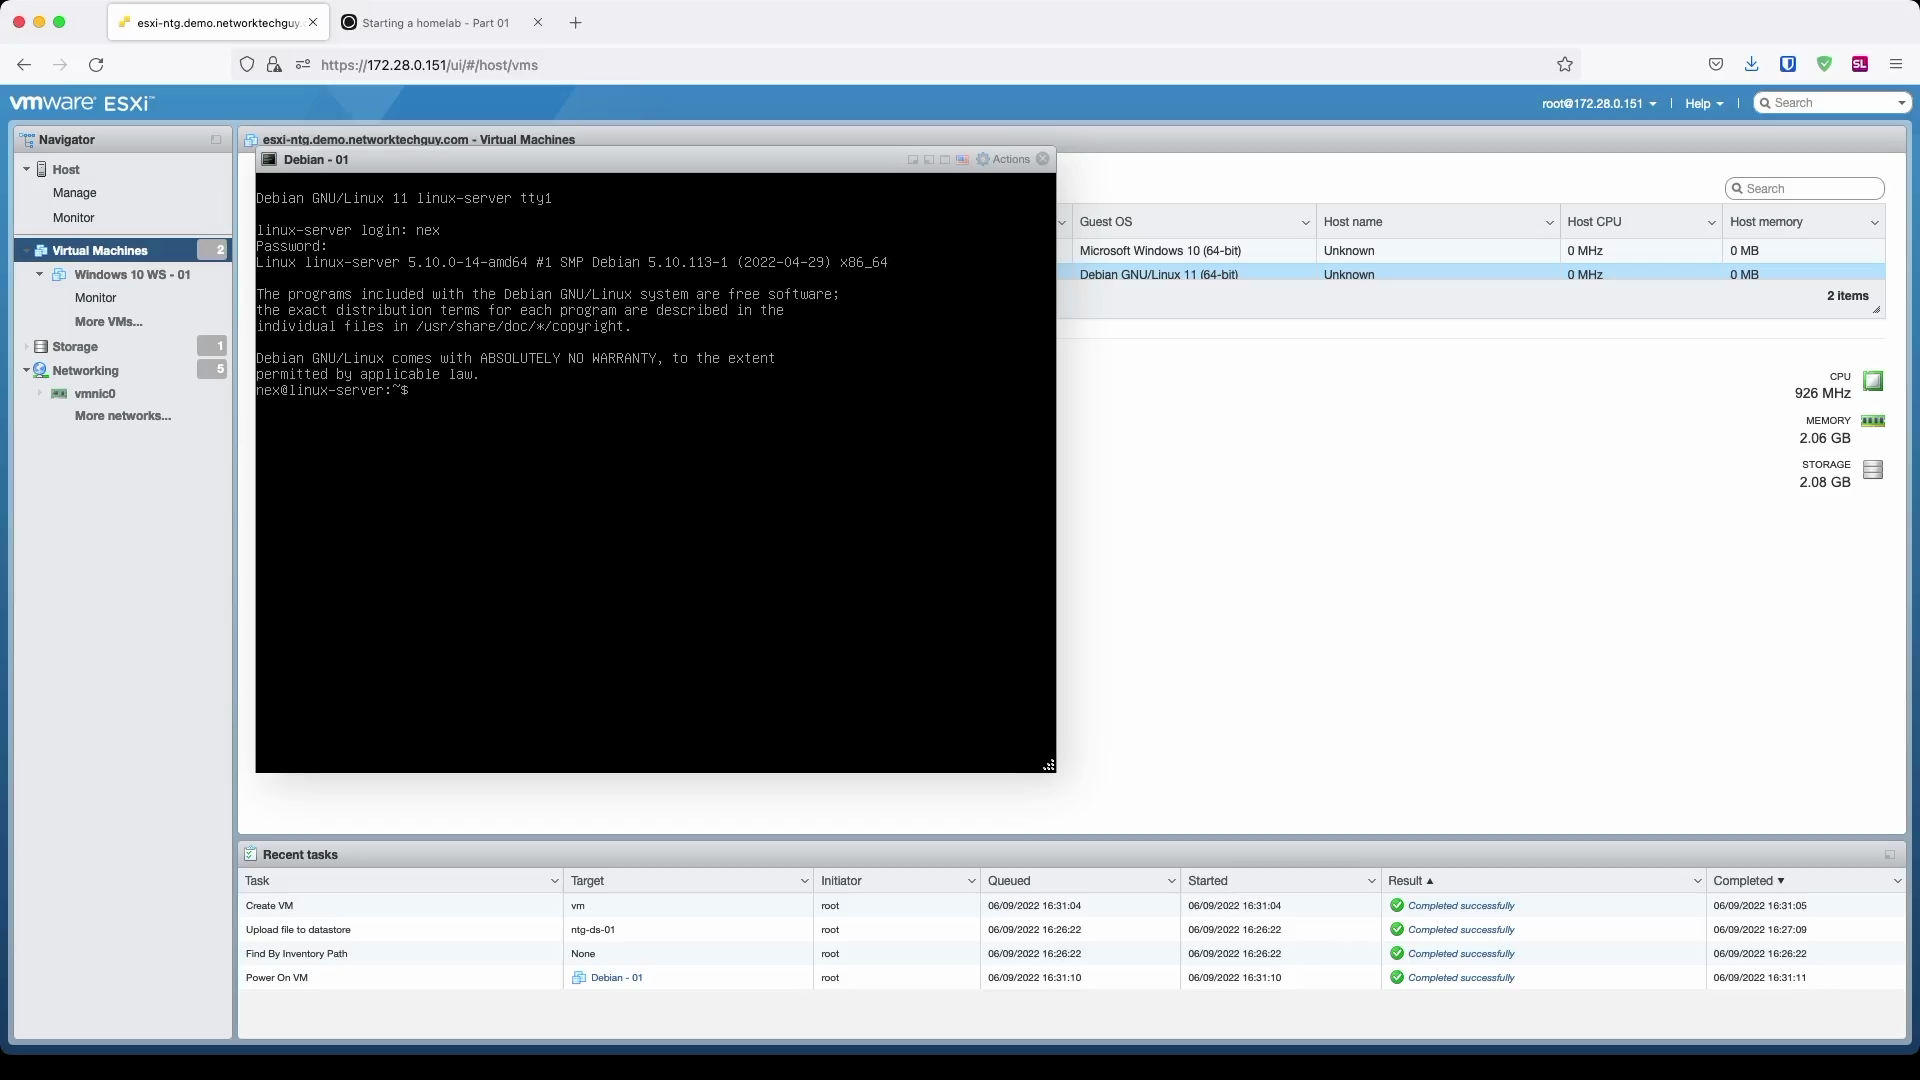
Now give it a try and log out of the system and misstype your password at least three times (which is also the default value of how many times Debian will ask you to re-enter your password in the first connection attempt). If you haven't added your own IP address to the ignoreip, you should be locked out of the system and new connection attempts will fail:
nex@jumpbox:~$ ssh 10.194.1.77
ssh: connect to host 10.194.1.77 port 22: Connection refused
fail2ban status can be checked:
nex@linux-server:~$ sudo fail2ban-client status sshd
[sudo] password for nex:
Status for the jail: sshd
|- Filter
|  |- Currently failed:	0
|  |- Total failed:	0
|  `- File list:	/var/log/auth.log
`- Actions
   |- Currently banned:	1
   |- Total banned:	1
   `- Banned IP list:	10.5.0.65
If you want to remove an IP address from the list of banned addresses, you can do that:
nex@linux-server:~$ sudo fail2ban-client set sshd unbanip 10.5.0.65
[sudo] password for nex:
1
Check the status of jails:
nex@linux-server:~$ sudo fail2ban-client status sshd
[sudo] password for nex:
Status for the jail: sshd
|- Filter
|  |- Currently failed: 0
|  |- Total failed:     0
|  `- File list:        /var/log/auth.log
`- Actions
   |- Currently banned: 0
   |- Total banned:     1
   `- Banned IP list:
Now if we try to connect from that computer:
nex@jumpbox:~$ ssh 10.194.1.77
[email protected]'s password:
Linux linux-server.demo.networktechguy.com 5.10.0-14-amd64 #1 SMP Debian 5.10.113-1 (2022-04-29) x86_64

The programs included with the Debian GNU/Linux system are free software;
the exact distribution terms for each program are described in the
individual files in /usr/share/doc/*/copyright.

Debian GNU/Linux comes with ABSOLUTELY NO WARRANTY, to the extent
permitted by applicable law.
Last login: Thu Jun  9 19:16:26 2022 from 10.4.0.26
Conclusion
And we are done with installing our first Linux server. We will use this server in the future posts to install other services on it, so you can safely power it down now by issuing a command:
halt
Same as always, if you have any questions or comments, write them down in the comments section. Have a great rest of the day!
Member discussion